Managing Calls
156
41-001317-05 REV00 – 03.2011
Configuring CFWD Parameters Using the Aastra Web UI
Use the following procedure to configure the CFWD parameters using the Aastra Web UI.
2.
In the “
Call Forward Key Mode
” field, select a call forward mode to use on the phone. Valid values are: Account,
Phone, Custom. Default is
Account
.
•
Account
- (default) The account mode allows you to configure CFWD on a per account basis. Pressing a con-
figured CFWD key applies to the account in focus.
•
Phone
- The Phone mode allows you to set the same CFWD configuration for all accounts (
All
,
Busy
, and/or
No Answer
). When you configure the initial account, the phone applies the configuration to all other accounts.
(In the Aastra Web UI, only the account you configured is enabled. All other accounts are grayed out but set
to the same configuration.) Using the Aastra Web UI, if you make changes to that initial account, the changes
apply to all accounts on the phone.
•
Custom
- The Custom mode allows you to configure CFWD for a specific account or all accounts. You can
configure a specific mode (
All
,
Busy
, and/or
No Answer
) for each account independently or all accounts. You
can set all the accounts ON or OFF. Using the IP Phone UI, you can also press the “
Copy to all modes
” key to
copy a phone number to other phone number fields.
Note:
If there is only one account configured on the phone, then the mode setting is ignored and the phone behaves
as if the mode was set to “Phone”.
3.
Click
Save Settings
. The changes takes affect immediately without a reboot.
Note:
(Optional) You can configure a Call Forward key on your phone to access the Call Forward menus if desired. If you do
not configure a Call Forward key, you can still access the Call Forward menu from the IP Phone UI at the path,
Services->Call Forward
.
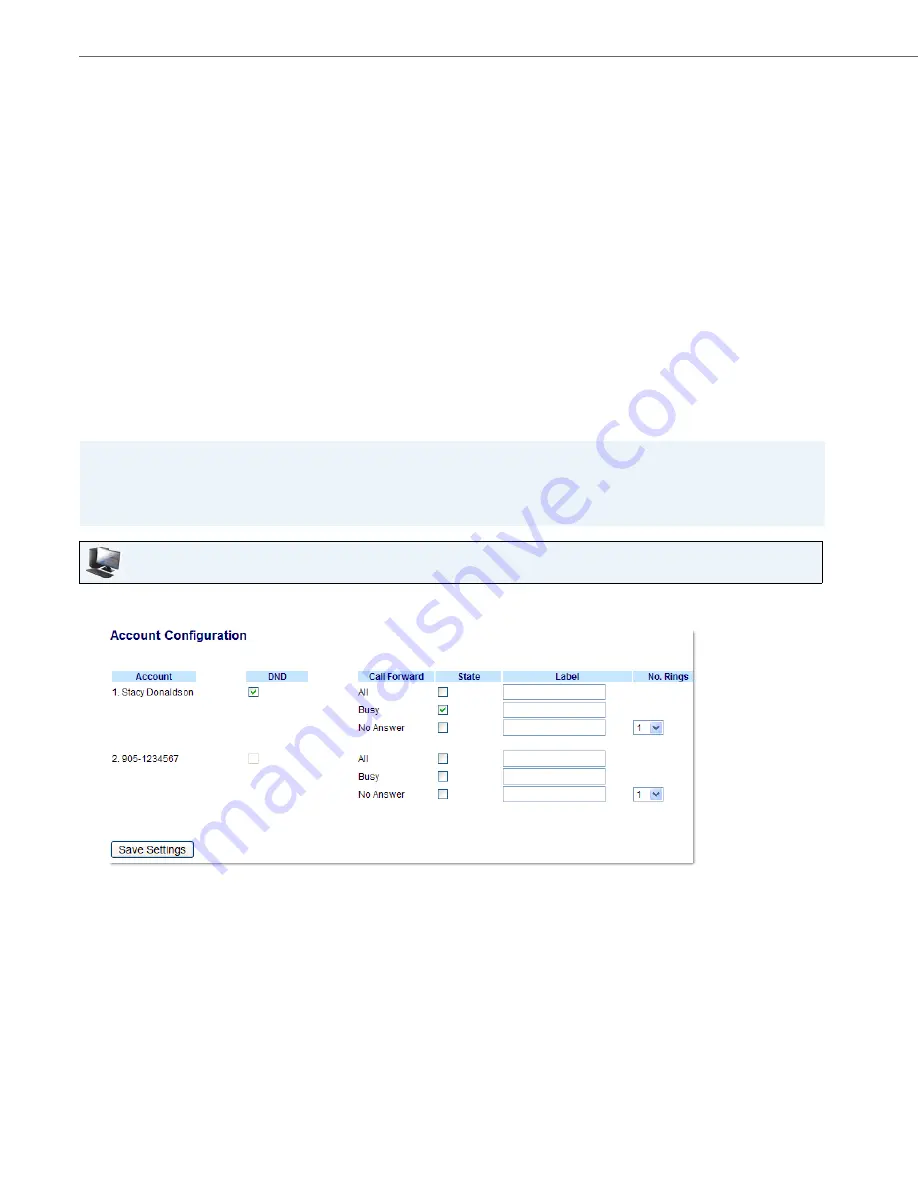
Aastra Web UI
1.
Click on
Basic Settings->Account Configuration
.
The illustration above shows 3 accounts configured on the phone. Accounts must be set up by your System
Administrator.


