


Chapter 6 Rover App Tutorials
NBG7510 User’s Guide
62
6.4 Wired Network Setups
• Connect your Rover AP to a router (the Rover Router as an example).
• Connect your Rover Router to an access point (the WRE6605 AP as an example).
6.4.1 Connect your Rover AP to the Rover Router Using a Wired Connection
Follow the steps below to set up your Rover AP with arouter (the Rover Routeras an example). Connect
the Rover Router to the Internet. The Rover Router must be connected to a modem/router using an
Ethernet cable. Then, connect a LAN port on the Rover AP to a LAN port on the Rover Router using
another Ethernet cable.
Note: Make sure you reset the Rover Router and Rover AP to factory defaults before switching
to a different mode. Remember to back up your configuration setting before resetting
your devices to factory defaults. See
Section 2.2 on page 22
for more information.
1
Turn on your modem/router for Internet access. Connect an Ethernet cable from a modem /router to
the WAN port on the Rover Router.
2
Note the power LEDs when you’re done. The power LEDs should be steady blue. Place the Rover AP
where you want WiFi coverage and connect it to the Rover Router using an Ethernet cable.
3
Download the app to your smartphone and log into the Rover Router’s WiFi network using the default
label information on the back label. You may need to forget your current WiFi connection on your
smartphone.
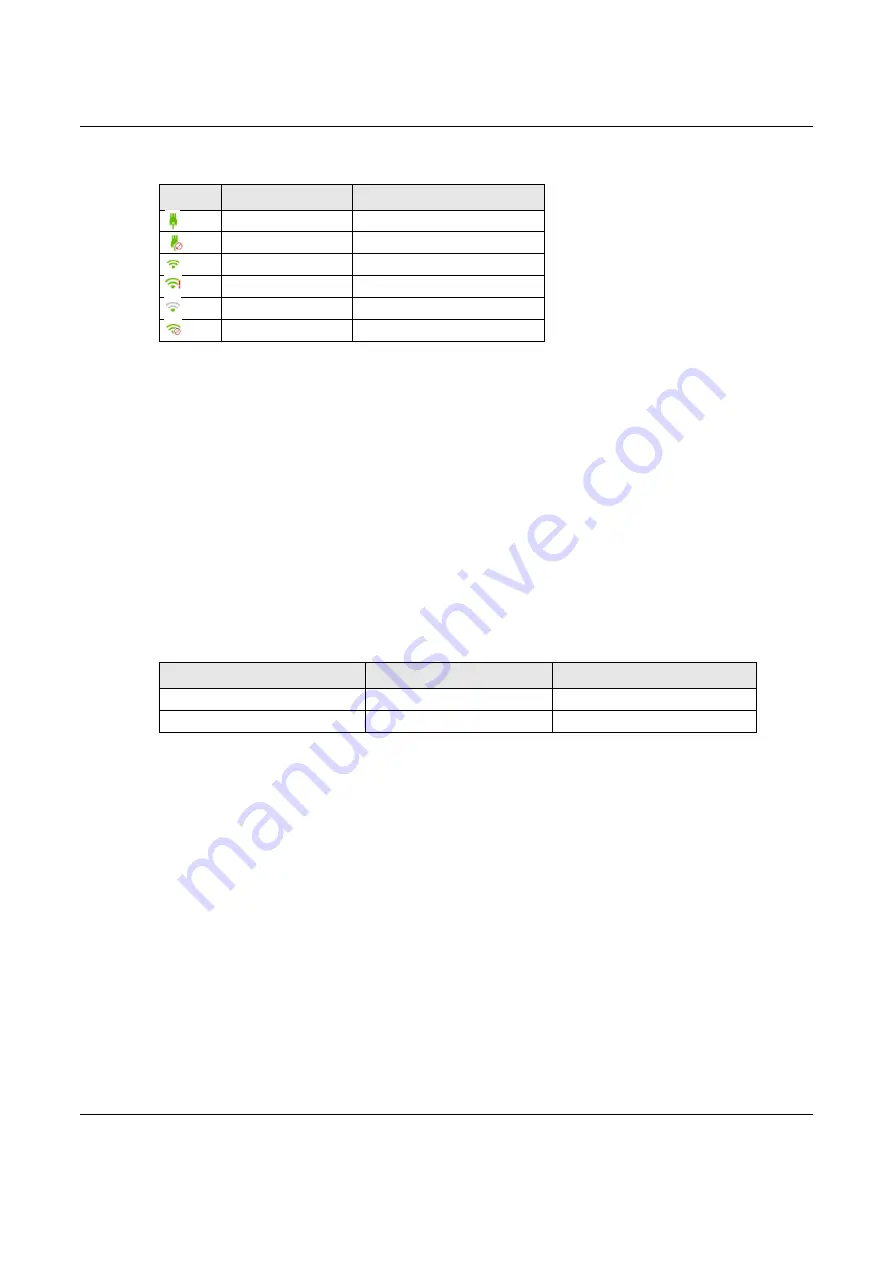
Table 10 Link Quality
ICON
CONNECTION TYPE
WIFI STATUS
Wired
Wired Connection
Wired
Blocked
Wireless
Good to Go
Wireless
Too Close to the Router
Wireless
Weak WiFi
Wireless
Blocked
Table 11 Device Role
DEVICE
TERM
ROLE
Zyxel Device in Router mode
Rover Router
Router
Zyxel Device in AP mode
Rover AP
Access Point