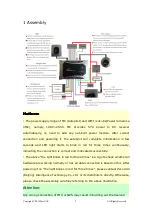
Copyright(C)2012ZeroUAV
All Rights Reserved
8
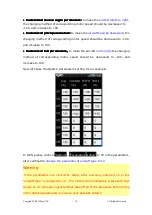
Only changed to GPS mode, the actual course angle will display in
Course angle
in data page of GCS.
S
S
S
STEP
TEP
TEP
TEP1
1
1
1 Calibration
Calibration
Calibration
Calibration in
in
in
in horizontal:
horizontal:
horizontal:
horizontal:
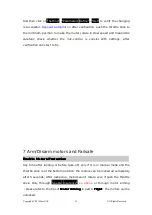
Enter Calibration by elect
“Horizontal Alignment”
from
“Magnetic Compass
”
in
“Setting”
page of GCS and click
OK
to send the command to autopilot. After
confirmation
,
the
status bar in the middle
will display "Success" meaning the
autopilot received the command of Horizontal Alignment, can start the
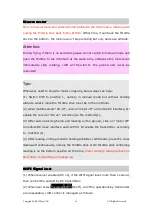
Calibration: Rotate your aircraft 2~3 laps along with the horizontal surface, ask
a helper to monitor the
Attitude angle
changing in
Data
and try best to keep
Pitch and Roll value smaller than 3 (you can also check the blinking light which
is connecting with autopilot, if the light is keeping on it means attitude is good,
if the light is off it means the attitude is too big). After completing 2-3 laps
horizontal rotation, then go to the next
step;
S
S
S
STEP
TEP
TEP
TEP2
2
2
2 Calibration
Calibration
Calibration
Calibration in
in
in
in vertical:
vertical:
vertical:
vertical:
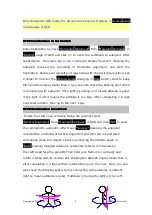
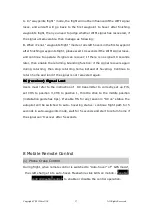
Rotate the craft nose vertically facing the ground, select
“Vertical Alignment”
from
"Magnetic Compass"
in GCS and click
"OK"
to send
the command to autopilot. After it says
"Success"
meaning the autopilot
received the command of Vertical Alignment and then the roll and pitch
will change close to 0 degree slowly via checking the attitude angle in
“Data”
(namely changed reference coordinate system, it’s level when
the craft head face the ground).Then hold your Multi-rotor vertically and
rotate it along with its vertical axis keeping the attitude angle smaller than 3,
after completing 2-3 laps vertical rotation,then go to the next
step; you can
also check the blinking light which is connecting with autopilot, constantly
light on means attitude is good, if attitude is too big the light will turn off .


