Calibration Mode
9-7
IM CA150E
1
2
3
4
5
6
7
8
9
10
11
12
App
9.2 Calibration of Measurement Functions (Adjustment)
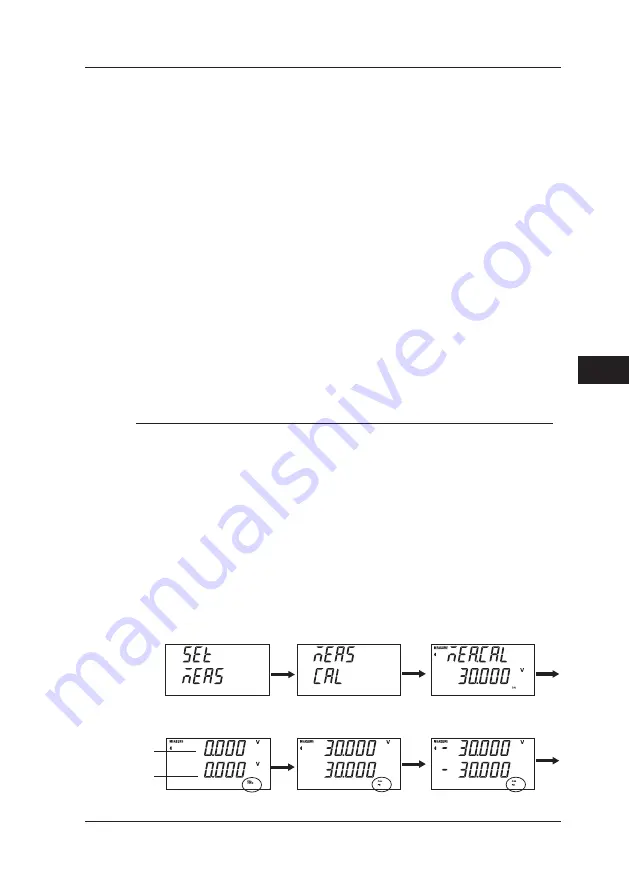
10 Start +FS point calibration:
The CAL and FS segments light, the input measurement value
appears on the top row, and the + side full scale calibration value of
the selected range appears on the bottom row.
11
Input the calibration value displayed on the bottom row into
the instrument from the standard generator.
When the input value stabilizes,
press the ENTER key to confirm the calibration value.
12 Start -FS point calibration:
The CAL and FS segments light, the input measurement value
appears on the top row, and the - side full scale calibration value of
the selected range appears on the bottom row.
13 Input the calibration value displayed on the bottom row into the
instrument from the standard generator.
When the input value stabilizes,
press the ENTER key to confirm the calibration value.
The calibration values of the range are calculated and saved to
internal memory. (The values overwrite the previous calibration data.)
To cancel calibration, press the CLEAR key before
pressing the ENTER key. The procedure returns to Step 6.
14 Repeat Steps 6 to 13 for each range to be calibrated.
Set the calibration value of each calibration point based on the reading on
the standard generator side.
The measurement value displayed on the top row of the screen of
the instrument is the reference value that was measured based on
the calibration value already saved.
Cancel:
To return to the calibration range selection display in Step 6,
press the CLEAR key.
End:
To end calibration mode, simultaneously press the CLEAR and
ENTER keys. Normal (source/measurement) mode returns.
ENTER
ENTER
ENTER
ENTER
ENTER
ENTER
ZERO
Full Scale (+)
Full Scale (-)
Select with the FUNCTION and
RANGE keys
Measurement
value
Calibration
value


