Yealink IP Phones Configuring Guide
38
3.
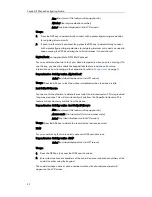
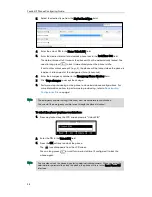
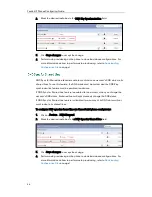
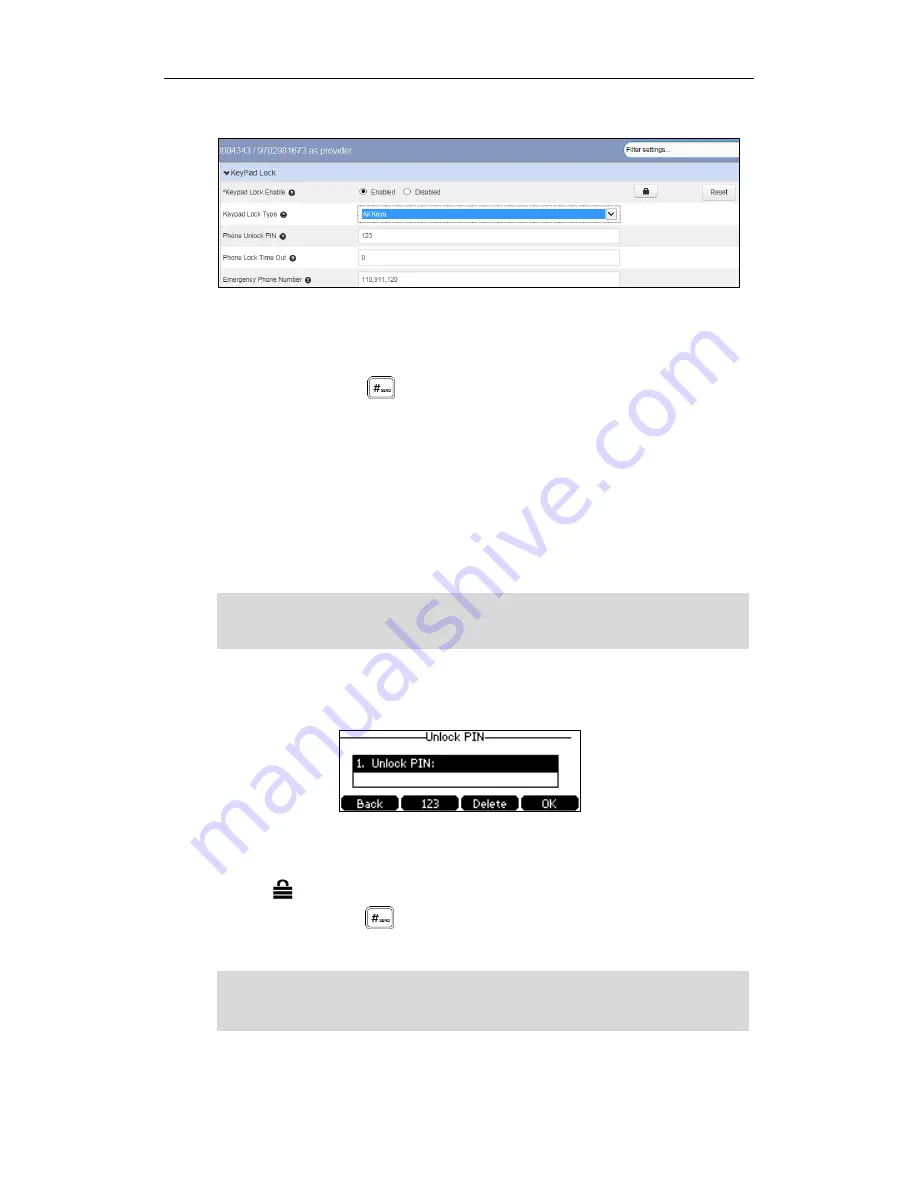
Select the desired type from the KeyPad Lock Type field.
4.
Enter the unlock PIN in the Phone Unlock PIN field.
5.
Enter the desired interval of automatic phone lock in the Lock Time Out field.
The default timeout is 0. It means the phone will not be automatically locked. You
need to long press to lock it immediately when the phone is idle.
If set to other values except 0 (e.g., 5), the phone will be locked when the phone is
inactive in idle screen for the designated time (in seconds).
6.
Enter the emergency number in the Emergency Phone Number field.
7.
Click Save changes to accept the change.
8.
Perform auto provisioning on the phone to download above configurations. For
more information on how to perform auto provisioning, refer to
Downloading
Configuration Files
on page
7
.
Note
To unlock the phone via phone user interface:
1.
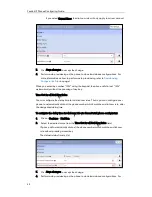
Press any locked key, the LCD screen prompts “Unlock PIN”.
2.
Enter the PIN in the Unlock PIN field.
3.
Press the OK soft key to unlock the phone.
The icon disappears from the LCD screen.
You can long press or wait for a period of time (if configured) to lock the
phone again.
Note
You can also unlock the phone by entering administrator password. When you enter the
administrator password to unlock the phone, the phone will turn to the Reset Phone PIN
interface.
The emergency number setting, if desired, must be set before lock activation.
You can dial the emergency number even through the phone is locked.
Summary of Contents for Yealink SIP-T41P
Page 1: ......
Page 6: ...Yealink IP Phones Configuring Guide vi...
Page 11: ...Getting Started 3 2 Press or to scroll through the list and view the specific information...
Page 12: ...Yealink IP Phones Configuring Guide 4...
Page 50: ...Yealink IP Phones Configuring Guide 42...
Page 76: ...Yealink IP Phones Configuring Guide 68...
Page 78: ...Yealink IP Phones Configuring Guide 70...
Page 82: ...Yealink IP Phones Configuring Guide 74...
Page 86: ...Yealink IP Phones Configuring Guide 78...

