Yealink IP Phones Configuring Guide
2
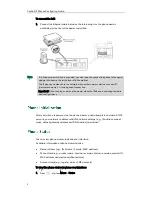
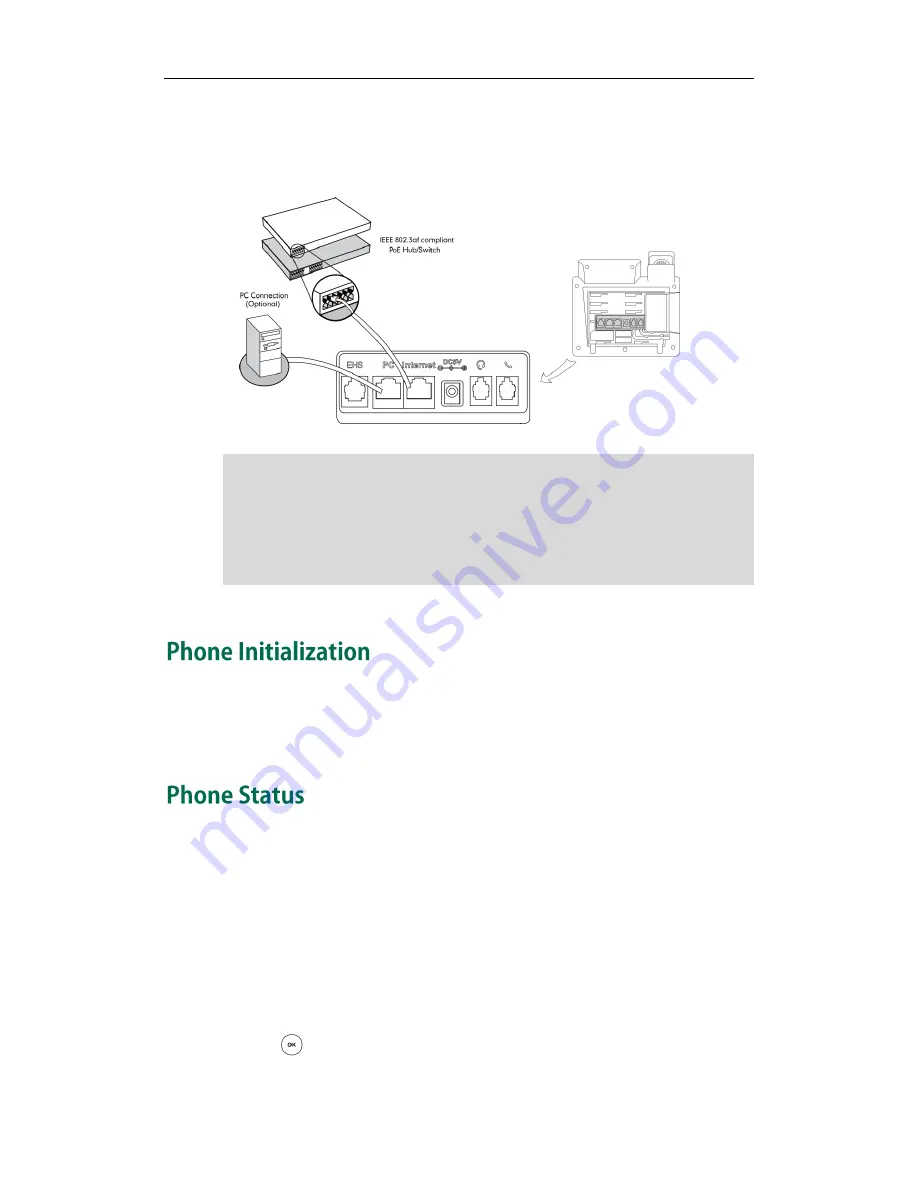
To connect the PoE:
1.
Connect the Ethernet cable between the Internet port on the phone and an
available port on the in-line power switch/hub.
Note
After your phone is powered on, the phone boots up and attempts to contact a DHCP
server in your network to obtain valid IPv4 network settings (e.g., IP address, subnet
mask, default gateway address and DNS address) by default.
You can view phone status via phone user interface.
Available information of phone status includes:
Network status (e.g., IPv4 status, IP mode, MAC address).
Phone status (e.g., product name, hardware version, firmware version, product ID,
MAC address and device certificate status).
Account status (e.g., register status of SIP accounts).
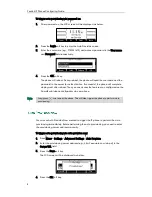
To view the phone status via phone user interface:
1.
Press , or press Menu->Status.
If in-line power switch/hub is provided, you don’t need to connect the phone to the power
adapter. Make sure the switch/hub is PoE-compliant.
The IP phone can also share the network with another network device such as a PC
(personal computer). It is an optional connection.
Important! Do not unplug or remove the power while the IP phone is updating firmware
and configurations.
Summary of Contents for Yealink SIP-T41P
Page 1: ......
Page 6: ...Yealink IP Phones Configuring Guide vi...
Page 11: ...Getting Started 3 2 Press or to scroll through the list and view the specific information...
Page 12: ...Yealink IP Phones Configuring Guide 4...
Page 50: ...Yealink IP Phones Configuring Guide 42...
Page 76: ...Yealink IP Phones Configuring Guide 68...
Page 78: ...Yealink IP Phones Configuring Guide 70...
Page 82: ...Yealink IP Phones Configuring Guide 74...
Page 86: ...Yealink IP Phones Configuring Guide 78...


