Yealink IP Phones Configuring Guide
10
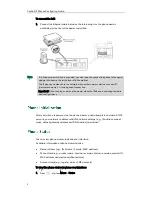
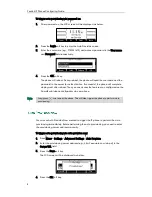
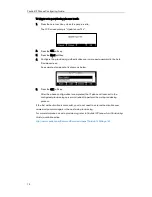
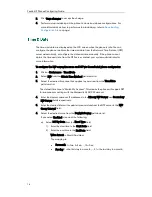
To trigger auto provisioning via zero touch:
1.
Press the zero touch key when the phone is idle.
The LCD screen prompts “Update now? 5s”.
2.
Press the OK soft key.
3.
Press the Next soft key.
4.
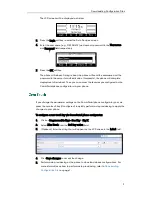
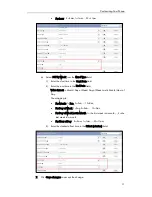
Configure the provisioning authentication user name and password in the Auto
Provision screen.
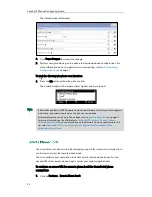
An example of screenshot is shown as below:
5.
Press the OK soft key.
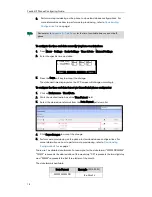
After the above configuration is completed, the IP phone will connect to the
configured provisioning server and reboot to perform the auto provisioning
process.
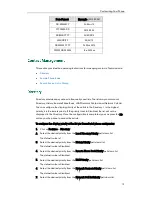
If the first authentication is successful, you do not need to enter authentication user
name and password again in the next auto provisioning.
For more information on auto provisioning, refer to
Yealink IP Phones Auto Provisioning
Guide
, available online:
http://www.yealink.com/DocumentDownload.aspx?CateId=142&flag=142
Summary of Contents for Yealink SIP-T41P
Page 1: ......
Page 6: ...Yealink IP Phones Configuring Guide vi...
Page 11: ...Getting Started 3 2 Press or to scroll through the list and view the specific information...
Page 12: ...Yealink IP Phones Configuring Guide 4...
Page 50: ...Yealink IP Phones Configuring Guide 42...
Page 76: ...Yealink IP Phones Configuring Guide 68...
Page 78: ...Yealink IP Phones Configuring Guide 70...
Page 82: ...Yealink IP Phones Configuring Guide 74...
Page 86: ...Yealink IP Phones Configuring Guide 78...


