2. Inspection and Adjustment
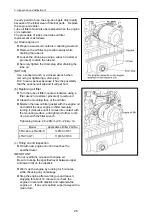
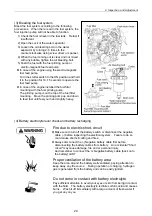
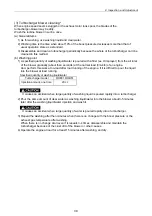
(3) Bleeding the fuel system
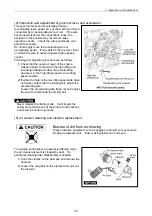
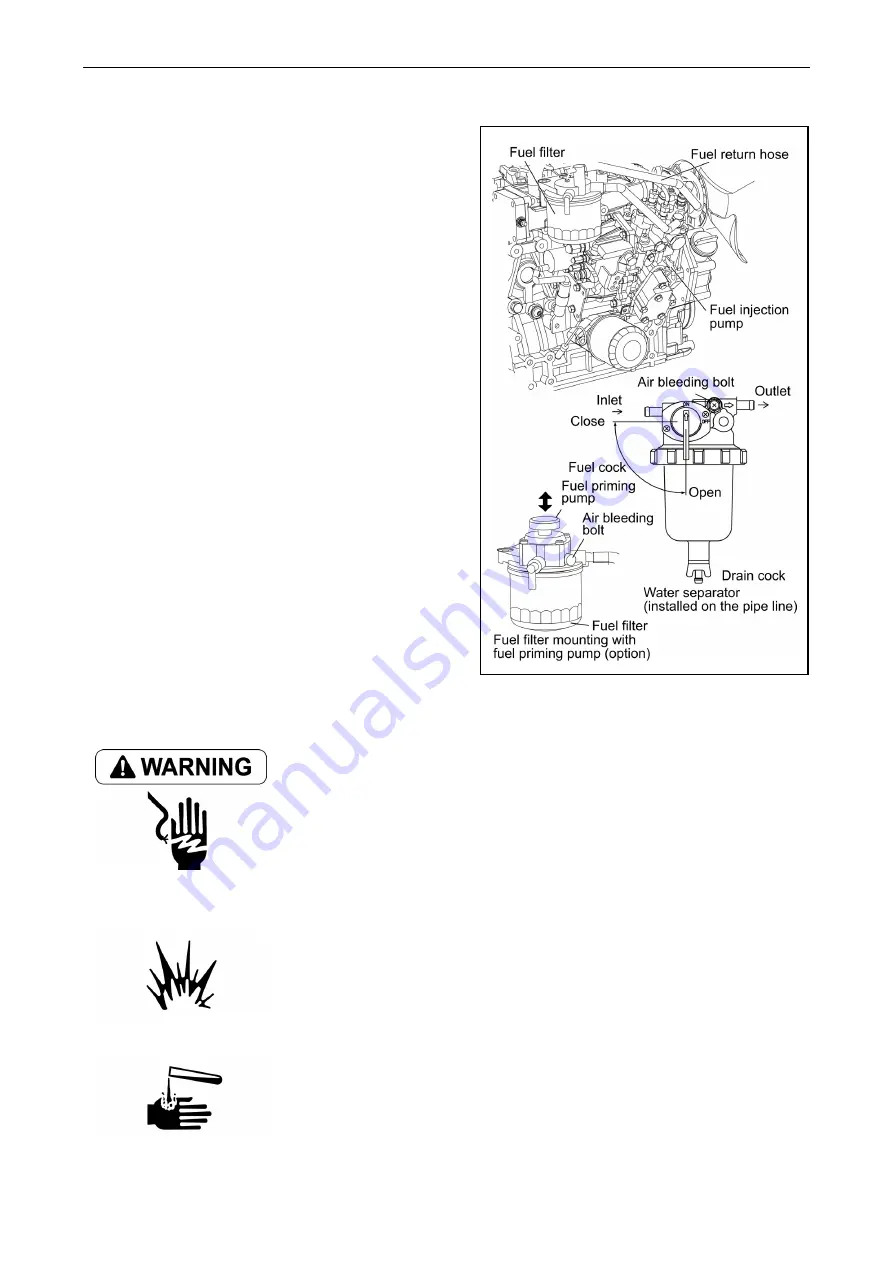
Bleed the fuel system according to the following
procedures. When there is air in the fuel system, the
fuel injection pump will not be able to function.
1) Check the fuel oil level in the fuel tank. Refuel if
insufficient.
2) Open the cock of the water separator.
3) Loosen the air bleeding bolt on the water
separator by turning 2~3 times to the
counter-clockwise using screw driver or spanner.
4) When the fuel coming out is clear and not mixed
with any bubble, tighten the air bleeding bolt.
5) Feed the fuel with the fuel priming pump or
electro-magnetic fuel feed pump.
In case of the engine using the electro-magnetic
fuel feed pump.
Turn the starter switch to the ON position and hold
it in the position for 10~15 seconds to operate the
fuel feed pump.
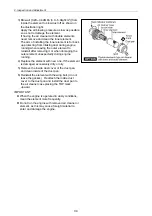
In case of the engine installed the fuel filter
mounting with the fuel priming pump.
The priming pump is on the top of the fuel filter
mounting. Move the priming pump up and down
to feed fuel until feel your hand slightly heavy.
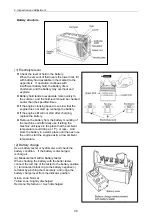
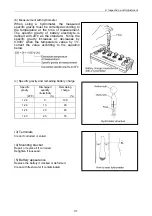
(4) Battery electrolyte level check and battery recharging
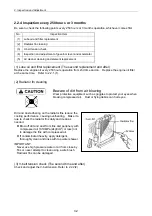
F
ire due to electric short-circuit
Make sure to turn off the battery switch or disconnect the negative
cable (-) before inspecting the electrical system. Failure to do so
could cause short-circuiting and fires.
Always disconnect the (-) Negative battery cable first before
disconnecting the battery cables from battery. An accidental "Short
circuit" may cause damage, fire and or personal injury.
And remember to connect the (-) Negative battery cable (back onto
the battery) LAST.
P
roper ventilation of the battery area
Keep the area around the battery well ventilated, paying attention to
keep away any fire source. During operation or charging, hydrogen
gas is generated from the battery and can be easily ignited.
D
o not come in contact with battery electrolyte
Pay sufficient attention to avoid your eyes or skin from being in contact
with the fluid. The battery electrolyte is dilute sulfuric acid and causes
burns. Wash it off immediately with a large amount of fresh water if
you get any on you.
29
Summary of Contents for 3TNV Series
Page 1: ...4TNV106 4TNV106T 4TNV94L 4TNV98 4TNV98T 3TNV82A 3TNV84 T 4TNV84 T 3TNV88 4TNV88 ...
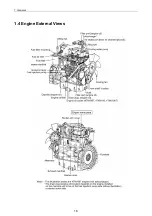
Page 31: ...1 General 1 4 Engine External Views 16 ...
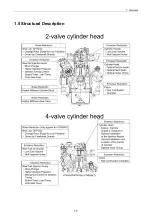
Page 32: ...1 General 1 5 Structural Description 17 ...
Page 156: ...9 Starting Motor 9 1 2 Components 141 ...
Page 157: ...9 Starting Motor 9 1 3 Troubleshooting 142 ...
Page 172: ...9 Starting Motor 9 2 3 Troubleshooting 157 ...
Page 175: ...9 Starting Motor 2 Removal of magnetic switch Remove the M6 bolts 10mm 2 160 ...
Page 185: ...9 Starting Motor 3 Brush 1 Check wear of the brush and the brush spring force 170 ...
Page 194: ...10 Alternator 179 10 1 6 Troubleshooting ...
Page 195: ...11 Electric Wiring 180 11 ELECTRIC WIRING 11 1 Electric Wiring Diagram ...
Page 213: ......

