4. Disassembly, Inspection and Reassembly of Engines
91
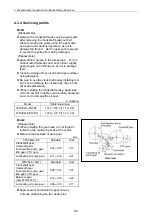
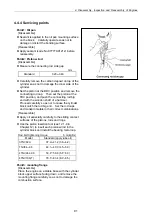
4.4.4 Servicing points
Point1: Oil pan
[Disassemble]
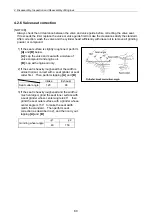
Sealant is applied to the oil pan mounting surface
on the block. Carefully operate soas not to
damage or distort the bonding surface.
[Reassemble]
Apply sealant (code No.977770-01212) before
reassembly.
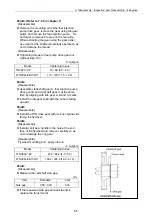
Point2: Piston w/rod
[Disassemble]
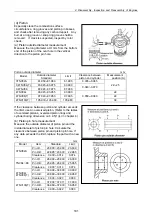
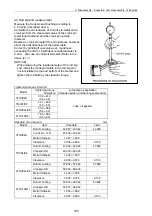
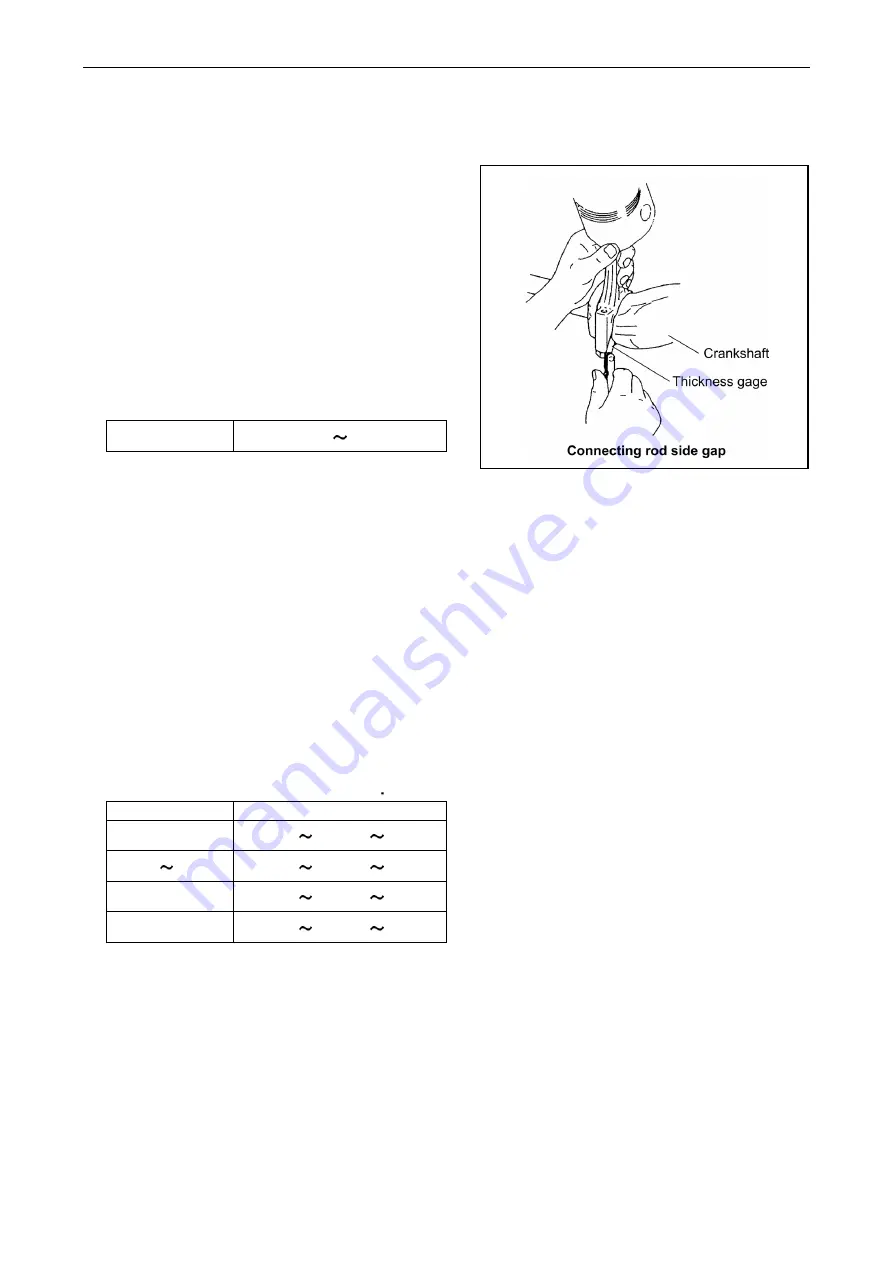
Measure the connecting rod side gap.
mm
Standard 0.20 0.40
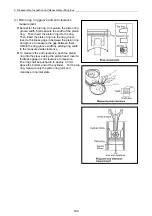
Carefully remove the carbon deposit on top of the
cylinder so as not to damage the inner side of the
cylinder.
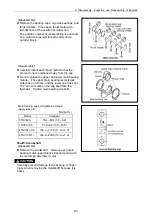
Set the piston at the BDC position and remove the
connecting rod cap. Then set the piston at the
TDC position, and push the connecting rod big
end with the wooden shaft of a hammer.
Proceed carefully so as not to cause the cylinder
block catch the rod big end. Set the rod caps
and crankpin metals in their correct combinations.
[Reassemble]
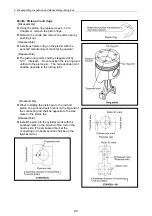
Apply oil especially carefully to the sliding contact
surfaces of the pistons, rods and rings.
Use the piston insertion tool (see 12.1-9 in
Chapter 12) to insert each piston w/rod in the
cylinder block and install the bearing metal cap.
Rod bolt tightening torque N m(kgf-m)
Model
Standard (apply lube oil)
3TNV82A 37.2 41.2 (3.8 4.2)
TNV84 88 44.1 49.0 (4.5 5.0)
4TNV94L
・
98
53.9 58.8 (5.5 6.0)
4TNV106(T) 78.5 83.4 (8.0 8.5)
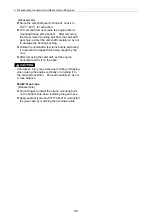
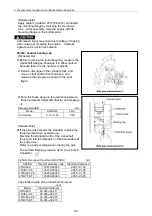
Point3: mounting flange
[Disassemble]
Place the engine on a stable base with the cylinder
block upper surface facing down, and remove the
mounting flange carefully so as not to damage the
combustion surface.
Summary of Contents for 3TNV Series
Page 1: ...4TNV106 4TNV106T 4TNV94L 4TNV98 4TNV98T 3TNV82A 3TNV84 T 4TNV84 T 3TNV88 4TNV88 ...
Page 31: ...1 General 1 4 Engine External Views 16 ...
Page 32: ...1 General 1 5 Structural Description 17 ...
Page 156: ...9 Starting Motor 9 1 2 Components 141 ...
Page 157: ...9 Starting Motor 9 1 3 Troubleshooting 142 ...
Page 172: ...9 Starting Motor 9 2 3 Troubleshooting 157 ...
Page 175: ...9 Starting Motor 2 Removal of magnetic switch Remove the M6 bolts 10mm 2 160 ...
Page 185: ...9 Starting Motor 3 Brush 1 Check wear of the brush and the brush spring force 170 ...
Page 194: ...10 Alternator 179 10 1 6 Troubleshooting ...
Page 195: ...11 Electric Wiring 180 11 ELECTRIC WIRING 11 1 Electric Wiring Diagram ...
Page 213: ......

