4. Disassembly, Inspection and Reassembly of Engines
85
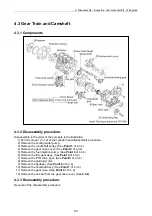
Point3: (Refer to 7.2.5 in chapter 7)
[Disassemble]
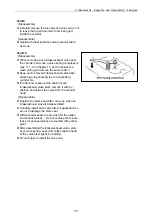
Remove the mounting nut of the fuel injection
pump drive gear, remove the gear using the gear
puller, and remove the fuel injection pump. Do
not forget to remove the stay on the rear side.
When extracting the gear using the gear puller,
use a pad at the shaft and carefully operate so as
not to damage the thread.
[Reassemble]
Tightening torque for fuel pump drive gear nut
(without lube. Oil)
N m(kgf-m)
Model Tightening
torque
TNV82A 88 78 88 (8.0 9.0)
4TNV94L/98/106(T) 113 123 (11.5 12.5)
Point4
[Reassemble]
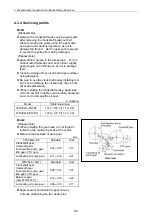
Assemble crankshaft gear A, fuel injection pump
drive gear B and camshaft gear C at the same
time by aligning with idle gear A, B and C marks.
Install the idle gear shaft with the oil hole facing
upward.
Point5
[Reassemble]
Install the PTO drive gear with its inner spline side
facing the flywheel.
Point6
[Disassemble]
Install a bolt as a handle in the hole at the end
face of the flywheel and remove carefully so as
not to damage the ring gear.
[Reassemble]
Flywheel mounting bolt : apply lube oil
N m(kgf-m)
Model Tightening
torque
3TNV82A 88 83.3 88.2 (8.5 9.0)
4TNV94L/98/106(T) 186.2 205.8 (19.0 21.0)
Point7
[Disassemble]
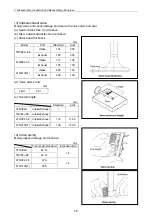
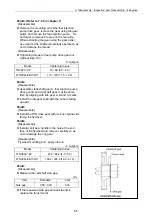
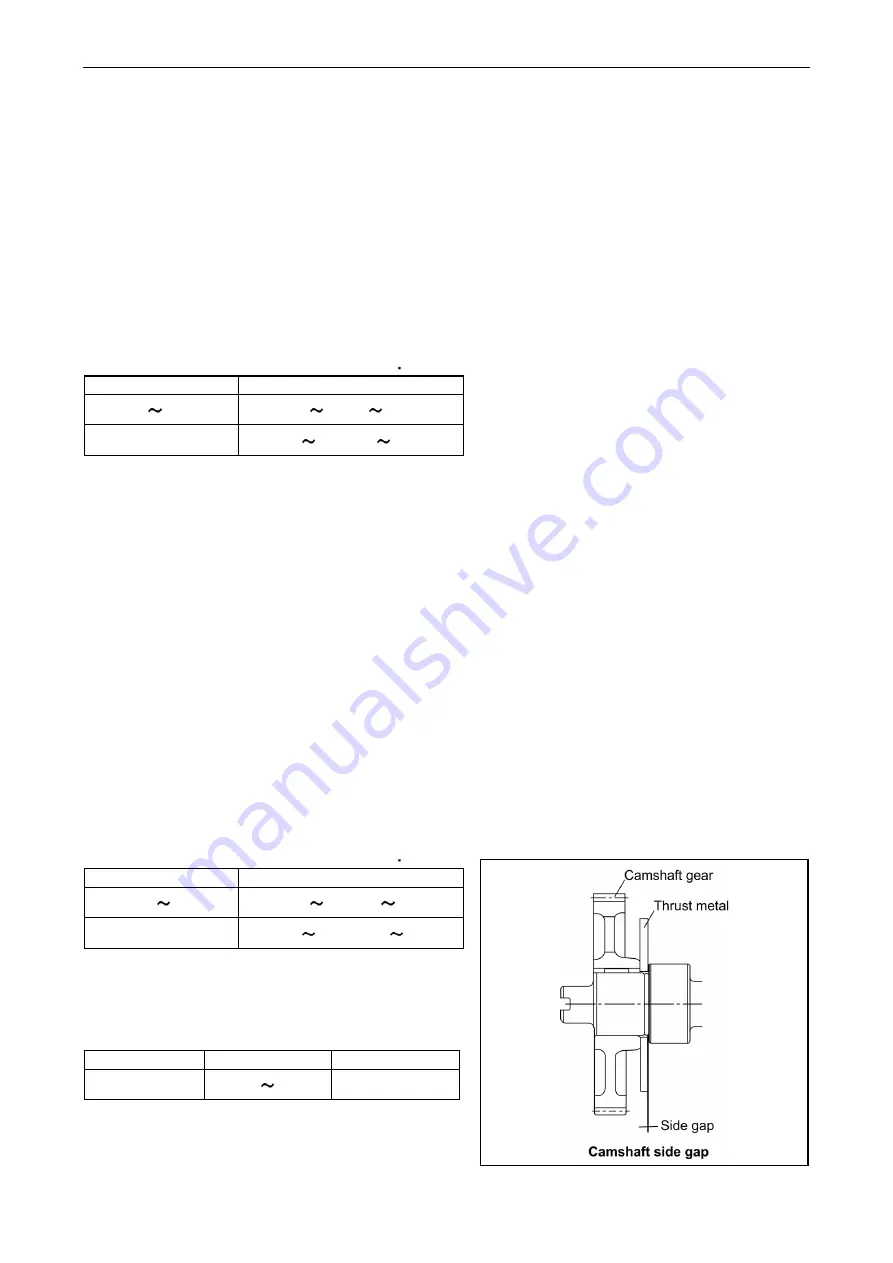
Measure the camshaft side gap.
mm
Item Standard Limit
Side gap
0.05 0.20 0.30
If the measured side gap exceeds the limit,
replace the thrust metal.
Summary of Contents for 3TNV Series
Page 1: ...4TNV106 4TNV106T 4TNV94L 4TNV98 4TNV98T 3TNV82A 3TNV84 T 4TNV84 T 3TNV88 4TNV88 ...
Page 31: ...1 General 1 4 Engine External Views 16 ...
Page 32: ...1 General 1 5 Structural Description 17 ...
Page 156: ...9 Starting Motor 9 1 2 Components 141 ...
Page 157: ...9 Starting Motor 9 1 3 Troubleshooting 142 ...
Page 172: ...9 Starting Motor 9 2 3 Troubleshooting 157 ...
Page 175: ...9 Starting Motor 2 Removal of magnetic switch Remove the M6 bolts 10mm 2 160 ...
Page 185: ...9 Starting Motor 3 Brush 1 Check wear of the brush and the brush spring force 170 ...
Page 194: ...10 Alternator 179 10 1 6 Troubleshooting ...
Page 195: ...11 Electric Wiring 180 11 ELECTRIC WIRING 11 1 Electric Wiring Diagram ...
Page 213: ......

