9. Starting Motor
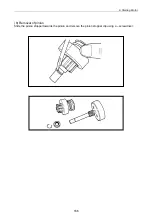
(5) Pinion
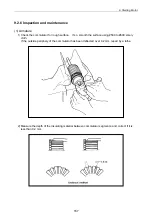
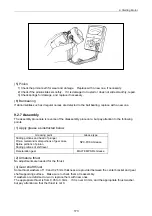
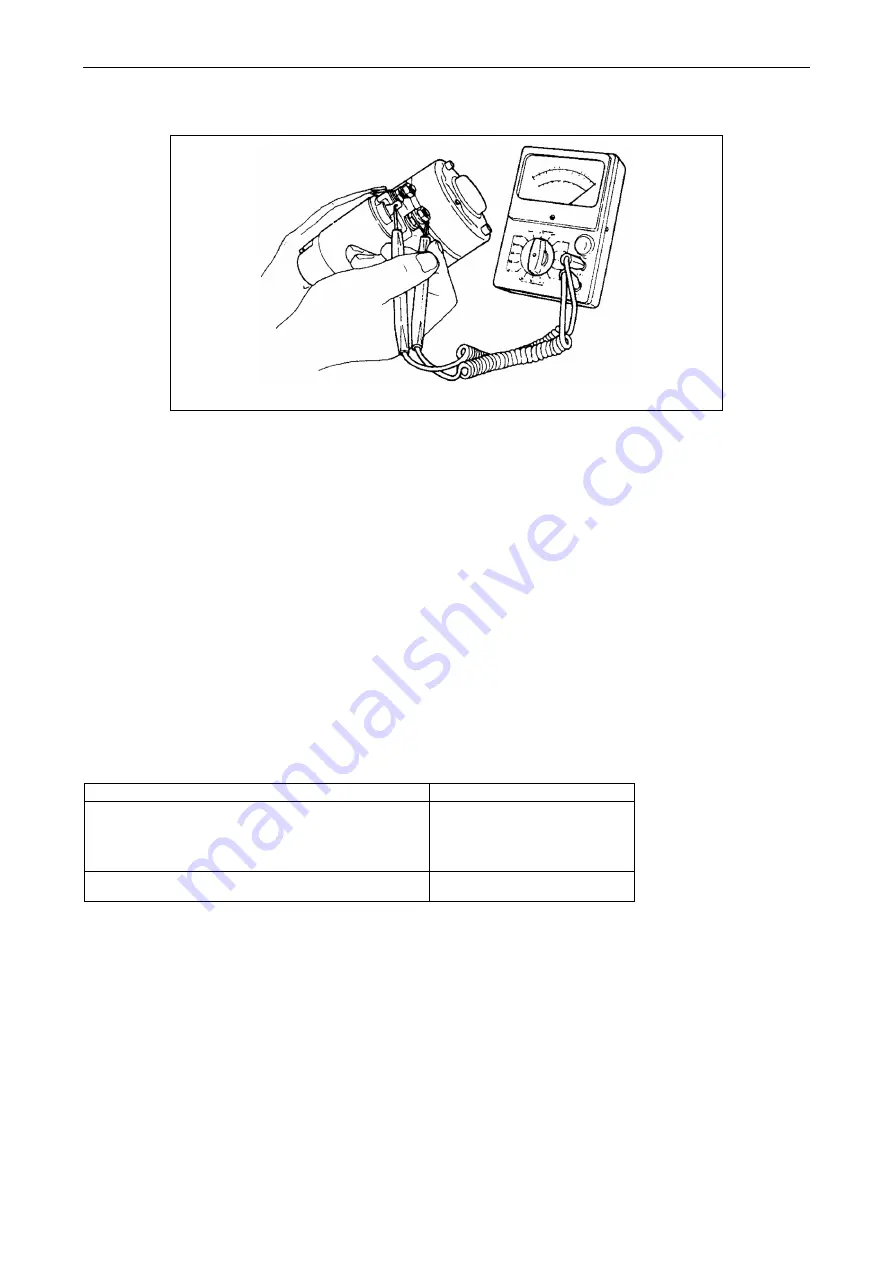
1) Check the pinion teeth for wear and damage. Replace with a new one, if necessary.
2) Check if the pinion slides smoothly. If it is damaged or rusted or does not slide smoothly, repair.
3) Check springs for damage, and replace if necessary.
(6) Ball bearing
If abnormalities such as irregular noises are detected to the ball bearing, replace with a new one.
9.2.7 Assembly
The assembly procedure is reverse of the disassembly procedure, but pay attention to the following
points.
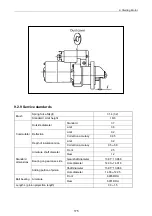
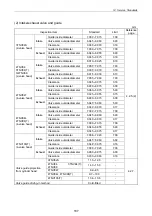
(1) Apply grease as instructed below.
Greasing point
Grease type
Sliding portions and head of plunger
Pinion metal and metal portions of gear case
Spline portions of pinion
Sliding portions of shift lever
NPC-FC6A Grease
Deceleration gear
MALTEMP SRL Grease
(2) Armature thrust
No adjustments are needed for the thrust.
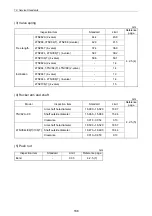
(3) Gear shaft thrust
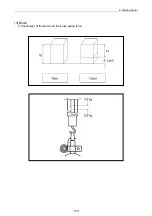
Some thrust washers of 1.0 and 0.25 mm thickness are provided between the center bracket and gear
shaft supporting surface. Make sure to check them at reassembly.
If washers are deformed or worn, replace them with new ones.
The appropriate thrust is from 0.05 to 0.3mm. If it is over 0.3mm, and the appropriate thrust washer,
but pay attention so that the thrust is not 0.
173
Summary of Contents for 3TNV Series
Page 1: ...4TNV106 4TNV106T 4TNV94L 4TNV98 4TNV98T 3TNV82A 3TNV84 T 4TNV84 T 3TNV88 4TNV88 ...
Page 31: ...1 General 1 4 Engine External Views 16 ...
Page 32: ...1 General 1 5 Structural Description 17 ...
Page 156: ...9 Starting Motor 9 1 2 Components 141 ...
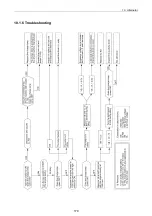
Page 157: ...9 Starting Motor 9 1 3 Troubleshooting 142 ...
Page 172: ...9 Starting Motor 9 2 3 Troubleshooting 157 ...
Page 175: ...9 Starting Motor 2 Removal of magnetic switch Remove the M6 bolts 10mm 2 160 ...
Page 185: ...9 Starting Motor 3 Brush 1 Check wear of the brush and the brush spring force 170 ...
Page 194: ...10 Alternator 179 10 1 6 Troubleshooting ...
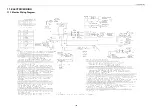
Page 195: ...11 Electric Wiring 180 11 ELECTRIC WIRING 11 1 Electric Wiring Diagram ...
Page 213: ......

