7 - 80
CHAS
HANDLEBAR
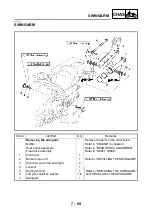
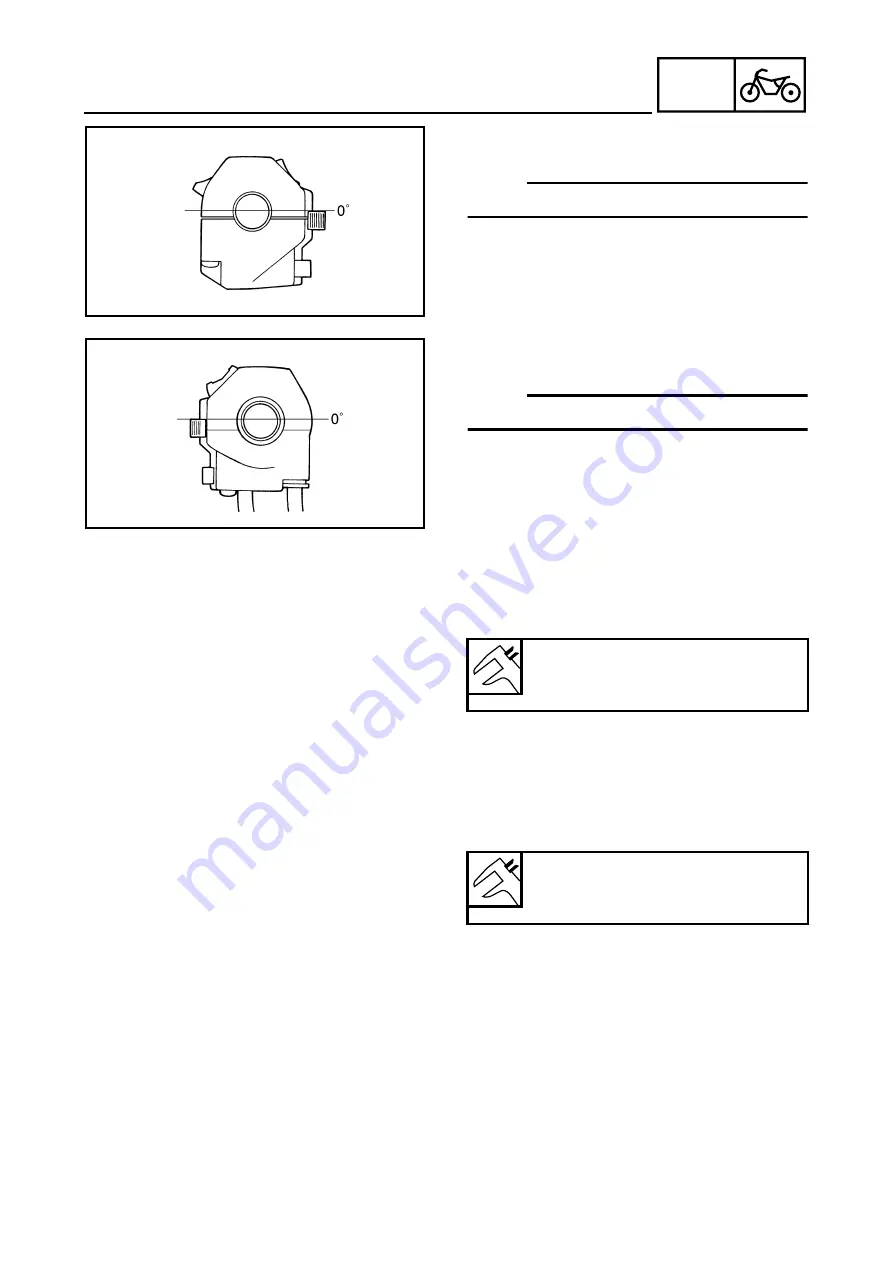
4. Install:
• left handlebar switch
NOTE:
Install the left handlebar switch as shown.
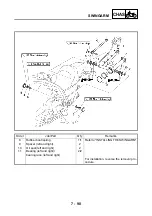
5. Install:
• clutch master cylinder
Refer to “HYDRAULIC CLUTCH”.
6. Install:
• right handlebar switch
NOTE:
Install the right handlebar switch as shown.
7. Install:
• front brake master cylinder
Refer to “FRONT AND REAR BRAKES”.
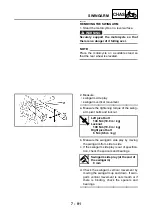
8. Adjust:
• brake lever free play
Refer to “ADJUSTING THE FRONT
BRAKE” in chapter 3.
Brake lever free play (at the end
of the brake lever)
2 ~ 5 mm
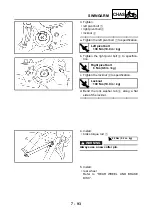
9. Adjust:
• throttle cable free play
Refer to “ADJUSTING THE THROTTLE
CABLE FREE PLAY” in chapter 3.
Throttle cable free play (at the
flange of the throttle grip)
3 ~ 5 mm
Summary of Contents for VMX12 2001
Page 1: ...VMX12 2001 3LRD AE1 SERVICEMANUAL ...
Page 2: ......
Page 8: ......
Page 9: ...GEN INFO 1 ...
Page 11: ...GEN INFO ...
Page 21: ......
Page 22: ...SPEC 2 ...
Page 24: ...SPEC ...
Page 52: ...2 28 SPEC OIL FLOW DIAGRAMS 1 Camshaft 2 Main gallery 3 Crankshaft 4 Oil level switch ...
Page 54: ...2 30 SPEC OIL FLOW DIAGRAMS 1 Crankshaft 2 Oil pipe 3 Oil filter ...
Page 65: ...CHK ADJ 3 ...
Page 125: ......
Page 126: ...ENG 4 ...
Page 130: ...ENG ...
Page 236: ......
Page 237: ...COOL 5 ...
Page 239: ...COOL ...
Page 258: ...CARB 6 ...
Page 260: ...CARB ...
Page 272: ......
Page 273: ...CHAS 7 ...
Page 389: ......
Page 390: ...ELEC 8 ...
Page 396: ...8 4 ELEC SWITCHES ...
Page 417: ...8 25 ELEC STARTER MOTOR 3 Install O rings 1 bolts 2 New T R 5 Nm 0 5 m kg ...
Page 445: ...TRBL SHTG 9 ...


