


ADSL2+ Tester 4 Navigating the Displays
72-0046-03A 51
automatically, the storage displays will no appear when the test is completed. In case
of that, the user can also save the current result in the
“
Storages
”
menu later.
•
View, lock, unlock and delete the stored settings or results.
Press the
“
Storage
”
key to switch to
“
Storages
”
menu, and choose
SETTINGS
,
RESULTS
to enter into the menus. We will describe them respectively below.
4.4.1
“
Settings
”
menu in
“
Storages
”
menu
The instrument can save the settings of the test. The user can directly recall those stored
settings to set up the test. The instrument provides sets of default settings when
manufactured in factory. Thus the user can simplify the setting process. The instrument
contains 10 sets of saved records in all.
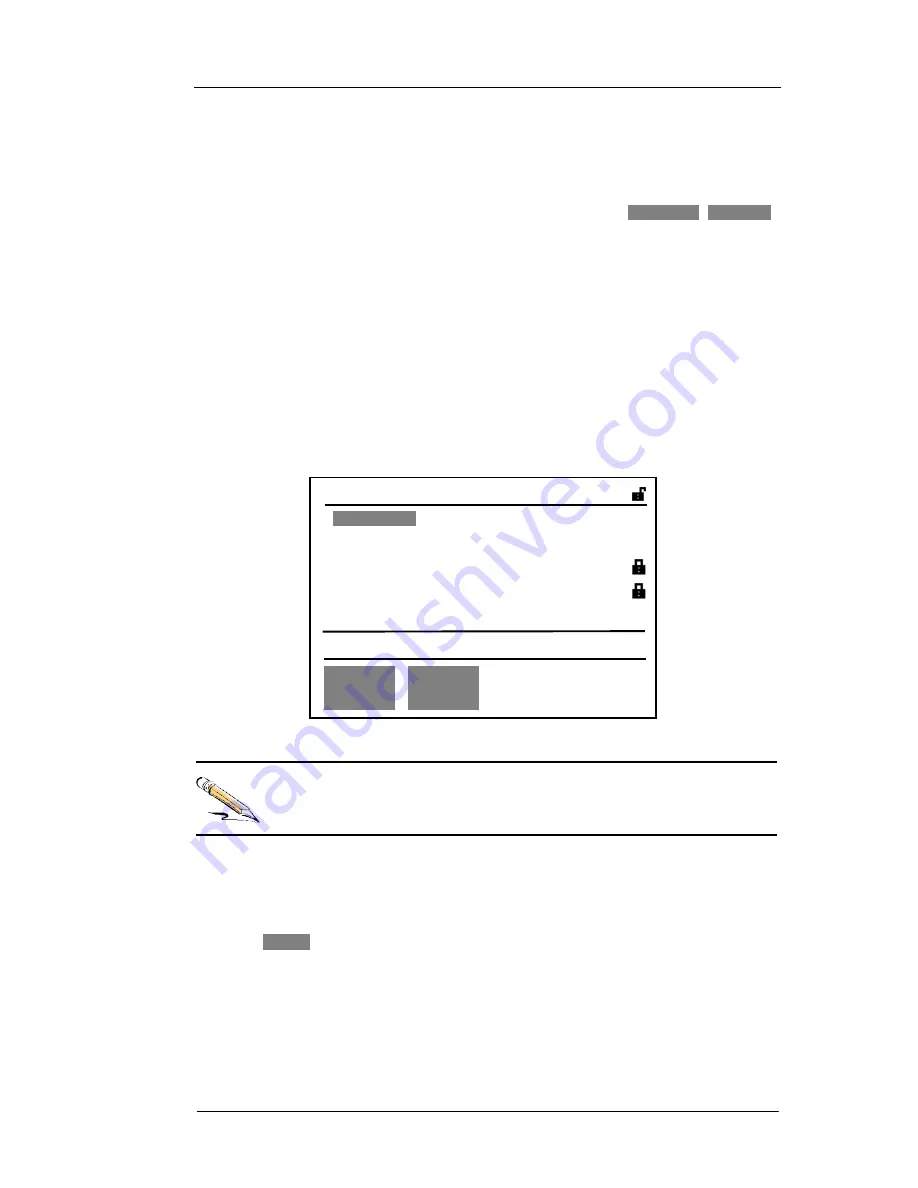
The settings storage menu is as shown in Fig 28. In this menu, the user can store the
current settings of the instrument as well as check, recall, rename and delete stored
setting information.
Fig 28:
“
Settings
”
storage menu
Every stored settings record can be recalled. The user could recall the stored
settings and modify the settings, then save it for the future use.
a.
“
Current
”
Setting
As shown in Fig 28, the current setting appears only in the first page. Press
“
Cursor
Movable Down and Right
”
key to move the cursor to the position of
“
CURRENT
”
.
When
STORE
is chosen, one display will appear. After named the current setting, the
instrument will save the setting as the name with
“
Ï
”
(lock) followed.
b.
Stored Settings
The user can view, recall, lock (or unlock) stored setting records. When in unlock status,
the instrument can rename and delete the stored settings, the relevant description are
as described in Table 23.
S t orages
[
SETT INGS
] P:1/1
[CURRENT ] MODE
:
DMM
<01> [Sett ing1] MODE
:
LINE PAR
<02> [Sett ing2] MODE
:
LINE BER
SETTING
RESULTS
i
08 vacant set t ing st orages


