


66
•
Chapter 5
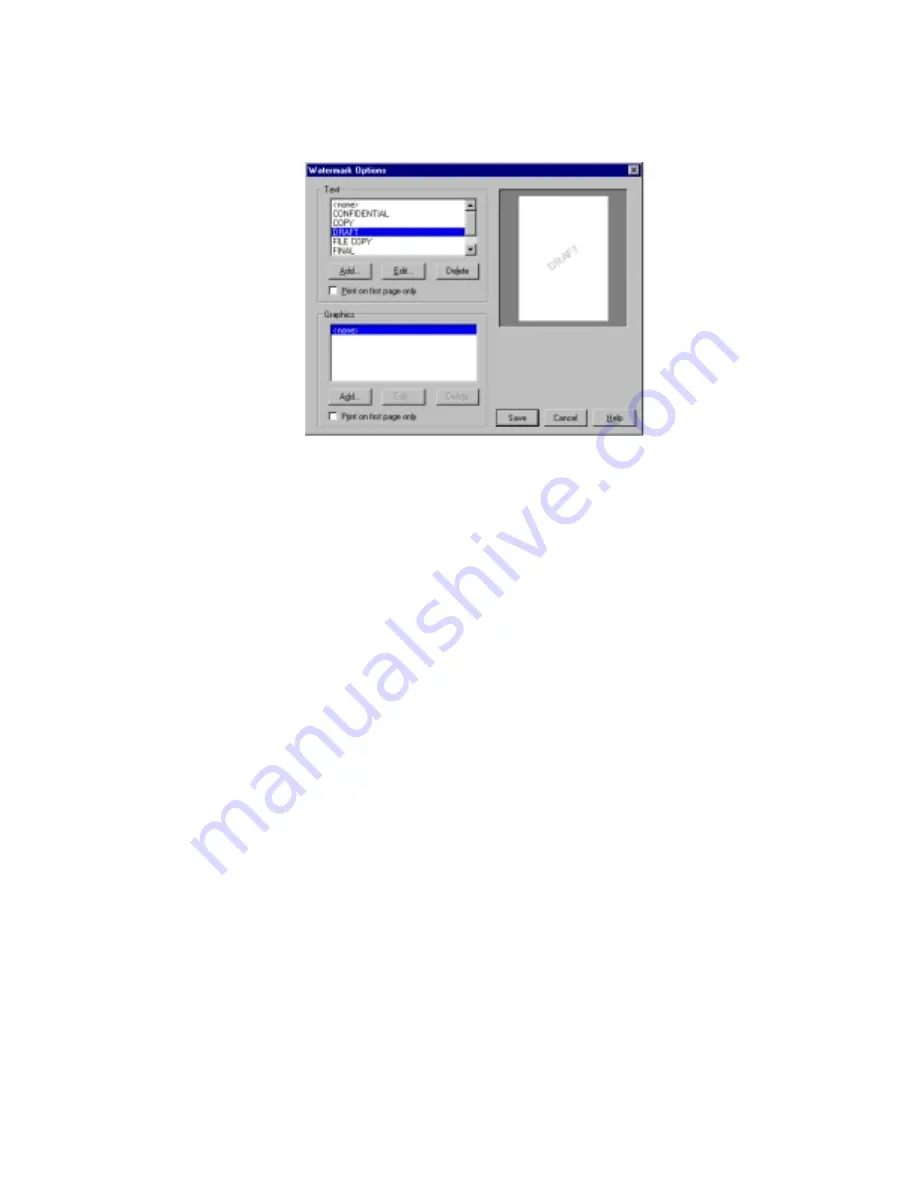
Select a watermark to be used in the printout, either from the
Text
or
Graphics
groups, or one from each. The preview area on the
right will show you how the currently highlighted watermark look
like.
To delete or change the settings of a currently highlighted
watermark, click on the
Delete
or
Edit
button respectively. Click
Add
to add a new watermark to the present list. Both
Add
and
Edit
button will bring forward a corresponding dialog.
☞
☞
☞
☞
5-2-1 Add/Edit Text Watermark dialogs
☞
☞
☞
☞
5-2-2 Add/Edit Graphics Watermark dialogs
Checking
Print on first page only
applies the selected watermark
to the first page of your document only. Otherwise, the selected
watermark will be printed on all pages of your document.
◆
2-Sided Printing button
Click to bring up the
2-Sided Printing
dialog.
☞
☞
☞
☞
5-2-3 2-sided Printing dialog
◆
Layout Options button
Click to bring up the
Layout Options
dialog.
☞
☞
☞
☞
5-2-4 Layout Options dialog
◆
Booklet Printing button
Click to bring up the
Booklet Printing
dialog.
☞
☞
☞
☞
5-2-5 Booklet Printing dialog
Summary of Contents for DocuPrint P12
Page 1: ...DocuPrint P12 User Guide 602E20580 11 97 ...
Page 14: ...Knowing Your Printer 1 ...
Page 23: ...Setting Up 2 ...
Page 42: ...Print Media 3 ...
Page 57: ...46 Chapter 3 7 Gently push the envelope cassette into the printer until it stops ...
Page 63: ...Control Panel 4 ...
Page 73: ...Xerox DocuPrint P12 Printer Driver 5 ...
Page 98: ...Xerox DocuPrint P12 Status Monitor 6 ...
Page 110: ...DOS Utilities 7 ...
Page 122: ...Printer Options 8 ...
Page 132: ...Printer Options 123 7 Slide the side cover off 8 Remove the interface cover ...
Page 142: ...Maintenance 9 ...
Page 155: ...Troubleshooting 10 ...
Page 168: ...Appendices Appendices ...
Page 172: ...Warranty Warranty ...
Page 175: ...169 Index Index Index ...


