


62
Chapter 4– Basic Workflows
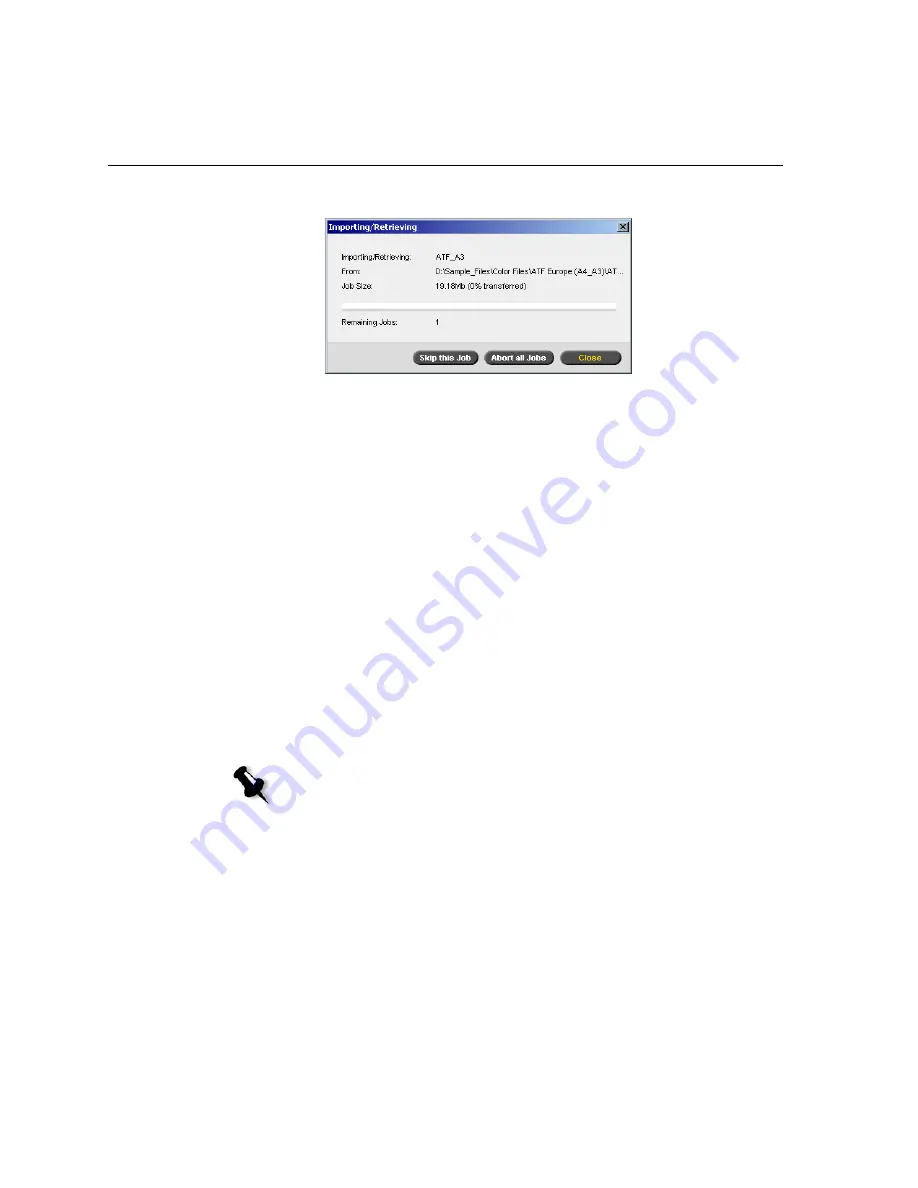
The Importing/Retrieving window appears.
The Importing/Retrieving window indicates the name of the file being
imported, its location and the job size. It also indicates the percentage
of the job already transferred, both numerically and graphically.
2.
Select one of the following options:
•
Click
Skip This Job
to stop importing the current file and import
the next job in the import queue.
•
Click
Abort All Jobs
to stop importing all the files.
•
Click
Close
to close the Importing/Retrieving window.
Reprinting Jobs
Submitting an RTP Job Requiring no Changes
¾
Select the job in the Storage
window
and from the
Job
menu select
Submit
.
The job(s) are placed in the
Print Queue
.
Submitting a Job that Requires Re-RIPing
1.
Double-click the job to open the Job Parameters window.
2.
Change the desired parameter and click
Submit
.
The Spire CX250 color server automatically determines if your job
needs to be re-RIPed and places it in the appropriate queue.
Note:
Use
SHIFT
or
CTRL
to select several jobs.
Summary of Contents for CX240
Page 2: ......
Page 6: ......
Page 20: ...10 Chapter 1 Welcome...
Page 104: ...94 Chapter 5 Printing From Your Computer...
Page 148: ...138 Chapter 7 Color Workflow...
Page 176: ...166 Chapter 8 System Administration 5 Locate the desired folder and click Save JDF Outputs...
Page 184: ...174 Chapter 8 System Administration...


