


Installing and Configuring Novell Client
243
3.
If you do not know the name, click
Browse
.
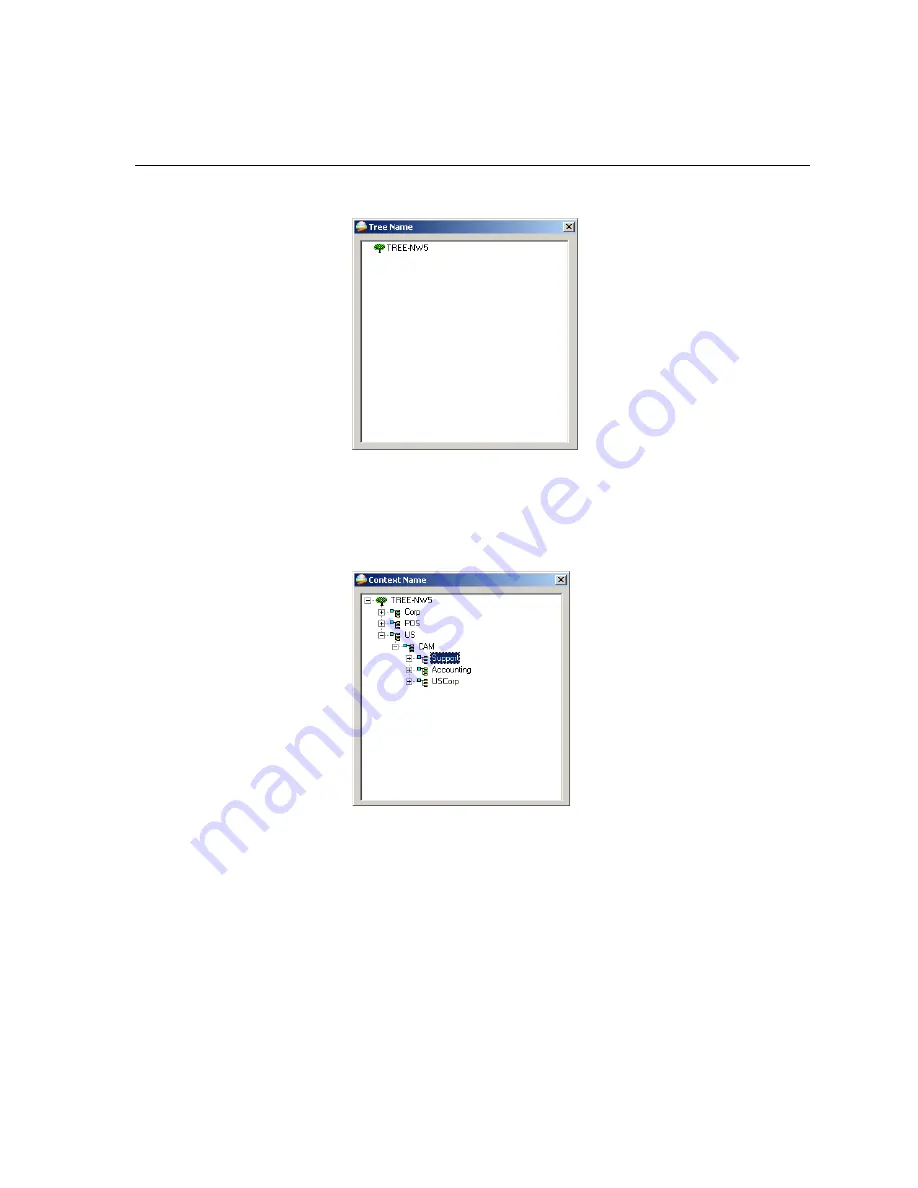
4.
Double-click the appropriate
Tree Name
.
The Tree Name appears in the Novell Setup window.
5.
Type the
Context Name
.
6.
If you do not know the name, click
Browse
.
7.
Double-click the appropriate
Context Name
.
The Context Name appears in the Novell Setup window.
8.
Click
OK
.
The Spire CX250 color server workspace appears.
You have completed
Installing and Configuring Novell Client
.
Summary of Contents for CX240
Page 2: ......
Page 6: ......
Page 20: ...10 Chapter 1 Welcome...
Page 104: ...94 Chapter 5 Printing From Your Computer...
Page 148: ...138 Chapter 7 Color Workflow...
Page 176: ...166 Chapter 8 System Administration 5 Locate the desired folder and click Save JDF Outputs...
Page 184: ...174 Chapter 8 System Administration...


