Scanner Calibration
111
11.
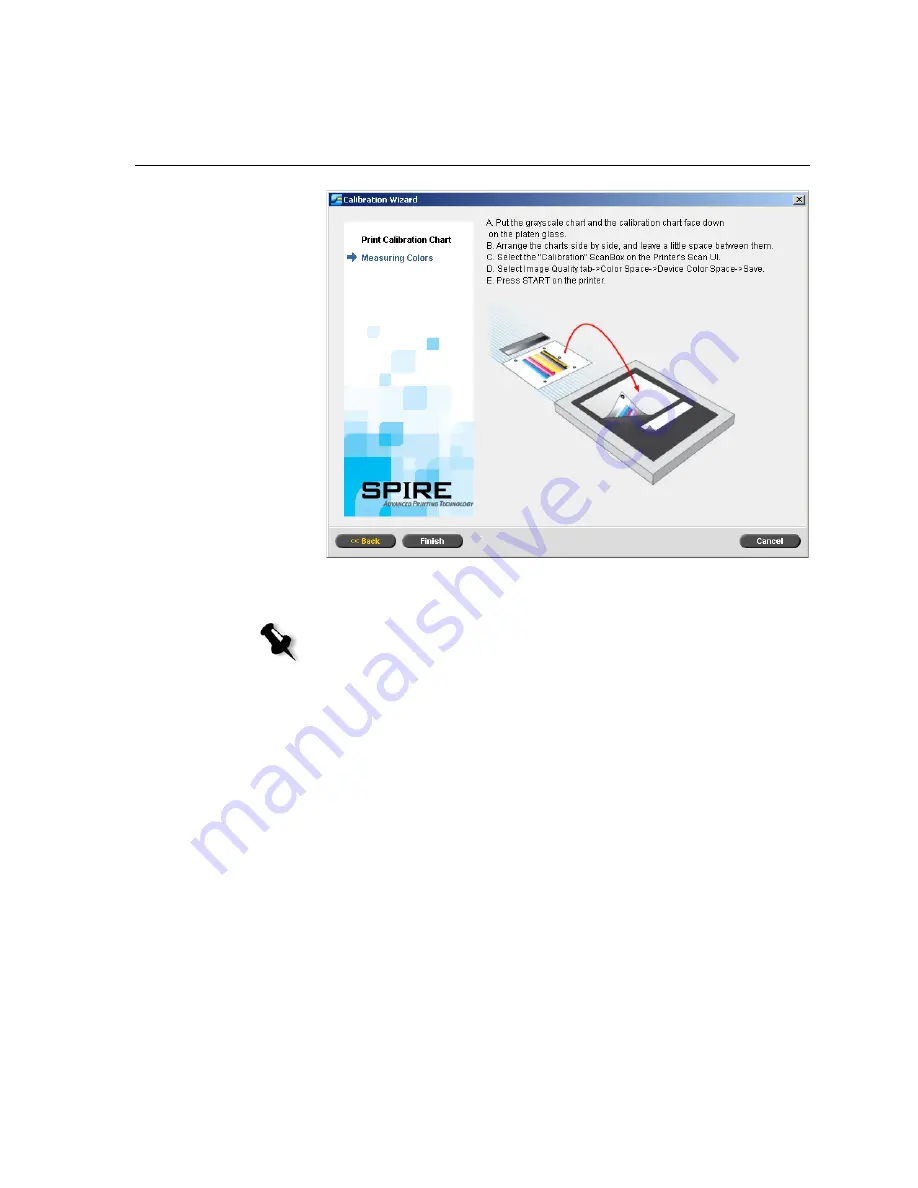
On the platen glass of the printer, place the calibration chart and the
scanner calibration chart next to each other, facing down.
12.
On the Xerox DocuColor 240/250 printer-copier control panel, press
All Services
.
13.
On the control panel's touch screen, touch
Network Scanning
.
14.
On the
Basic Scanning
tab, touch the
001 Calibration
scan box.
15.
Touch the
Image Quality
tab.
16.
Under
Color Space
, touch the
Standard Color Space
button to select
the specific color space of the Xerox DocuColor 240/250 printer-
copier.
17.
Touch the
Device Color Space
button.
18.
Touch
Save
.
Note:
If you place only the calibration chart on the platen glass, the printer
is calibrated. If you place only the scanner chart on the platen glass, the
scanner is calibrated. It is recommended that you calibrate both the printer
and scanner at the same time.
Summary of Contents for CX240
Page 2: ......
Page 6: ......
Page 20: ...10 Chapter 1 Welcome...
Page 104: ...94 Chapter 5 Printing From Your Computer...
Page 148: ...138 Chapter 7 Color Workflow...
Page 176: ...166 Chapter 8 System Administration 5 Locate the desired folder and click Save JDF Outputs...
Page 184: ...174 Chapter 8 System Administration...


