


V E R I C O L O R
®
S P E C T R O
35
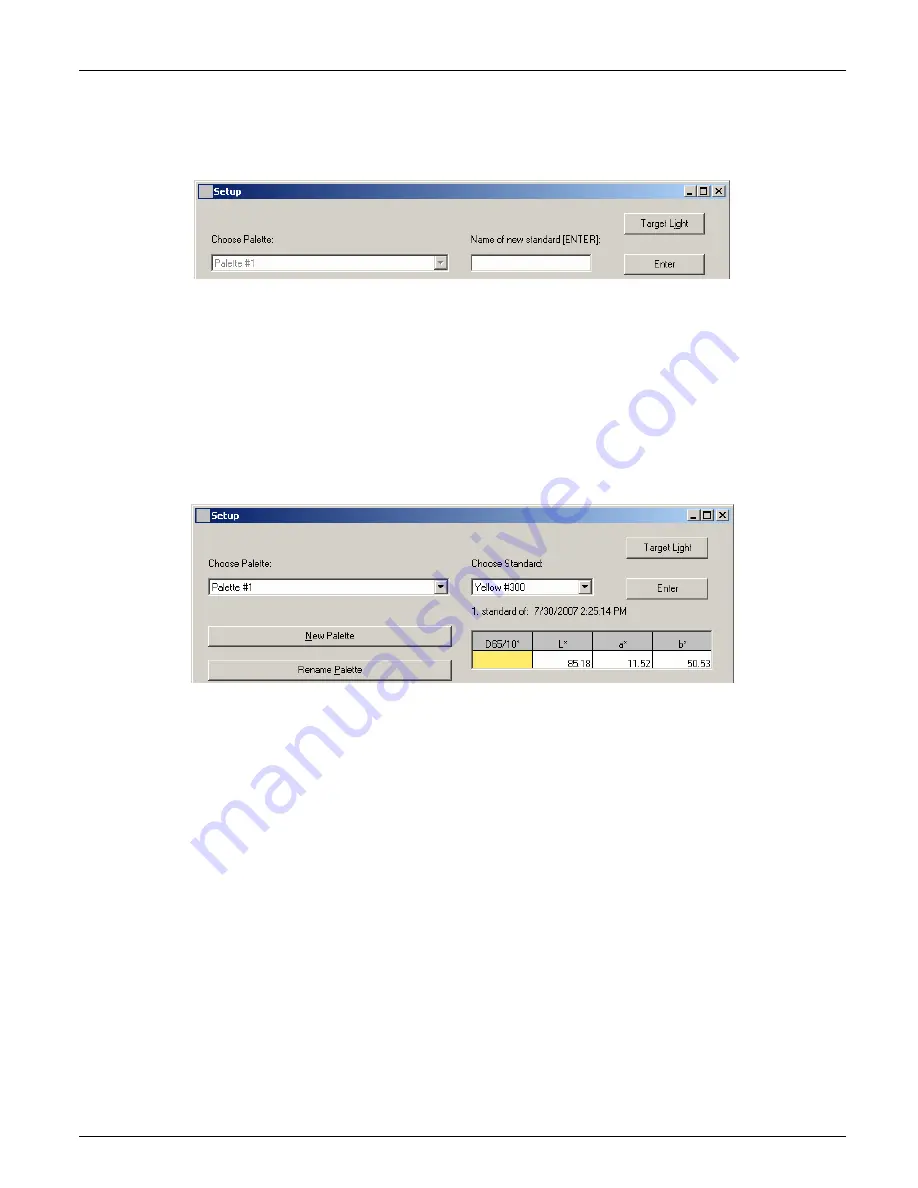
3.
Click the
Add Standard
button. The Choose Standard field changes to
Name of new
standard
. Enter a standard name in the field and click
Enter
or press the Enter key on
the keyboard.
4.
Position the color standard under the VeriColor Spectro as specified earlier, or click
Import CSV
to import the standard data. Refer to Importing a CSV File later in this
section for more detailed information on using this feature.
5.
Perform targeting if required (refer to Targeting a Part earlier in this section) and then
click the
Measure
button on the Setup dialog to take the measurement.
6.
Take additional measurement if averaging is used for the color standard.
7.
Click the
Save
button to save the standard to the database and return to the main Setup
dialog. The color standard number, measurement time stamp, simulated color, and data
values are displayed below the name.
8.
If required, enter specific tolerance values other than the default values for the standard.
Refer to the next page for information on adjusting tolerances.
9.
Continue with additional color standards by clicking the
Add Standard
button.
10.
When you have finished creating color standards, click the
Close
button to return to the
main application screen. Continue on to the Creating Project section.
11.
Refer to the following pages for information on additional Setup dialog controls.
Summary of Contents for VeriColor Spectro
Page 1: ...VeriColor Spectro Non Contact Spectrophotometer Setup and Operator Manual ...
Page 2: ......
Page 25: ...V E R I C O L O R S P E C T R O 25 SAMPLE LOG REPORT ...
Page 65: ......
Page 66: ......
Page 67: ......


