V E R I C O L O R
®
S P E C T R O
30
Performing Verification
1.
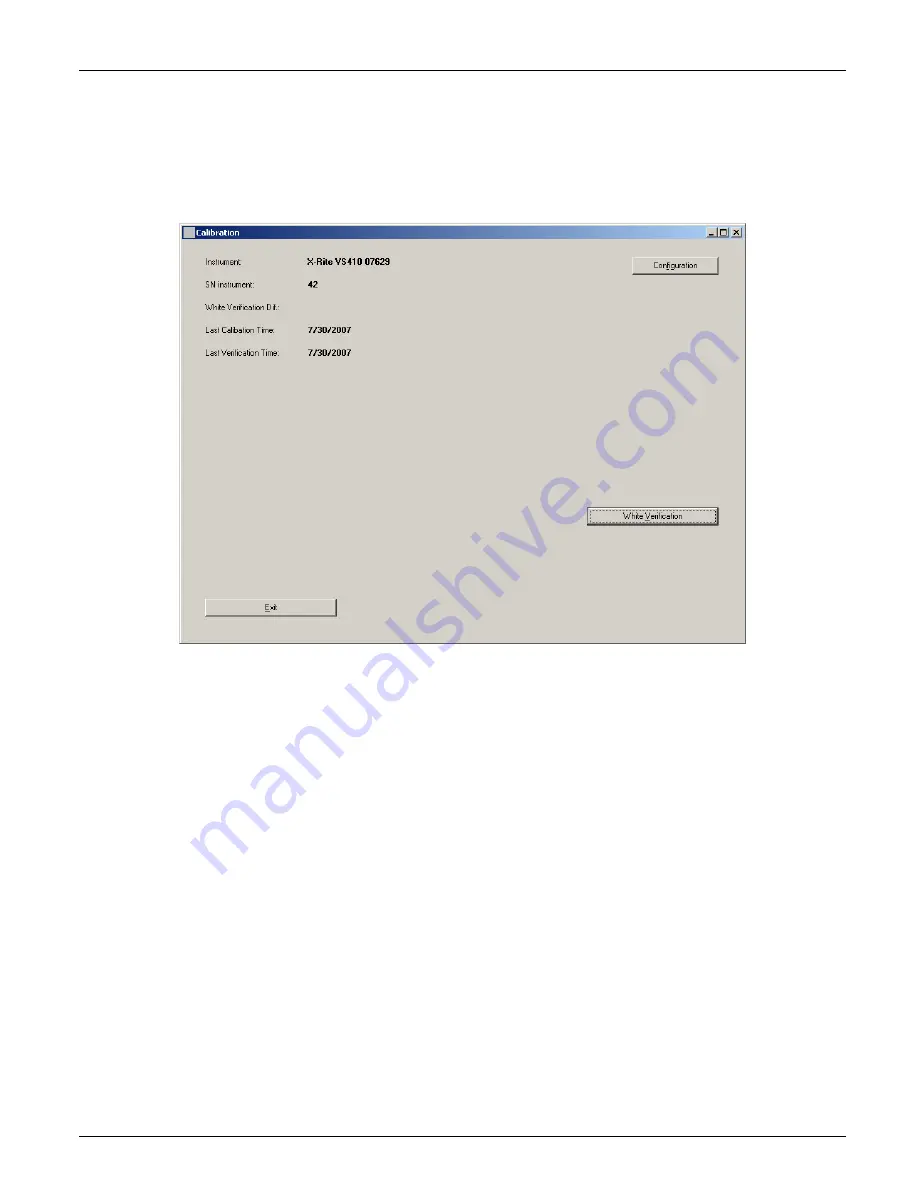
Start the application; if verification is not automatically required, select the
Instrument
menu and then the
Calibrate
item to display the Calibration dialog. The screen lists
information on when the last verification and calibration were performed on the VeriColor
Spectro instrument.
2.
You should perform a white verification if time has expired since your last defined
verification time period. (The white verification time interval is set in the
Admin/General page.) Click
White Verification.
3.
Make sure that the lenses on the VeriColor Spectro are clean (refer to the Cleaning
section later in this document) and then click
OK
on the “Insure lenses are …” screen.
4.
Attach the calibration tool as requested. Refer to Attaching the Calibration Tool as
previously explained. When the tool is properly attached, click the
OK
button on the
“attach calibration tube” screen.
The instrument takes one measurement, updates the White Verification Difference
value and the Last Verification Time stamp date. The value listed is the White
Verification Dif field is the difference between the cal values stored in the instrument
and the measured values.
5.
Click
OK
on the Verification Ok screen.
6.
Click the
Exit
button and remove the calibration tool and place in its storage bag.
NOTE:
If an “Out of white verification tolerance” appears, you will need to perform a
calibration procedure. Refer to the next page.
Summary of Contents for VeriColor Spectro
Page 1: ...VeriColor Spectro Non Contact Spectrophotometer Setup and Operator Manual ...
Page 2: ......
Page 25: ...V E R I C O L O R S P E C T R O 25 SAMPLE LOG REPORT ...
Page 65: ......
Page 66: ......
Page 67: ......


