I N S T R U M E N T F U N C T I O N S
5-29
To perform a dot measure:
1.
If not selected, press the Tab Up key
$
or Tab Down
key
@
to highlight
Solid
. <
Measure Solid
>
appears in the user dialog.
2.
Center the instrument target window over the solid
patch, and lower the instrument to take a reading. The
solid value is updated and the display highlight
advances to
Tint
.
3.
Continue with remaining solid patch measurements
or center the target window over a tint patch that
corresponds to the measured solid.
4.
Lower unit to target window and hold closed. Once
data is displayed, release the unit.
5.
Measurement data first appears as density (with
instrument down) and when released either as dot
area percentage or dot gain percentage difference.
6.
Measure additional tints associated with solid patches
measured.
Viewing Dot Area and Dot Gain Data
There are several different combinations of mode and
method settings that affect the way the measurement data
is displayed.
Dot Area Measurements
If you set your color option to
Auto
(or a single color),
your measurement data appears like this:
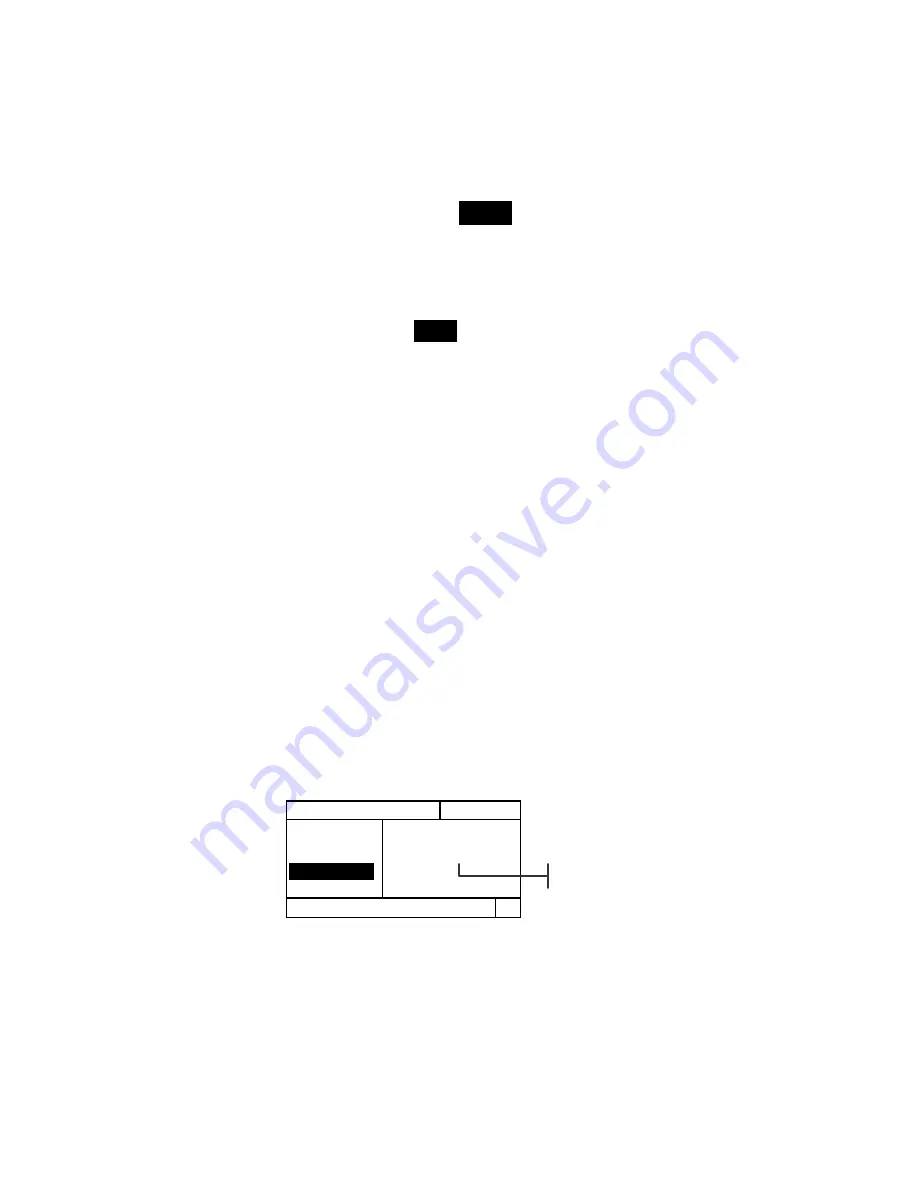
The latest dot area measurement appears for the dominant
color component or the selected color.
D O T A R E A
O p t i o n s
P a p e r
S o l i d
T i n t
D O T A R E A
V 88%
D o t A r e a V a l u e
T
Visual Dot Area Value
Summary of Contents for 500 Series
Page 1: ...500 Series S P E C T R O D E N S I T O M E T E R Operator s Manual ...
Page 2: ......
Page 20: ...C H A P T E R O N E 1 8 ...
Page 54: ...C H A P T E R F O U R 4 24 ...
Page 112: ...C H A P T E R F I V E 5 58 ...
Page 120: ...C H A P T E R S I X 6 8 ...
Page 123: ......


