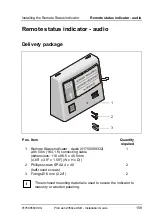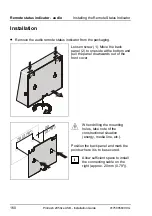
Installing the Remote Status Indicator
Remote status indicator - standard
01750058390 G
ProCash 2050xe USB - Installation Guide
157
1
2
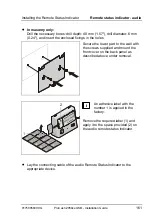
i
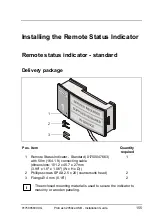
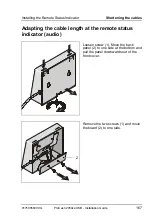
An adhesive label with the
number 1 is applied in the
factory.
Remove the required label (1) and
apply it to the space provided (2) on
the standard remote status indicator.
•
Lay the connecting cable of the standard remote status indicator to the
appropriate device.
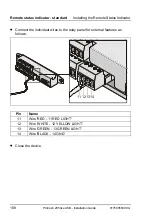
Connection to the relay panel for external
features
•
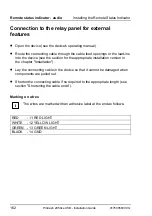
Open the device (see the device's operating manual).
•
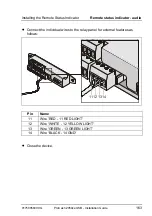
Route the connecting cable through the cable feed openings or the lead-ins
into the device (see the section for the appropriate installation version in
the chapter "Installation").
•
Lay the connecting cable in the device to the relay panel for external
features so that it cannot be damaged when components are pulled out.
•
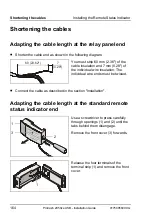
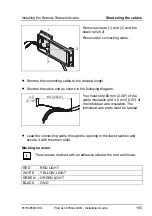
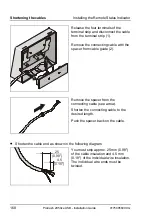
Shorten the connecting cable if so required to the appropriate length (see
section "Shortening the cable ends").
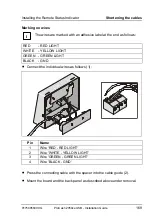
Marking on wires
i
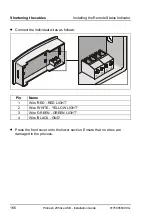
The wires are marked with an adhesive label at the end as follows:
RED
- 11 RED LIGHT
WHITE
- 12 YELLOW LIGHT
GREEN - 13 GREEN LIGHT
BLACK -
14
GND
Summary of Contents for ProCash 2050xe USB
Page 1: ...Installation Guide ProCash 2050xe USB Self Service Systems ...
Page 3: ...Edition June 2010 ProCash 2050xe USB Installation Guide ...
Page 18: ...Introduction 6 ProCash 2050xe USB Installation Guide 01750058390 G ...
Page 166: ...Start up Installation 154 ProCash 2050xe USB Installation Guide 01750058390 G ...
Page 200: ...Environmental protection Appendix 188 ProCash 2050xe USB Installation Guide 01750058390 G ...
Page 201: ...01750058390 G ProCash 2050xe USB Installation Guide Notes ...
Page 202: ...Published by WINCOR NIXDORF International GmbH D 33094 Paderborn Order No 01750058390 G 2 GB ...


