40
Brakes
5.5.3.1
Gripping distance
•
If you do not have any experience in adjusting hydraulic brakes,
have your specialist dealer adjust the gripping distance.
•
Adjust the brake lever in such a way that you can operate
it safely during the journey without taking your hand off the
handlebars.
•
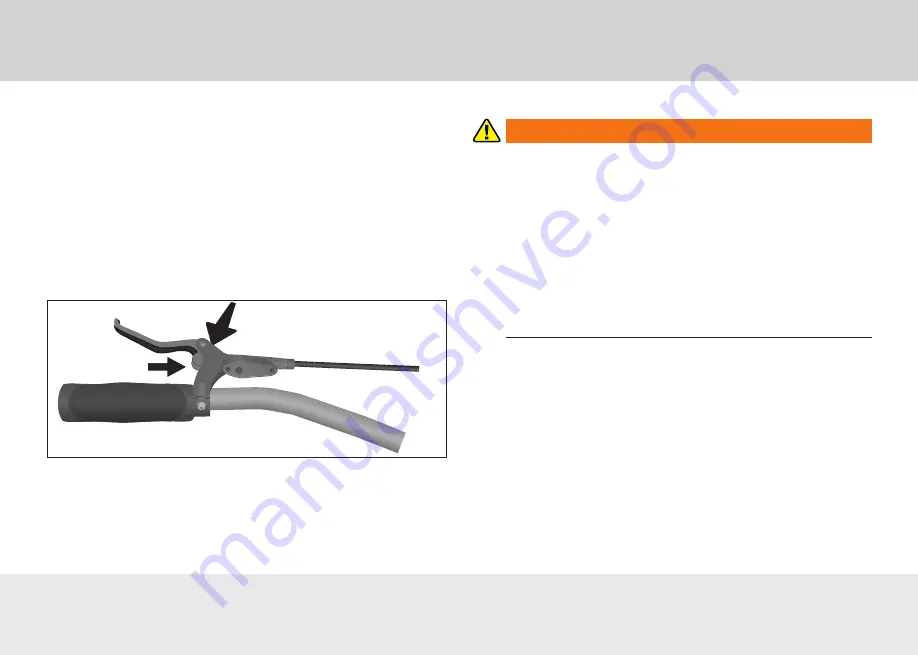
To reduce the clearance between the brake lever and the grip,
turn the adjusting screw for the gripping distance anti-clock-
wise (see Fig.
“Brake lever of the hydraulic brake”
).
•
To reduce the clearance between the brake lever and the grip,
rotate the adjusting screw for the gripping distance anti-clock-
wise.
Fig. Brake lever of the hydraulic brake
Possible positions of the adjustment screw on the brake lever of
a hydraulic brake
5.5.3.2
Replacing the brake pads
WaRninG
Incorrect or improperly installed brake pads can lead to
malfunctions, e.g. brake failure.
Risk of accident and injury!
• Only use original brake pads for hydraulic disc brakes.
• Seek professional advice when purchasing brake pads.
•
If you are unable to replace the brake pads correctly,
you can ask your specialist dealer to replace the brake
pads.
•
Make sure that you follow the brake pad manufacturer’s
operating instructions when replacing the brake pads.
1. Remove the wheel to be able to freely access the brake cal-
liper.
2.
Use a flat tool to push the brake pistons back into the starting
position in the brake calliper. Take care not to damage the
brake pistons or the brake discs when doing so.
3.
Use a pair of pointed pliers to bend the inner end of the
safety splint until straight and pull the safety splint out of
the brake calliper or unscrew the brake pad retaining screw
completely.
4. Pull the old brake pads backwards out of the brake calliper.
5. To ensure optimum functioning, clean the brake pistons of
any dirt or wear debris from the brake pads using a mild
soapy solution and a clean cloth.


