Chapter 3 Web Page Of RDU-A G2 45
RDU-A G2 Intelligent Monitoring Unit User Manual
History Log
Click the
History Log
submenu under the
Data & History
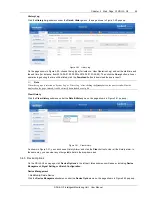
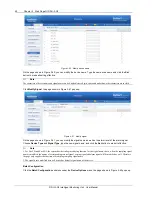
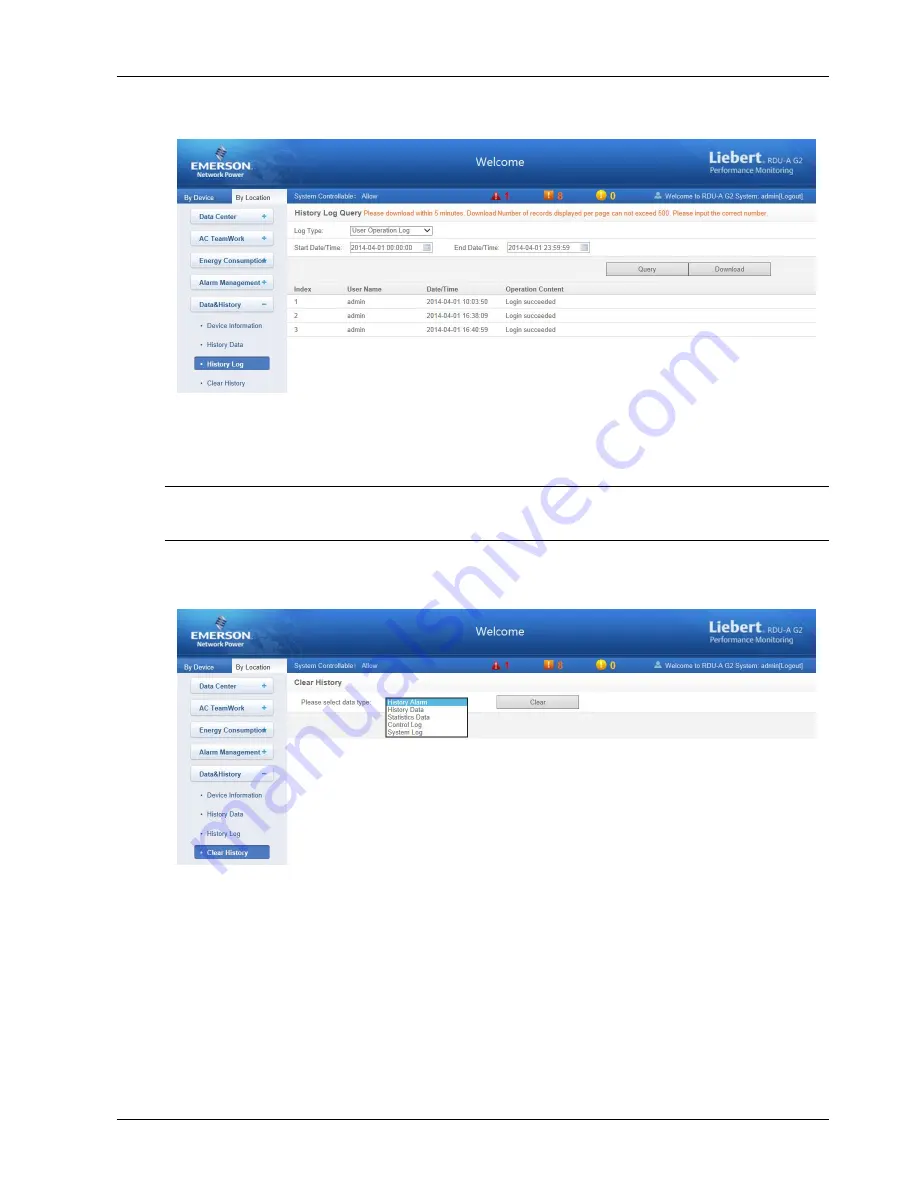
menu, the page shown in Figure 3-50 pops up.
Figure 3-50 History log
On the page shown in Figure 3-50, choose the log type (for instance,
‘User Operation Log’) and set the start time and
the end time (for instance, from 2014-04-01 00:00:00 to 2014-04-01 23:59:59). Then click the
Query
button, all user
operation logs during the time will be listed, click the
Download
button to download the query result.
Note
When the log type is selected as ‘System Log’ or ‘Driver Log’, after clicking the
Query
button, the query result will not be
displayed on the page, instead, it will be directly downloaded as a zip file.
Clear History
Click the
Clear History
submenu under the
Data & History
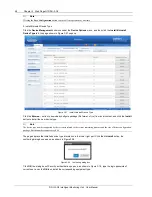
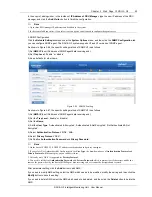
menu, the page shown in Figure 3-51 pops up.
Figure 3-51 Clear history
As shown in Figure 3-51, you can choose
‘History Alarm’ and click the
Clear
button to clear all the history alarm. In
the same way, you can clear any other getable data in the drop-down box.
3.4.6 Device Options
On the RDU-A G2 homepage, click
Device Options
in the left part, three submenus will appear, including
Device
Management
,
Signal Setting
and
Batch Configuration
.
Device Management
1. Add/Modify/Delete Device
Click the
Device Management
submenu under the
Device Options
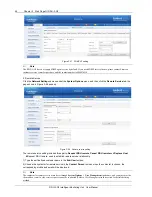
menu, the page shown in Figure 3-52 pops up.


