


Page 69
Lab Sheet details
In
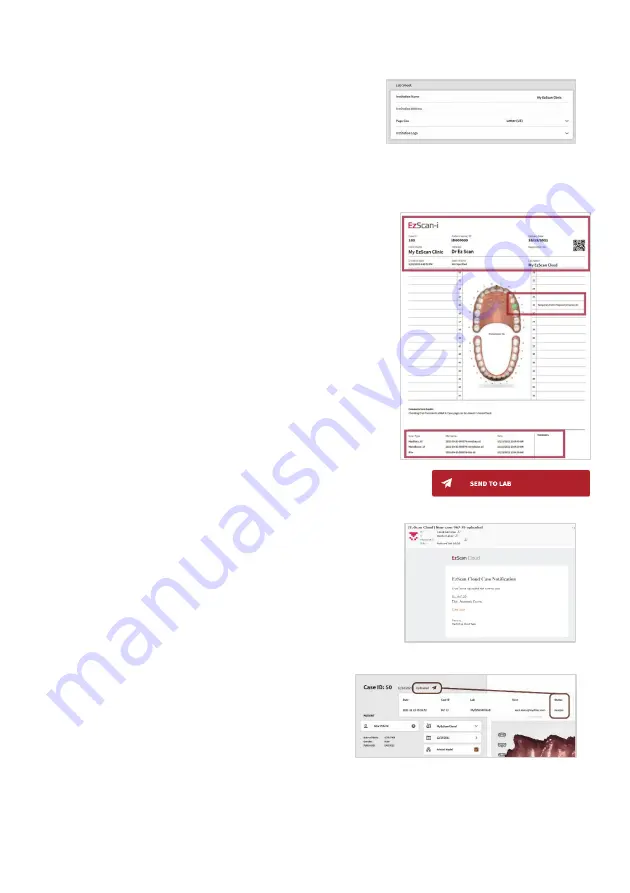
Lab Sheet
settings, you can customize the
prescription to be sent to the lab:
•
Institution Name,
•
Institution Address,
•
Page Size,
•
Institution Logo
STEP 2.
Verify
Case
,
Patient
and
Order
details
on the Lab Sheet.
•
Verify
Restoration
information.
•
Verify attached files and file format.
On page 2 of the
Lab Sheet
:
•
Verify
3D Models
and
2D Photos
.
STEP 3.
Click
Send To Lab.
This uploads the
Case files
and
Order Form
to the
selected lab via the EzScanCloud connection configured for
this lab.
The dental lab will receive an automatic email
notification.
When the lab clicks on the email notification of your
order, relevant Case details are displayed in their
Dental Lab
account in
EzScanCloud
.
Verify Case Status
To verify the status of
cases sent
/
resent
to
labs:
STEP 1.
Click on
the
status icon
in the
Case Review
page for details
See above:


