


Page 49
7.6
Accessing the Scan Workflow
To access the Scan Workflow:
STEP 1.
Click NEXT in the
Case Setup
page, or
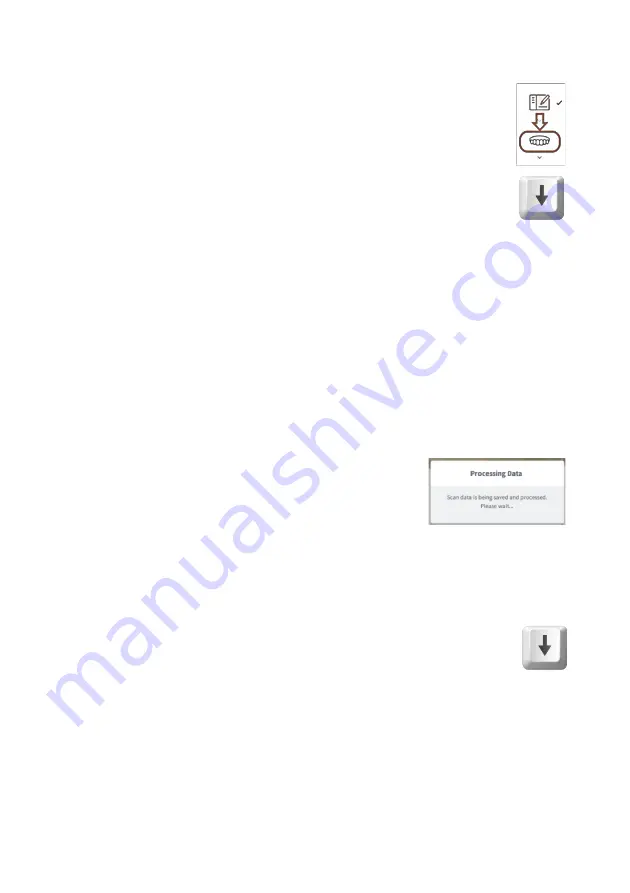
STEP 2.
Select the
Maxillary
arch in the left-hand
Menu
by
clicking on the icon, or by using the
Down
key on your
keyboard.
7.7
Scanning the Maxillary Arch
STEP 3.
Start scanning by pressing the
Start/Stop button
on
the scanner.
STEP 4.
Scan the Maxillary arch following the Scanpath
Strategy described below:
•
Section7.9 - Recommended Scanpath Strategy
STEP 5.
Stop scanning by pressing the
Start/Stop button
on the
scanner.
The EzScan-i software will process the Maxillary scan data
before moving on to the next phase of the Scan Workflow.
7.8
Scanning the Mandibular Arch
If you have selected
Antagonist Scan
in the
Case Setup
page, you will be
invited to select the Mandibular arch:
STEP 6.
Click
NEXT
, or select the
Mandibular
arch in the left-
hand
Scan Workflow Menu
by clicking on the icon or
by using the
Down
key on your keyboard.
STEP 7.
Repeat the same scanning strategy as described above
for the Maxillary arch…
During the scan workflow, you can use the
Scan Tools
available in the
right-hand menu to edit scans. See below:
•
section 7.13- Using Scan Tools


