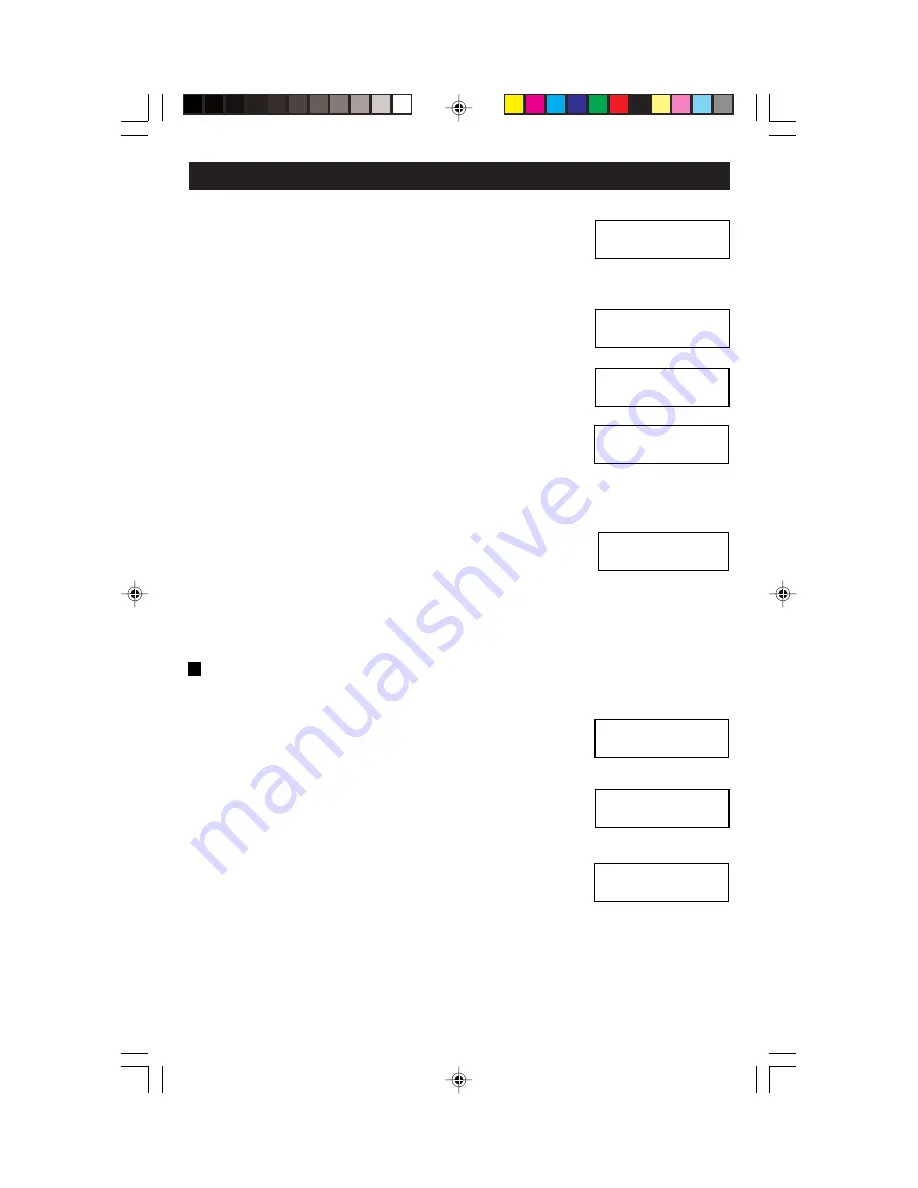
2.
Press the
Up or Down
button to select the Program
Scene screen.
3.
Press the
Select/Next
button to access the Program
Scene screen.
4.
Press the
Up or Down
button to select the desired
Scene (1-32). Press the
Select/Next
button to save
entry and proceed.
5.
Press the
Up or Down
and
Left or Right
buttons to
Edit Scene Name (i.e., Hallway Lights). Press the
Select/Next
button to save entry and proceed.
6.
Press the
Up or Down
button to set the desired fade
time (default, 0:00 seconds to 2h00m). Press the
Select/Next
button to save entry and proceed.
NOTE:
If you are programming the current scene, the appropriate scene
button will blink.
7.
Adjust the levels for each zone and press the
Select/Next
button twice or press the blinking button,
if applicable, to store the scene.
8.
Repeat procedure to program additional scenes.
9.
SCENE WIZARD programming is now Finished.
Set Scene Bank –
Used to setup a total of up to 32 scenes and which
SCENE buttons will control what scenes (01-08, 09-16...25-32). Proceed as
follows:
1.
Press the
Wizards
button and then the
Up or Down
button (if necessary) to select the SCENE WIZARD.
Press the
Select/Next
button to access the SCENE
WIZARD.
2.
Press the
Up or Down
button to select the Set
Scene Bank screen.
3.
Press the
Select/Next
button to access the Set
Scene Bank screen.
4.
Press the
Up or Down
button to select the desired
Scene Bank (01-08...25-32). Press the
Select/Next
button to save entry and proceed.
5.
Press the
Select/Next
button once to return to the SCENE WIZARD
screen or press the
Select/Next
button and then the
Wizards
button to
return to the Main Screen.
PROGRAMMING AND OPERATION
23
Use , v or SEL
> Program Scene
V
Select scene: 01
SCENE 01
Edit Scene Name:
SCENE 01
SCENE 01
Set Fade: <DEF>
B
Use , v or SEL
<SCENE WIZARD>
V
Use , v or SEL
>Set Scene Bank
V
SCENE BANK
<01-08>
Adjust Devices,
SEL to Pgm Scene
DI-000-D3206-00B
11/6/03, 11:00 AM
25


