MAINTENANCE MANUAL
58
STE 85357
2.5.5
Check Timing Belt Adjustment
Perform inspection and adjustment of each timing belt semi-annually (every six (6)
months).
1)
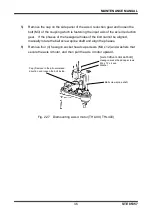
Remove the arm 2 cover. (See “Para. 2.4.1, Arm 2 Cover.”)
2)
If the belt is worn out, replace it. (See
“Para. 3.6.3, Replacing Axis 3 Timing
Belt.”) If scratches are found on the belt, please replace it or contact our Service
Department.
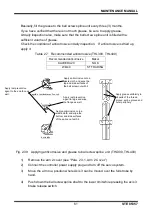
If the belt is loosened heavily, adjust its tension, referring the values of tension in
Para. 2.5.3, Replacing Axis 3 Timing Belt and 2.5.4, Replacing Axis 4 Timing
Belt.
Note that the value of tension at replacement of timing belt (i.e., when mounting
a new timing belt) is the same as the value of tension at adjustment. If the
tension is appropriate, mount the arm 2 cover. Now the inspection is complete.
3)
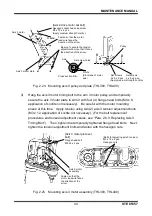
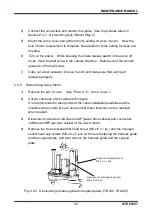
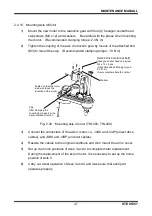
When adjustment of the tension is required, loosen the four (4) flange head bolts
(M4 x 8) securing the axis 3 and axis 4 motor plates, respectively. Measure the
tension on the tension meter while adjusting the tension adjustment bolt (axis 3:
M3 x 12 x 2 bolts, axis 4: M3 x 12 x 2 bolts and hexagonal nut).
4)
When the tension has fallen under the appropriate range, tighten the flange
head bolts.
5)
Tighten the tension adjustment bolts further and fasten with the hexagon nuts.
If the bolt is not tightened any further, the bolt can come out while the robot is in
operation.
6)
Mount the arm 2 cover. Now the adjustment completes.

