4-22
CHAPTER 4 MECHANICAL CONSTRUCTION
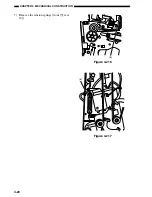
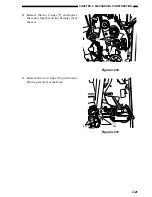
10) Remove the two bearings [12].
11) Open the saddle stitcher delivery tray as-
sembly [13].
12) Remove the two screws [14], and remove
the two alignment plates [15].
13) Slide the paper folding roller [16] to the
front, and pull it out in the delivery direc-
tion.
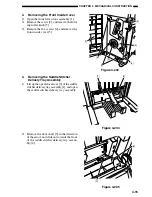
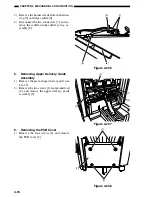
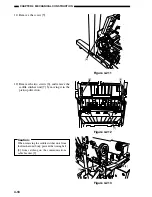
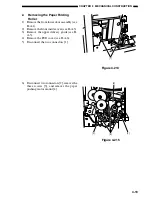
Figure 4-220
Figure 4-221
3.
Installing the Paper Folding Roller
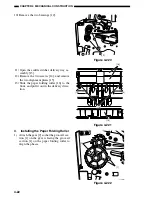
1) Attach the gear [2] so that the grooved sec-
tion [1] on the gear is facing the grooved
section [1] on the paper folding roller to
align the phases.
Figure 4-222
[12]
[ 13]
[ 15]
[ 14]
[ 14]
[ 16]
[2]
[1]
Summary of Contents for MJ-1027
Page 1: ...SERVICE MANUAL FINISHER MJ 1027 1028 File No SME040041A0 R04102169300 TTEC Ver01_2007 09 ...
Page 5: ...ii ...
Page 9: ...vi ...
Page 70: ...2 41 CHAPTER 2 FINISHER UNIT BASIC OPERATION Height sensor PS1 Paper Figure 2 240 ...
Page 101: ...3 15 CHAPTER 3 SADDLE STITCHER UNIT BASIC OPERATION Figure 3 301 ...
Page 104: ...3 18 CHAPTER 3 SADDLE STITCHER UNIT BASIC OPERATION 2 A3 LD Paper Path 3 sheets Figure 3 303 ...
Page 116: ...3 30 CHAPTER 3 SADDLE STITCHER UNIT BASIC OPERATION Cam Mount Figure 3 404 ...
Page 173: ...6 CHAPTER 6 TROUBLESHOOTING II ARRANGEMENT OF ELECTRICAL PARTS A Finisher Unit ...
Page 235: ...2 17 2 HIGASHIGOTANDA SHINAGAWA KU TOKYO 141 8664 JAPAN ...


