

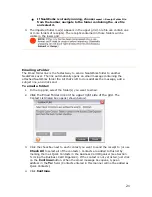
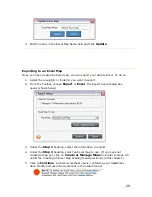

4.
Use the
Save In
dropdown list to navigate to the folder in which you want to
save the exported file.
5.
In the
File Name
dialog box, type a new file name, or accept the default
name suggested.
6.
Leave
Receipt or Document Folder Files (*.nrx or *.nrf)
or
Zip
Files (*.zip)
as the file type in the
Save as type
dropdown list and click on
Save
.
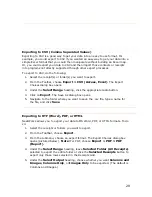
Exporting to Excel
Before exporting to Excel, you must first create a plan that describes how your
NeatWorks data will flow into the Excel program. This plan is called a map. Mapping
is the process of associating one set of values or format (in this case, NeatWorks
data) to a different set of values or format, such as Excel. Once a map is created,
you can use it whenever you like. You can create as many maps as you need to
accommodate your data.
To learn more, see the following topics:
•
Creating an Excel Map
•
Updating an Excel Map Name
•
Exporting to an Excel Map
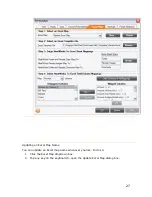
Creating an Excel Map
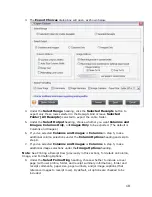
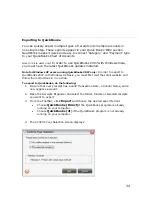
To create an Excel map, do the following:
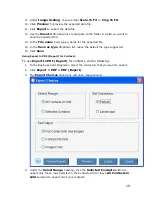
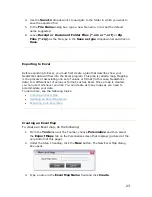
1.
From the
Tools
menu or the Toolbar, choose
Personalize
and then select
the
Export Maps
tab on the Personalize screen that displays (pictured at the
very bottom of this page).
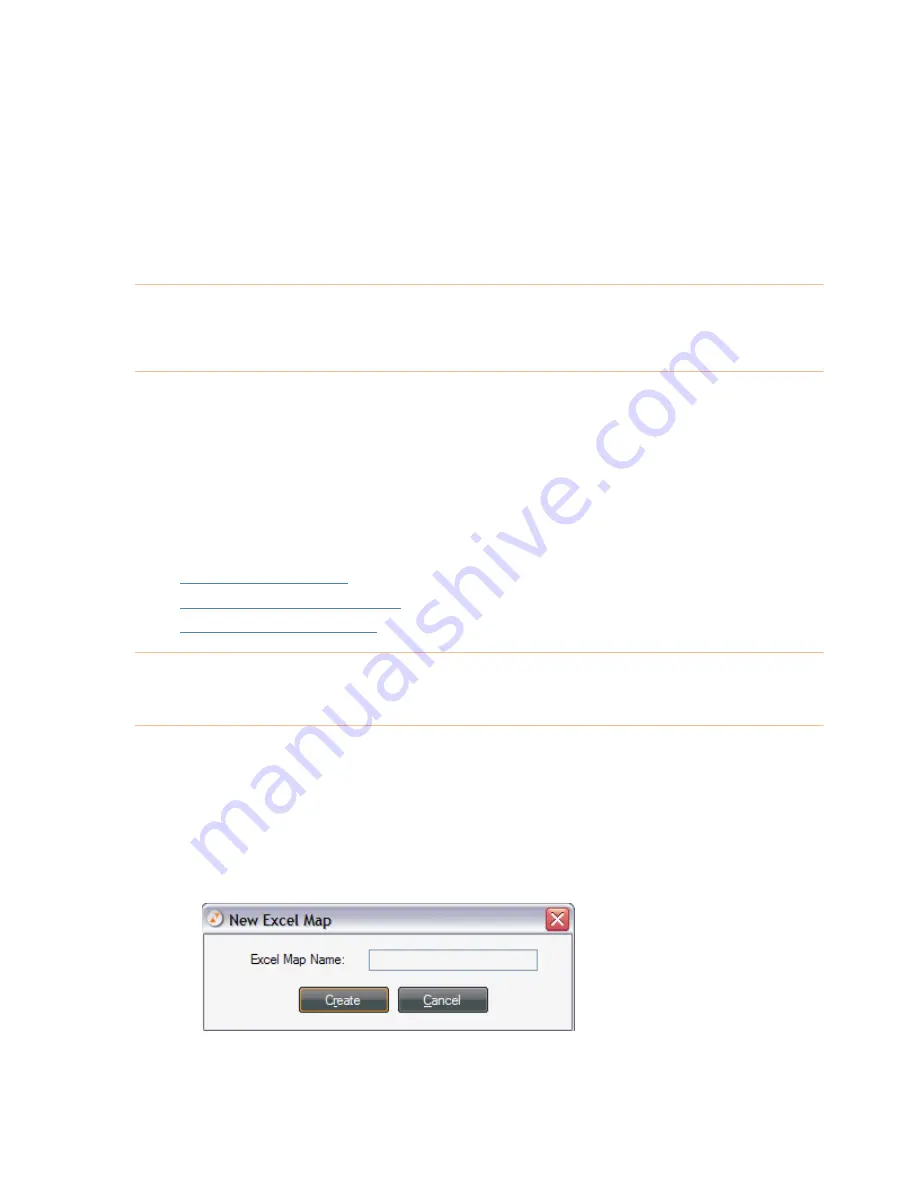
2.
Under the Step 1 heading, click the
New
button. The New Excel Map dialog
box opens.
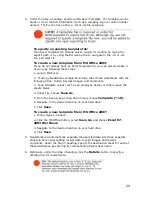
3.
Type a name in the
Excel Map Name
field and click
Create
.
23