DE3 User Manual
68
Make sure Quartus II and NIOS II are installed.
Power on the DE3 board.
Connect USB Blaster to DE3 board and install driver for USB Blaster if necessary.
Execute the demo batch file “de3_usb_device.bat” under the batch file folder,
DE3_USB\demo_batch\usb_device.
Users may remove the USB Blaster once the FPAG configuration is completed.
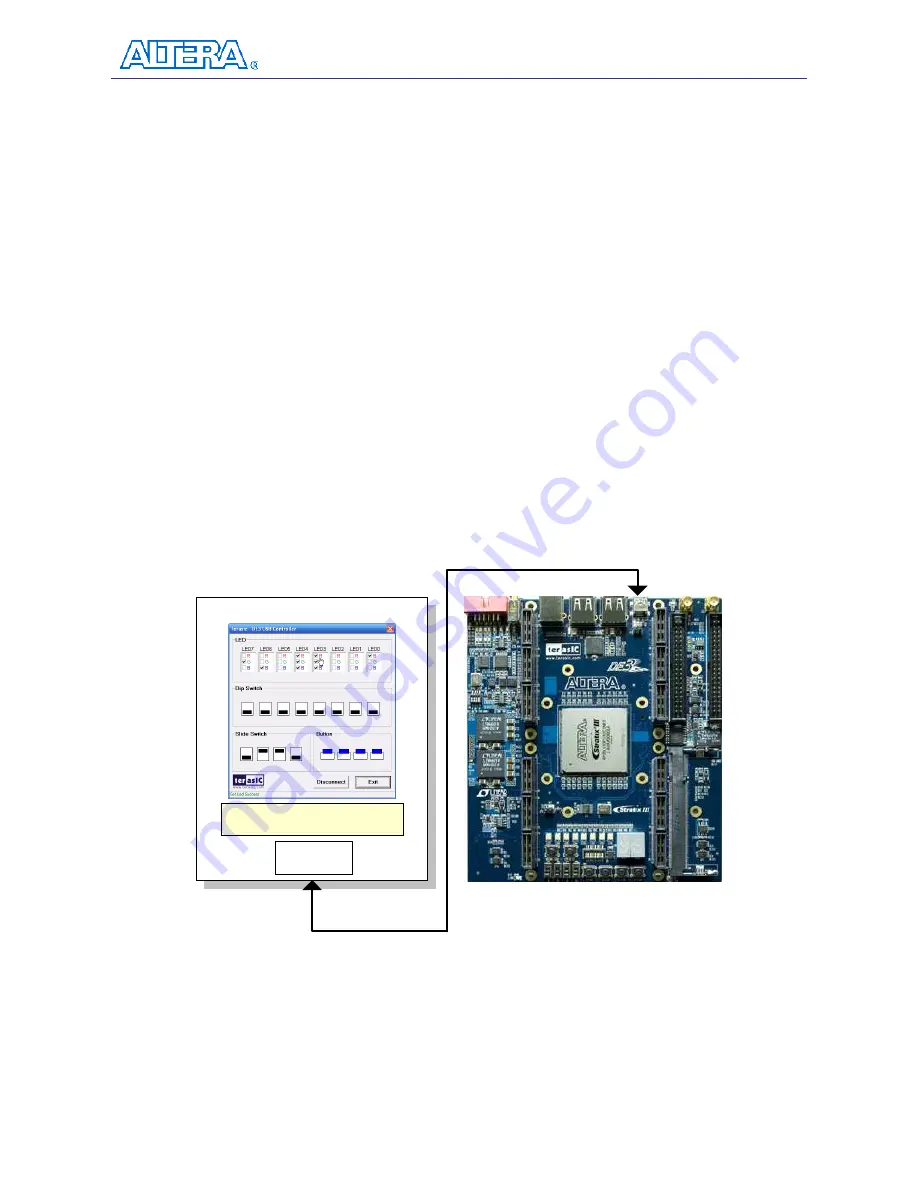
Connect USB cable from a host computer to the mini-AB port in DE3, as shown in
Figure
5.10.
For the first time the USB port of the host computer is connected to the min-AB port of the
DE3 board, a dialog will pop up to request a USB driver to be installed. The required
driver is available in the demo batch folder, DE3_USB\demo_batch\usb_device.
Launch DE3_UsbControl.exe under the batch file folder,
DE3_USB\demo_batch\usb_device.
Click “Connect” in DE3_UsbControl window.
After connection established, the button status in DE3 will be updated to the program
interface, and users can start to configure the LED status now.
PC Windows
USB Port
Terasic USB Driver
(terasic_usb.sys, terasic_usb.inf)
USB Cable
Figure 5.10. Connect USB ports for the USB-Device Demonstration.
5.3
SD Card
Many applications use a large external storage device, such as a SD card or CF card, to store data.
The DE3 board provides the hardware and software needed for SD card access. In this
Summary of Contents for Altera DE3
Page 1: ...Altera DE3 Board ...
Page 67: ...DE3 User Manual 64 Figure 5 5 Plug USB Devices into DE3 Figure 5 6 Display Device Information ...
Page 75: ...DE3 User Manual 72 Figure 5 14 Display SD Card Information for the SD Card Demonstration ...
Page 79: ...DE3 User Manual 76 Figure 5 19 Parameter Settings in DDR2 Controller ...
Page 114: ...DE3 User Manual 111 Figure D 5 The reported message of the invalid I O pins ...


