Part VIII–Data Entry, System & File Management
TASCAM SX-1
Reference Manual
171
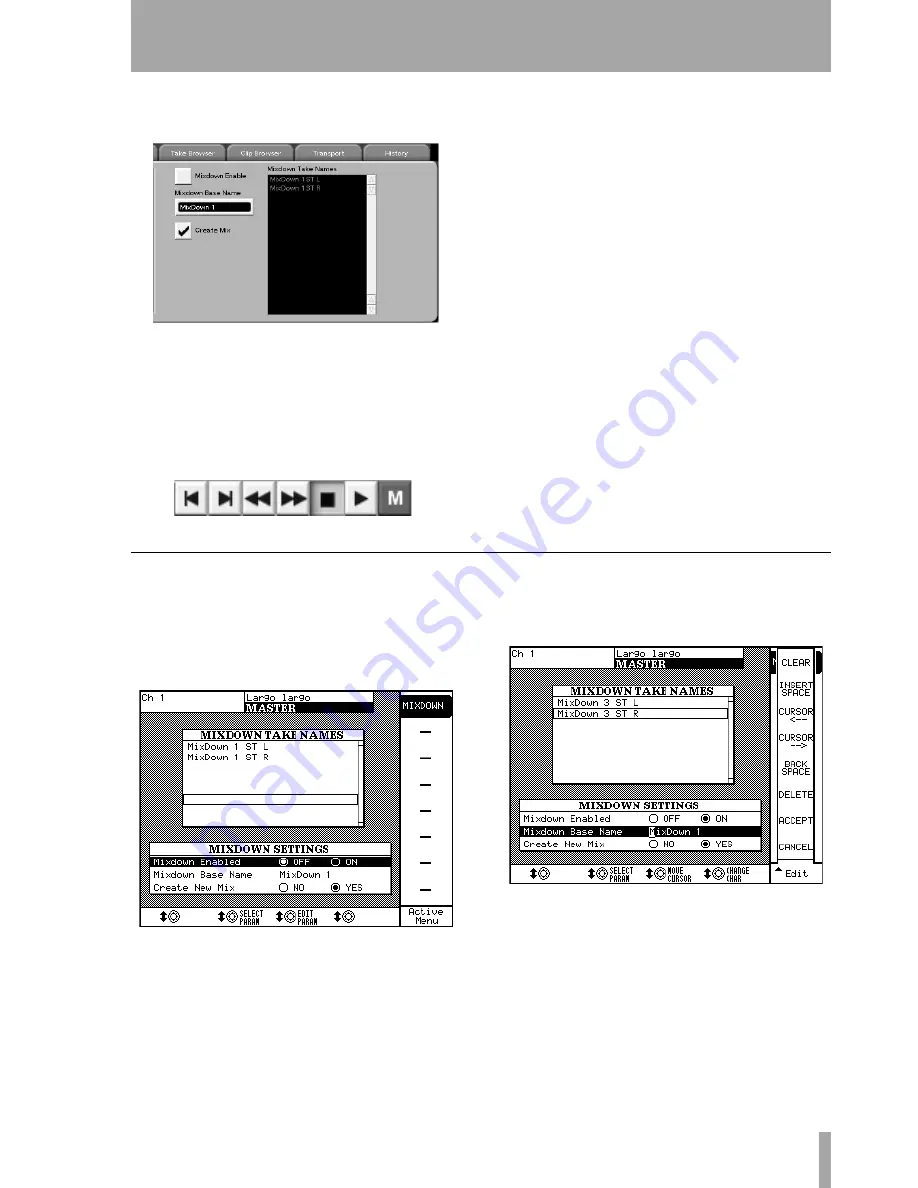
In this section we are concerned with the controls on
the right hand side of this tab:
The
Mixdown Enable
button enables Mixdown mode.
Pressing this button sends the machine into record
all-safe, meaning that nothing can be recorded on any
of the slots.
Notice the Record button at the top of the VGA dis-
plays an “M” to let you know you’re in Mixdown
mode:
If the transport is moving and Record is pressed, the
SX-1 will bounce the audio coming out of the L/R
Buss to a stereo file, with the resulting file named
according to the text entered in the
Mixdown Base Name
field. Every time mixdown mode is enabled, the
machine will automatically increment the name with
a Mix number (“Mixdown 1” Mixdown 2”, etc.).
The
Mixdown Take Names
field displays the names that
will be given to the right and left side of the next ste-
reo file created in Mixdown mode.
The
Create Mix
button changes the manner in which the
SX-1 exits Mixdown mode. With this button
checked, the machine will create an entirely new
Mixfile upon exiting Mixdown mode. This Mixfile
will be loaded, and the stereo file from the bounce
will be loaded into the first two HDR slots – with the
mixer channels panned and linked accordingly. To
verify that your mix printed correctly, simply press
PLAY
. When you are finished listening to your mix-
down and wish to return to the SX-1’s previous state,
load the previous Mixfile (from the tab at the top of
the VGA screen or the
Mix
tab on the Automation
screen).
On the LCD
The behavior of the machine as controlled by the
LCD is identical. To view the graphical differences,
press the
MASTER
key in the
MAIN DISPLAY
MODES
section of the surface.
You should see this on the LCD:
The
Mixdown Take Names
field displays the names that
will be given to the right and left side of the next ste-
reo file created in Mixdown mode.
The
Mixdown Enabled
ON
and
OFF
buttons enable or dis-
able Mixdown mode.
Highlighting the
Mixdown Name
line with the cursor
and tweaking the
Edit Param
knob will bring up this
display:
Use the controls that appear at the right side of the
screen to navigate through the name field, and use
the numeric keypad to enter the actual characters.
You can use it just like a cell (mobile) phone or regu-
lar telephone with letters on the keypad—press the
“1” key once for an “a”, press it twice for a “b”, three
times for a “c”, etc. Press the
Accept
key when you’ve
finished editing the name.


