Introduction
110
Introduction
Attention
It’s very important to protect the printer controller board and any
associated daughterboard or module from electrostatic damage while
performing any task involving the controller board.
This chapter provides information about the following accessories:
Antistatic Protection
Attention
It’s very important to protect the printer controller board and any
associated daughterboard or module from electrostatic damage while
performing any task involving the controller board.
If an antistatic wrist strap is provided in your printer option kit, attach
one end of it to your wrist and the other end to any convenient electrical
ground (for example, the bare metal chassis of equipment, as on the
back of a computer, that is plugged in but turned off). Never attach the
wrist strap to any piece of equipment with an electrical current present.
Turn off all power switches first. Plastic, rubber, wood, painted metal
surfaces, and telephones are not acceptable grounding points. The
printer isn’t an acceptable grounding point either because it must be
unplugged before you perform this task.
If you don’t have an antistatic wrist strap, discharge your body’s static
electric charge by touching a grounded surface before you handle any
printer boards or components and before removing the controller
board. Also avoid walking around after grounding yourself.
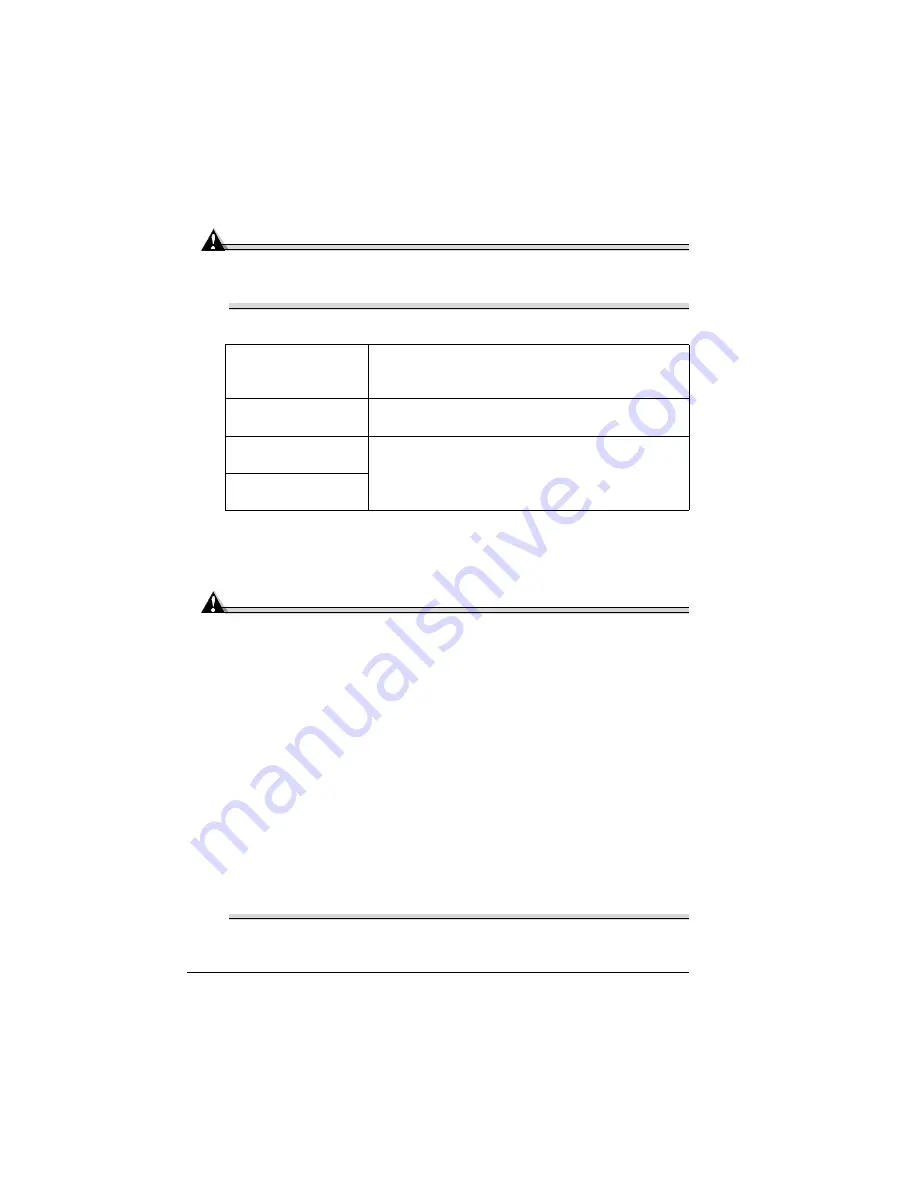
Dual In-Line Memory
Modules (DIMMs)
(two available slots)
Additional memory must be 32, 64, 128, or 256 MB
PC-100 Compliant SDRAM DIMMs, up to a
maximum of 512 MB.
High-capacity Input
Feeder (HCIF)
With two 500-sheet media trays
Media Tray, Standard
Upper 250 Sheet
Purchasing extra trays may be convenient when
changing media formats and/or when media quali-
ties vary.
Media Tray, HCIF
500 Sheet
Summary of Contents for Xpress T8016
Page 1: ...User Guide Xpress T8016 Color Laser Printer TALLY May 2004 ...
Page 6: ...Contents iv ...
Page 7: ...1 Printer Overview ...
Page 13: ...2 Replacing Consumables ...
Page 33: ...3 Using Media ...
Page 62: ...Duplexing 56 ...
Page 63: ...4 Maintaining the Printer ...
Page 70: ...Cleaning 64 7 Close the cover 8 Turn on the printer ...
Page 71: ...5 Troubleshooting ...
Page 114: ...Additional Assistance 108 ...
Page 115: ...6 Installing Other Accessories ...
Page 128: ...Tray Cover 122 4 Attach the tray cover back onto the upper media tray ...
Page 129: ...7 Color Printing ...
Page 132: ...Color Registration 126 ...
Page 133: ...8 Storage Deinstallation Shipping and Packing ...
Page 146: ...Packing the Printer 140 ...
Page 147: ...A Technical Specifications ...
Page 174: ...Index 168 ...


