28
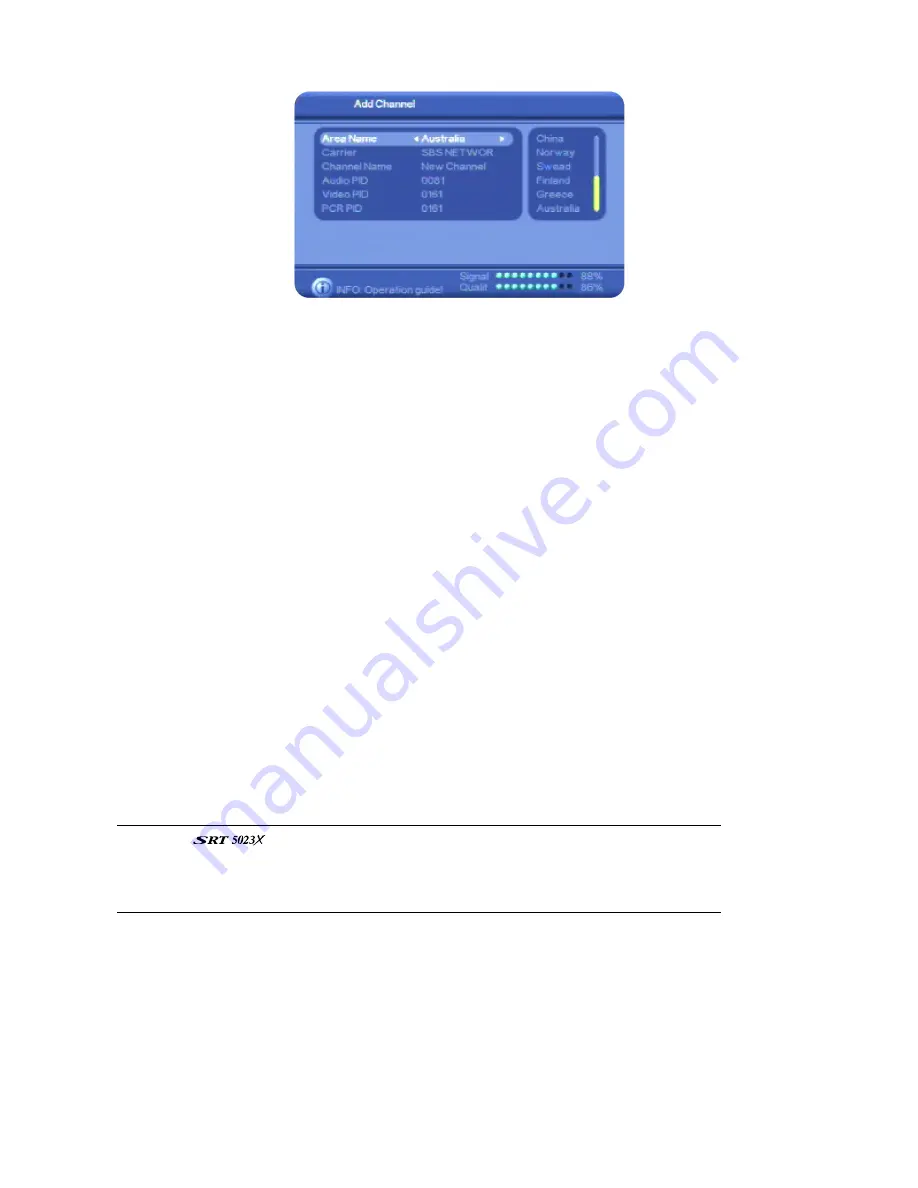
6. To specify the area or country from which the channel is being broadcast, press
VOL
e
or
VOL
f
,
select a country by pressing
CH
▼
or
CH
▲
until it is highlighted, and then press
OK
.
7. Press
CH
▼
to select the
Carrier
option.
8. Press
VOL
e
or
VOL
f
, select a carrier by pressing
CH
▼
or
CH
▲
until it is highlighted, and then
press
OK
.
9. Press
CH
▼
to select the
Channel Name
option.
10. Press
VOL
e
or
VOL
f
to display the on-screen keyboard.
11. Press the number keys corresponding to the character you want in the name. For example, to
enter a C, quickly press the 2 button three times. (Pressing it once enters an A; pressing it twice
gives you a B, and so on.) Continue entering characters until you have entered the new name.
The coloured buttons on the remote give you additional character editing functionality: upper
case, lower case, insert between existing characters and delete a character. Press
VOL
e
or
VOL
f
to move from character to character.
12. Press
OK
. The new name now appears on the
Add Channel
screen.
13. Press
CH
▼
to select the
Audio PID
option and enter the PID using the number keys on the
remote control.
14. Press
CH
▼
to select the
Video PID
option and enter the PID.
15. Press
CH
▼
to select the
PCR PID
option and enter the PID.
16. Press
OK
to add the new channel. The new channel now appears in your
Quick Select
channel
list.
NOTE
: The
does not check that the PID information you have entered is
correct. If it is not correct and you select the new channel from a channel list, a black
screen is displayed. If you need to correct PID information, see “Edit channel details” on
page 36.
Advanced search
The advanced search feature lets you search for all TV channels broadcast within a range of
frequencies that you specify.
1. Press
MENU
on the remote control. The
Digital TV
menu appears.
2. Press
OK
. The first item in the sub-menu—
Channel Manager
—is highlighted.
3. Press
CH
▼
to highlight
Installation
and then press
OK
. The
Installation
menu appears.


