18
6. With the option you want to change highlighted, press
VOL
e
or
VOL
f
to step through the
allowable values (shown in the panel at the right of the screen). Stop when the value you want
is displayed.
7. If there is another TV option you want to change, repeat this procedure from step 5.
8. When you have finished configuring the TV settings, press
OK
.
The
Configuration
menu re-appears. You can continue with other set-up tasks (see below), or
press
EXIT
to return to TV viewing.
Setting system properties
1. Press
MENU
on the remote control. The
Digital TV
menu appears.
2. Press
OK
. The first item in the sub-menu—
Channel Manager
—is highlighted.
3. Press
CH
▼
until
Configuration
is highlighted, and then press
OK
. The
Configuration
menu
appears.
4. Press
CH
▼
until
System Setup
is highlighted, and then press
OK
. The
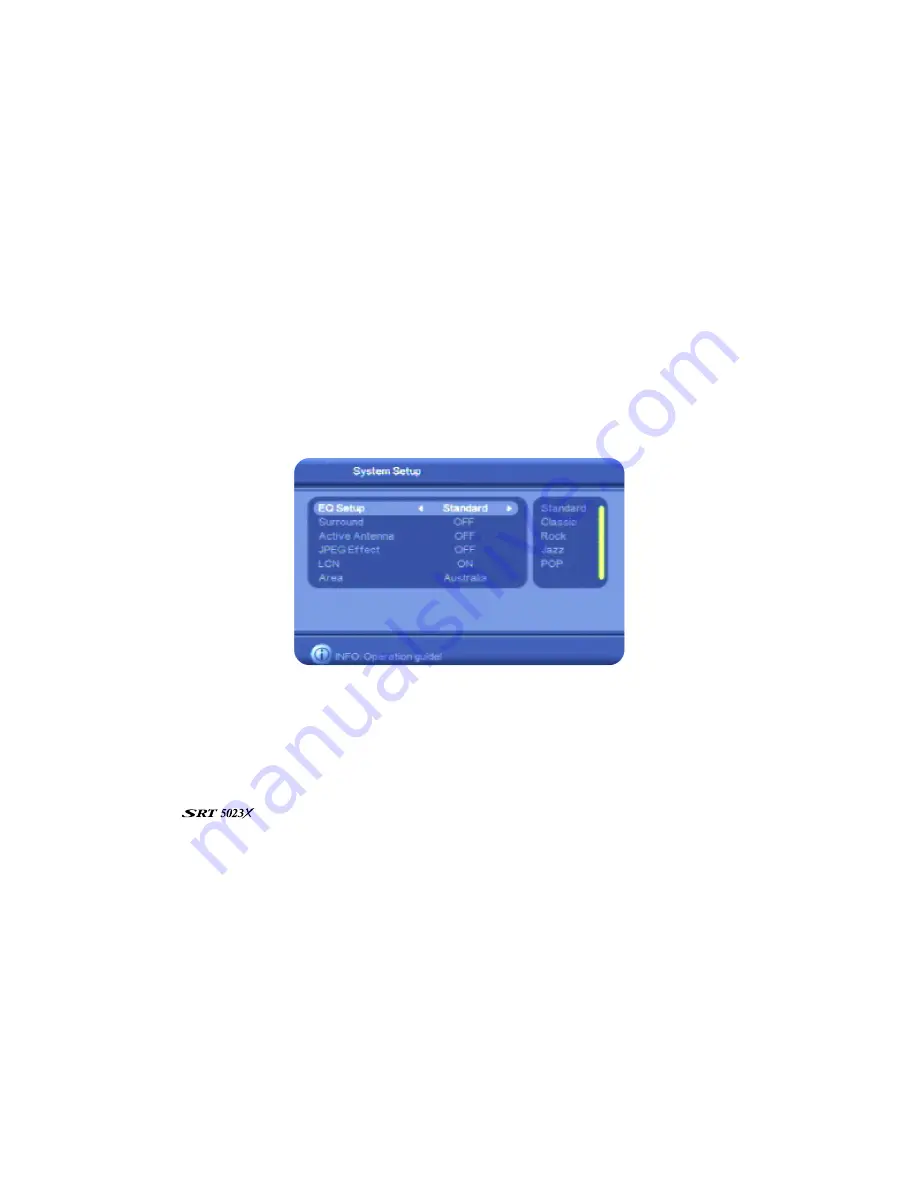
System Setup
window
appears.
On this screen you can control the following settings:
•
Equaliser settings
•
Surround Sound type
•
Active antenna (that is, if an antenna
booster is installed that needs power, the
can supply the power, if
necessary)
•
JPEG effect: to set the way
JPEG photos are displayed
•
LCN (Logical Channel
Numbering)
•
Area (that is, your country)
5. Select an option you want to change. If necessary, press
CH
▼
or
CH
▲
until the option is
highlighted.
6. With the option you want to change highlighted, press
VOL
e
or
VOL
f
to step through the
allowable values (shown in the panel at the right of the screen). Stop when the value you want
is displayed.
7. If there is another system set up option you want to change, repeat this procedure from step 5.
8. When you have finished configuring the system, press
OK
.
The
Configuration
menu re-appears. You can continue with other set-up tasks (see below), or
press
EXIT
to return to TV viewing.


