14
Getting Started
Minimum Set-up
Once you have connected the
to your antenna and to your television with your
preferred video and audio connections, you need to:
1. Install the batteries in the remote control (see page 10).
2. Turn on the television.
3. Plug
the
into mains power and turn on the power at the mains switch.
4. Turn
on
the
using the power-on switch on the back of the receiver (number 10 in the
diagram on page 8).
5. Select the video or AV input channel to which the
is connected: this can be done
by pressing the TV/AV or VIDEO button on your TV remote control. (Refer to your TV user’s
manual for instructions.)
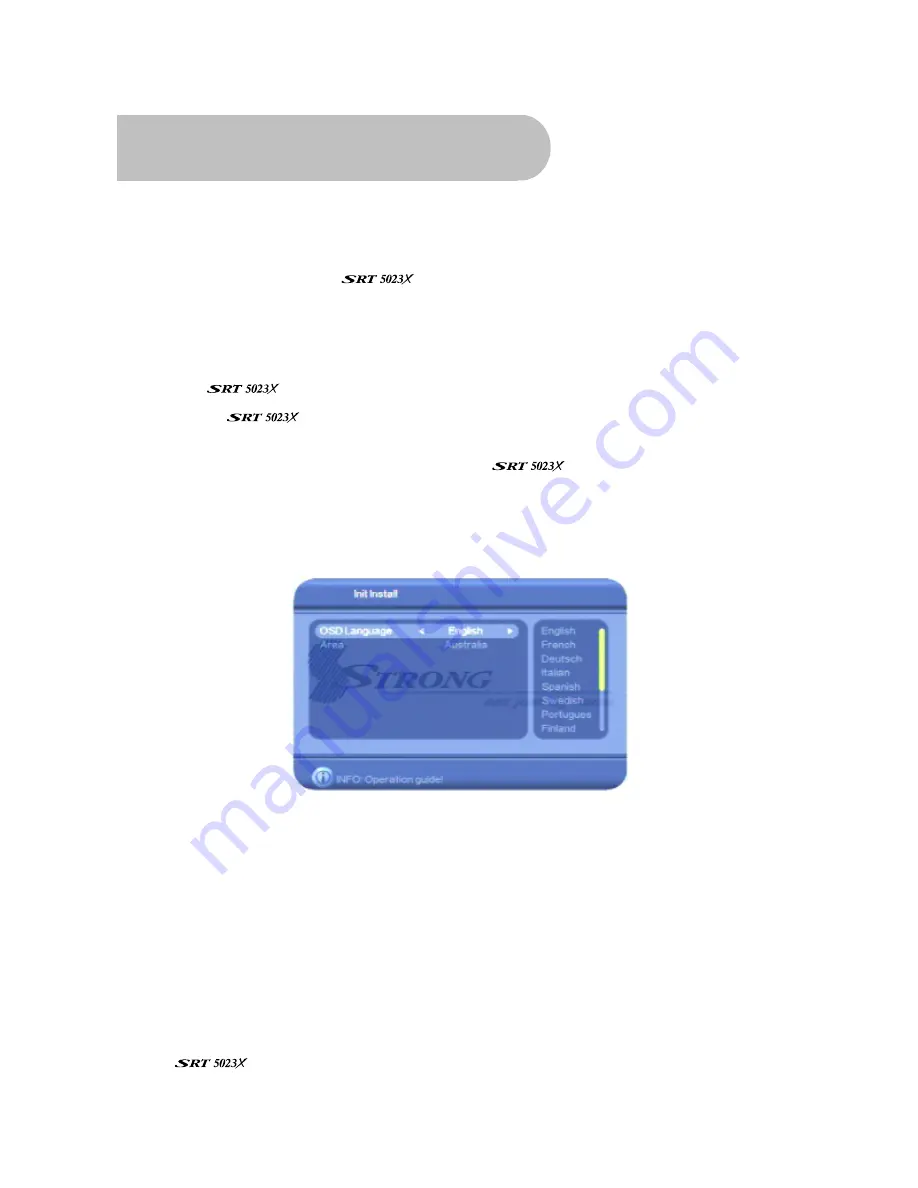
The Strong Technologies banner page briefly appears, followed by the
Init Install
screen (see
below).
On this screen you choose the language for the OSD (on-screen display) and your country. The
OSD language defaults to English and the country defaults to Australia. If these defaults are
suitable, go to step 9 below. Otherwise, continue with step 6 below.
6. Press
VOL
e
or
VOL
f
on the remote control and then
CH
▼
or
CH
▲
until the language you want
is highlighted. Then press
OK
to select the highlighted language.
7. Press
CH
▼
or
CH
▲
to highlight the
Area
option.
8. Press
VOL
e
or
VOL
f
and then
CH
▼
or
CH
▲
until the country you want is highlighted. Then
press
OK
to select the highlighted country.
9. Press
OK
. A message appears asking if you want to install.
10. Press
VOL
e
or
VOL
f
to highlight
Yes
and then press
OK
.
The
now automatically scans for digital TV channels and radio stations in your area
and lists them on the screen as it finds them.


