17
•
the OSD
transparency
(that is, how much of the picture behind an information panel will be
visible through the information panel)
•
the
OSD language
•
the first and second preferred
audio languages
(for channels that broadcast programs in
more than one language.
5. Select an option you want to change. If necessary, press
CH
▼
or
CH
▲
until the option is
highlighted.
6. With the option you want to change highlighted, press
VOL
e
or
VOL
f
to step through the
allowable values (shown in the panel at the right of the screen). Stop when the value you want
is displayed.
7. If there is another OSD option you want to change, repeat this procedure from step 5.
8. When you have finished configuring the OSD settings, press
OK
.
The
Configuration
menu re-appears. You can continue with other set-up tasks (see below), or
press
EXIT
to return to TV viewing.
Setting the properties of the TV
1. Press
MENU
on the remote control. The
Digital TV
menu appears.
2. Press
OK
. The first item in the sub-menu—
Channel Manager
—is highlighted.
3. Press
CH
▼
until
Configuration
is highlighted, and then press
OK
. The
Configuration
menu
appears.
4. Press
CH
▼
until
TV
is highlighted, and then press
OK
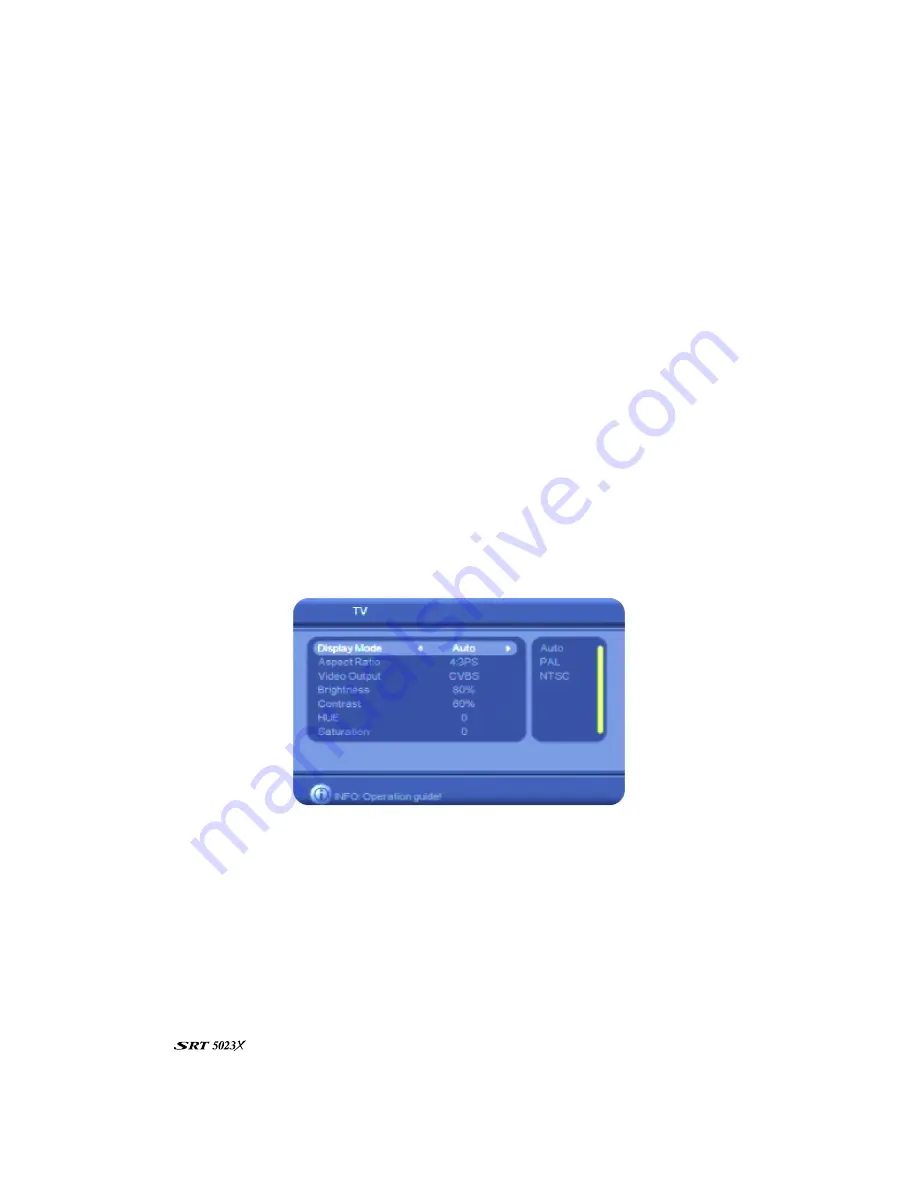
. The
TV
window appears.
On this screen you can control the following settings:
•
Display Mode – PAL, NTSC or AUTO
•
Aspect ratio – 4:3 (Pan & Scan or Letterbox)
or 16:9
•
Video output – CVBS (Composite), S-Video
or YCbCr (Component)
•
Brightness
•
Contrast
•
Hue
•
Saturation
5. Select an option you want to change. If necessary, press
CH
▼
or
CH
▲
until the option is
highlighted.
Note that the
Video Output
option should match the type of connection you have between
the
and the TV.


