Getting Started – RAID Array 310 V3.1 for HP–UX
D–6
EK–SMRAB–IG. B01
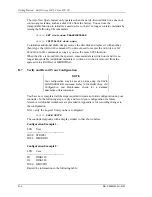
The Auto New Spare feature only operates when the newly-inserted disk drive does not
contain any metadata, such as a disk drive from the factory. You can use the
transportable function to initialize a used device so that it no longer contains metadata by
issuing the following CLI commands:
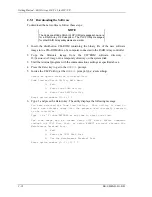
HSZ20> SET
disk-name TRANSPORTABLE
HSZ20> INITIALIZE
disk-name
To initialize additional disks, simply remove the first disk and replace it with another,
then retype the
INITIALIZE
command. You do not need to reenter the
ADD DISK
or
SET
TRANSPORTABLE
commands as long as you use the same SCSI-location.
When the drive is moved into the spareset, some metadata is written on it and it is no
longer transportable. Additional metadata is written on it when it is moved from the
spareset into a RAIDset or MIRRORset.
D.7
Verify and Record Your Configuration
NOTE
Your configuration may be saved on disk using the SAVE
CONFIGURATION command. Refer to the
RAID Array 310
Configuration and Maintenance Guide for a detailed
description of this command.
You have now completed all the steps required to create an initial configuration on your
controller. In the following steps, verify and record your configuration for future
reference. Additional worksheets are provided in Appendix A for recording changes to
the configuration.
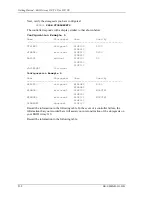
First, verify the Logical Units you have configured:
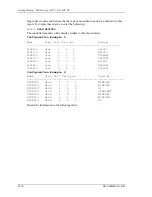
HSZ20> SHOW UNITS
The controller responds with a display similar to that shown below:
Configuration Example 1:
LUN
Uses
-----------------------------------------
D100
STRIPE1
D200
MIRROR1
Configuration Example 2:
LUN
Uses
-----------------------------------------
D1
DISK120
D2
DISK220
D300
MIRSTR1
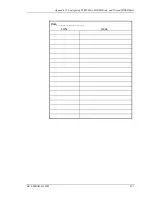
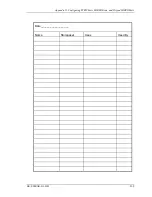
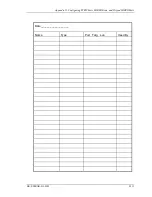
Record the information in the following table:

