Getting Started – RAID Array 310 V3.1 for HP–UX
4–10
EK–SMRAB–IG. B01
NOTE
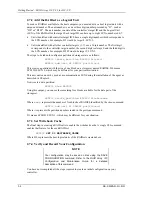
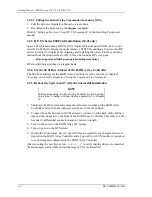
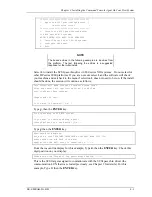
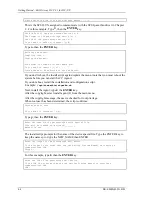
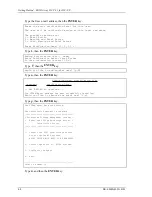
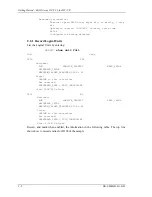
If you type “y”, the output is shown below. Be sure to re-enter
the configuration menu and restart the Agent.
Type
y
, then press the ENTER key.
The STEAM Agent has been terminated.
-- Hit RETURN to continue --
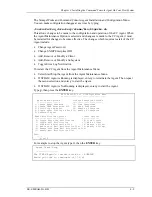
The Agent configuration menu is displayed again.
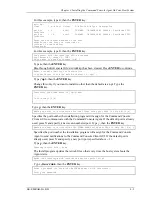
Type
q
, then the ENTER key to return to the main menu.
4.5
Running CC Agent
Your Agent program was automatically started when you installed it, and it was installed
to restart automatically if it stops for any reason.
The installation script places an entry in the “/etc/inittab” file to implement automatic
execution of the Agent. The tag field in the file is “swcc”.
4.6
Reconfiguring CC Agent
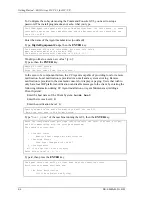
You can reconfigure previously-installed Agents using the configuration program. To
reconfigure an Agent, execute the “config.sh” Bourne-shell script in the
“/installation_directory/steam/bin” subdirectory and follow the prompts.
4.7
Uninstalling CC Agent
You can remove any Agent program using the uninstall program. You have two options to
remove an Agent:
•
Run the Agent configuration script on the host and Select Option 5. Run the
“config.sh” script in the “/installation_directory/steam/bin” subdirectory.
•
Run the Agent uninstall script on the host. Execute the command:
#
/installation_directory/steam/bin/uninstal.sh /installation_directory
If you do not know what the location is, examine the file “/etc/.STEAMDIR”.
4.8
What To Do Next
The HP-UX operating system has now been modified to communicate with the RAID
Array Controller. In order to use the RAID Array from the HP System, you must do the
following steps:
1. Create new storagesets on your RAID Array and assign SCSI target and LUN IDs to
each storageset created. You can use either the CLI (see Appendix C) or the
Command Console Client (see Appendix D). LUNs created on the Array must be
assigned consecutively starting with LUN 0.
2. To make the storagesets available to the HP-UX System do the following:
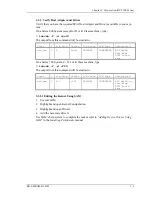
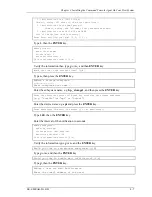
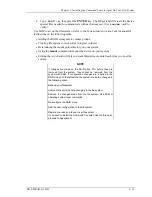
3. At the system prompt, type
ioscan -f,
then press the ENTER key. Verify that
the HP System acknowledges the new hardware.

