Getting Started - RAID Array 310 V3.1 for HP–UX
1–4
EK–SMRAB–IG. B01
1.5
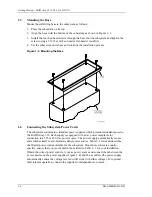
Mounting the Base
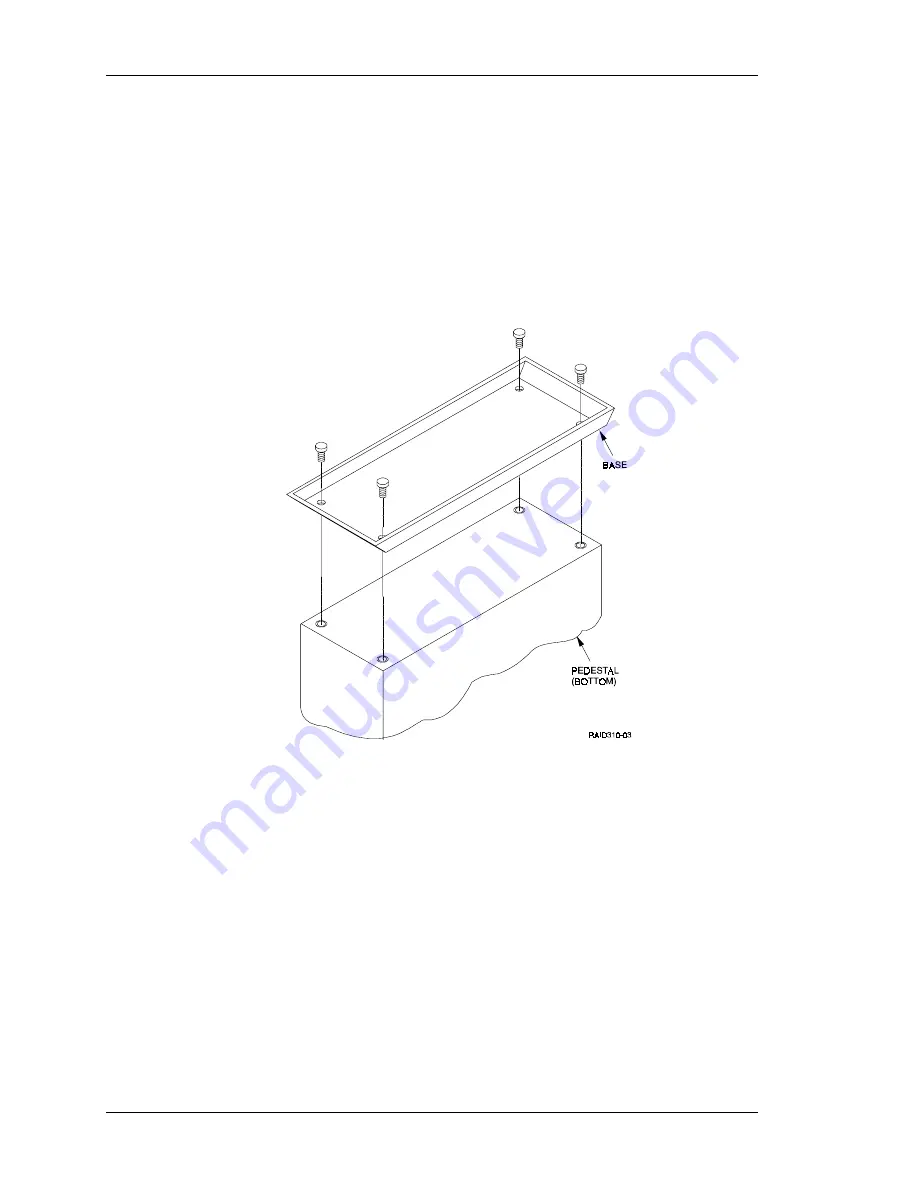
Mount the stabilizing base to the subsystem as follows:
1. Place the subsystem on its top.
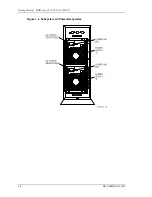
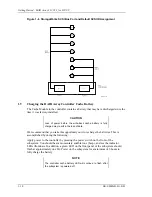
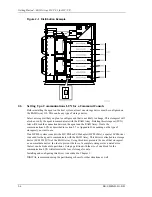
2. Align the base with the bottom of the subsystem as shown in Figure 1–3.
3. Install the four hex-head screws through the base into the subsystem and tighten the
screws using a 3/16 (5 mm) hex-head or flat-head screwdriver.
4. Set the subsystem on its base and continue the installation process.
Figure 1–3 Mounting the Base
1.6
Connecting the Subsystem Power Cords
The subsystem contains two identical power supplies which provide redundant power to
the RAID Array 310. Each supply is equipped with an ac power receptacle for
connection to a 125 or 250 Vac power source. The power supply automatically senses
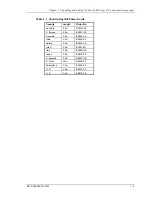
and switches itself to accommodate either power source. Table 1–1 lists and describes
the Digital power cords available for the subsystem. Since these cords are country-
specific, ensure that your cords match those listed in Table 1–1 for your installation.
Obtain the correct power cords for your ac power source and connect them between the
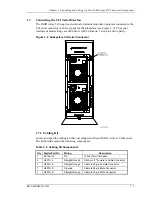
ac receptacles on the power supplies (Figure 1–4) and the ac outlets (the power supply
automatically senses the voltage level and will work with either voltage). For optimal
fault tolerant operation, connect the supplies to independent ac sources.


