Chapter 1. Unpacking and Setting Up Your RAID Array 310 Subsystem Components
EK–SMRAB–IG. B01
1–9
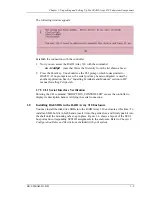
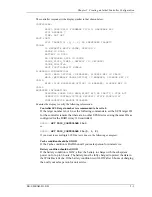
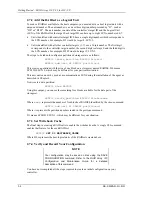
The following window appears:
Establish the connection with the controller.
1. Now you can access the RAID Array 310 with the command:
cu -l cul0p0
(note that this is the first entry from the list shown above).
2. Press the Enter key. You should see the CLI prompt, which looks similar to:
HSZ20>. If no prompt is seen, the serial port may be misconfigured or used by
another application. See the “Installing Terminals and Modems” section in HP
manual Installing Peripherals.
1.7.5 CLI Serial Interface Verification
Entering the CLI command “SHOW THIS_CONTROLLER” causes the controller to
display its description banner verifying the serial connection.
1.8
Installing Disk SBBs in the RAID Array 310 Enclosure
You may install the disk drive SBBs into the RAID Array 310 enclosure at this time. To
install an SBB, hold it in both hands, insert it into the guide slots, and firmly push it into
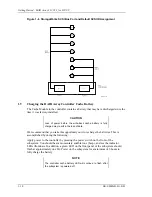
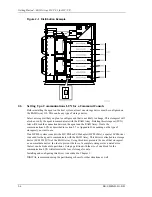
the shelf until the mounting tabs snap in place. Figure 1–6 shows a layout of the SCSI
bus ports and corresponding SCSI ID assignments in the enclosure. Refer to Chapter 3,
Configuration Rules and Restrictions, included with your system.

