– 112 –
TOOLS FOR CREATING A LABEL
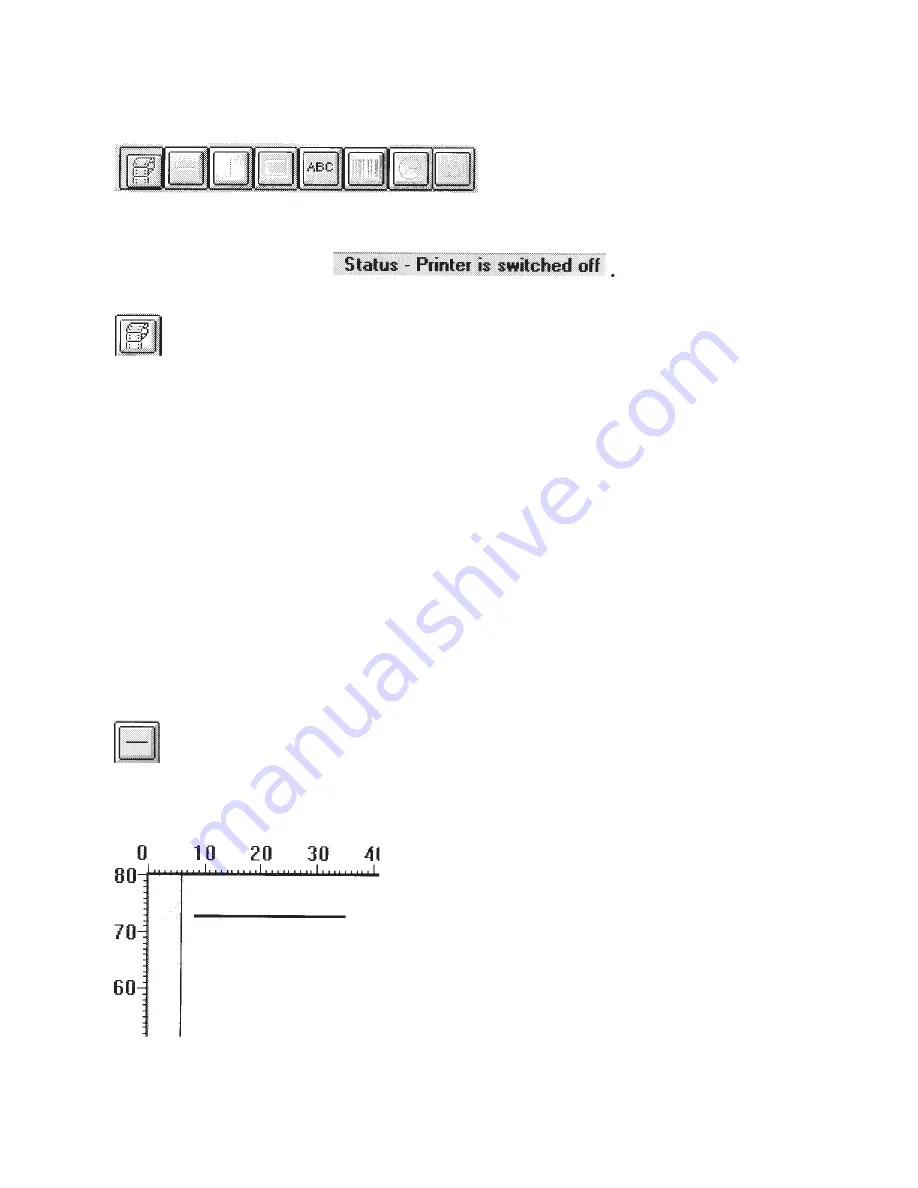
The following tools are explained later in detail:
In addition to these tools, a printer-port status display indicates when the printer
is ready to accept data: .
Label Size: Set the size of the new label from this icon.
Choosing the appropriate icon will change its colour to red. When the Icon is
selected and clicking the mouse on the label position will position the selected
line on the label. While drawing the lines and boxes you are given the default line
thickness. If you would like to change the thickness, use the EDIT menu
described later.
Accurate size settings: The Windows Screen may show you the setting of 99.9.
This program lets you adjust your size to the nearest 0.1mm. Tho do this go to the
EDIT PAPER SIZE menu, de-select the High-Speed. Now you are able to move
the size in a 0.1mm increment.
The Maximum Label size is 20cm. If you are using a low resolution monitor, the
size may be reduced to 16cm.
Draw Horizontal Lines:
Click the mouse where you want the line to start. Keep the mouse button pressed
while moving the mouse. The line is complete as soon as you release the mouse:
Summary of Contents for TSP400 Series
Page 1: ...Thermal Printer TSP400 Series TUP400 Programmer s Manual...
Page 2: ......
Page 103: ...100 Page Mode Character type Small size or standard...
Page 104: ...101 Page Mode Character type Boldface...
Page 105: ...102 Page Mode International Character Set...
Page 106: ...103 Line Mode...
Page 107: ...104 Line Mode Character table Normal...
Page 108: ...105 Line Mode Character table katakana...
Page 109: ...106 Line Mode Character table IBM...
Page 110: ...107 Line Mode International Character Set...
Page 135: ......


