2-32
Using the SunEye
Tools Menu
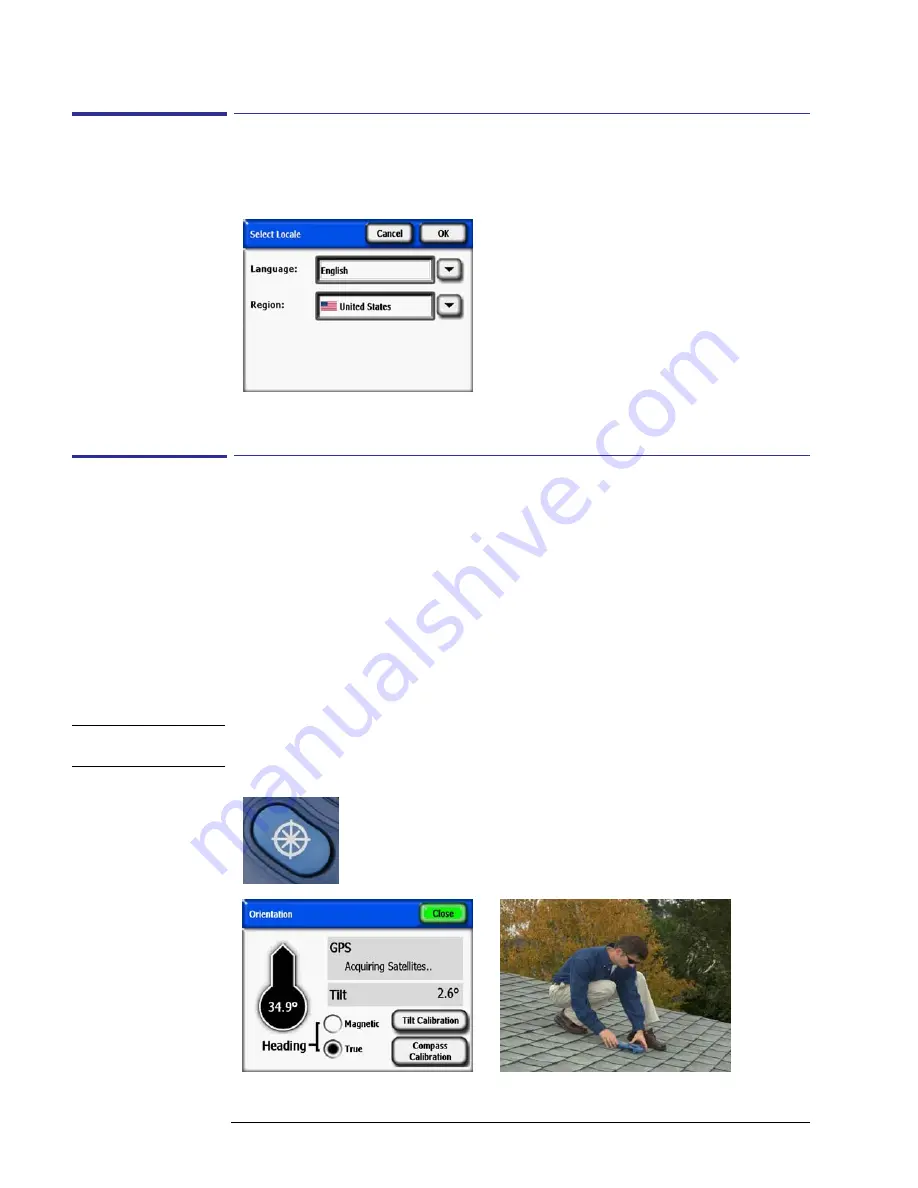
Select Locale
Use this dialog box to specify your language and country of origin.
Figure
2-55.
Select Locale Screen
Orientation
Displays the current azimuth, tilt, and GPS coordinates of the SunEye 210. Use this tool to
determine panel orientation. The values can then be entered manually into the Panel Set-up
screen as described in
“System Controls and Settings” on page
1-7
. A compass calibration can
be done through the Orientation menu. The compass calibration re-calibrates the SunEye’s elec-
tronic compass, and should only be used when the compass accuracy is degraded or in question
relative to other references. More information on when and how to perform the compass calibra-
tion can be found in
“Compass Calibration” on page
5-2
.
By laying the SunEye on the roof or array plane, with the top pointed in the direction the panels
will face, both tilt and azimuth can be measured and entered into the Panel Set-up. Note that the
orientation meter can display true or magnetic azimuth. Be certain that this selection agrees with
that entered in the Panel Set-up dialog.
N O T E
Shortcut Tip: To go straight to the orientation meter, simply press the Orientation button on the
front of the SunEye. This is handy whenever you need to measure a roof pitch or roof orientation.
Figure
2-56.
Note: GPS coordinates are displayed only if GPS Opt. is present and enabled.
Summary of Contents for SunEye 210
Page 1: ...Solmetric SunEye 210 User s Guide Solar Test and Measurement Equipment...
Page 2: ...2 YOUR SK D dZ DISTRIBUTOR SOLIGENT 800 967 6917 www soligent net...
Page 4: ...4...
Page 16: ...1 10 Getting Started System Controls and Settings...
Page 80: ...4 6 Solar Access and Interpretation of Data Numerical Calculations...
Page 90: ...5 10 Maintenance and Troubleshooting Regulatory Compliance...


