2-12
Using the SunEye
Capture a Skyline
Figure
2-18.
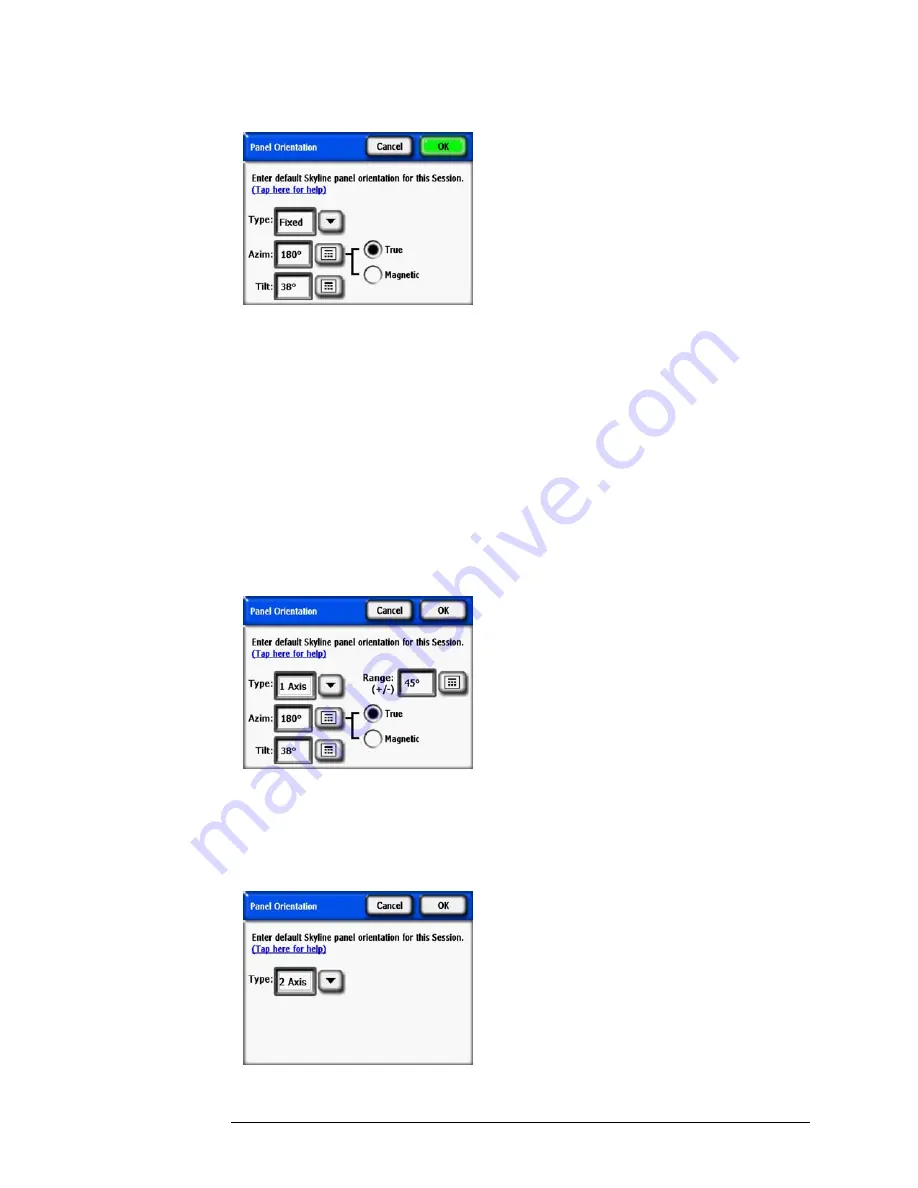
Panel Orientation
Select the default panel orientation that will be used for this session. Begin by selecting
Panel
Type
from the drop down, as
Fixed
,
1 Axis
, or
2 Axis
. For each
Panel Type
, the azimuth and tilt
information required is adjusted. For a description of the meaning of these values, please see the
PV Watts documentation at
http://www.nrel.gov/rredc/pvwatts/changing_parameters.html#array_type.
•
Fixed
. For a fixed panel, enter the orientation by tapping on the
Azim
numeric box to set azimuth
(True or Magnetic) and the
Tilt
numeric box to set tilt.
•
1 Axis
. For 1 Axis tracking, enter the
Azim
and
Tilt
numeric boxes as described above. In addi-
tion, enter the Range to define the +/- range that the tracking mechanism rotates around the axis
of rotation.
Figure
2-19.
1 Axis Panel Orientation
•
2 Axis
. For 2 Axis tracking, the azimuth and tilt are assumed to point the panel always in the di-
rection of the sun, so no additional azimuth and tilt range information is required.
Figure
2-20.
2 Axis Panel Orientation
Summary of Contents for SunEye 210
Page 1: ...Solmetric SunEye 210 User s Guide Solar Test and Measurement Equipment...
Page 2: ...2 YOUR SK D dZ DISTRIBUTOR SOLIGENT 800 967 6917 www soligent net...
Page 4: ...4...
Page 16: ...1 10 Getting Started System Controls and Settings...
Page 80: ...4 6 Solar Access and Interpretation of Data Numerical Calculations...
Page 90: ...5 10 Maintenance and Troubleshooting Regulatory Compliance...


