


7-60
SYSTEM SETTINGS
Contents
When multiple users are selected
Card Area Settings
The data check during card reading can be set.
Settings
Card Type/Reader Settings
The authentication of Felica, HID and other IC cards can be set.
When multiple users are selected
Card Setting
(when the HID card reader is available.)
Configure this setting if user authentication will be performed using an HID card.
Card Reader Device Registration
In this setting, the product ID and vender ID of the connected HID card reader are displayed. To store the HID card
reader, touch the [Read] key.
* For settings that enable an HID card to be used, consult your service technician.
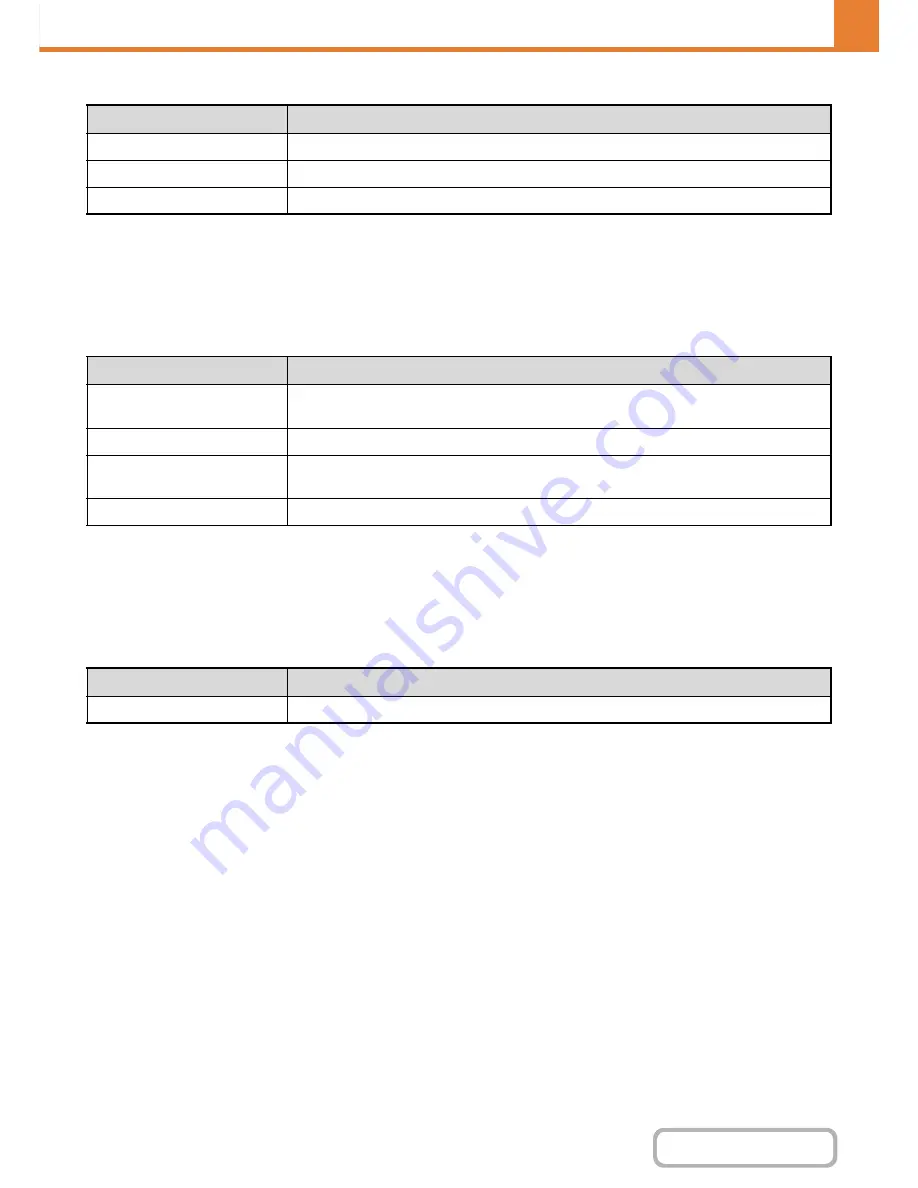
Item
Description
Show Counts
The counts and the number of pages remaining of the selected users are shown by function.
Clear Count
Reset the count of the selected item to "0".
Clear All Count
Reset all items of the selected users to "0".
Item
Description
Check Facility Code in HID
Mode
Checks the facility code of the HID card.
Facility Code
Enter the facility code of a HID card. When you tap the [Store] key, the facility code is stored.
Import from Configuration file
Enter the configuration file name and tap the [Execute] key, and the card area settings will be
read from the configuration file.
Card reading test
When you tap the [Execute] key, the card reader test starts and the test result is displayed.
Item
Description
Use IC Card for Authentication
The authentication of Felica, HID and other IC cards can be set.
Summary of Contents for MX-M264N
Page 8: ...Assemble output into a pamphlet Create a stapled pamphlet Staple output Create a blank margin ...
Page 11: ...Conserve Print on both sides of the paper Print multiple pages on one side of the paper ...
Page 35: ...Organize my files Delete a file Delete all files Periodically delete files Change the folder ...
Page 256: ...3 19 PRINTER Contents 4 Click the Print button Printing begins ...