


23
Chapter 2 Hardware Installation
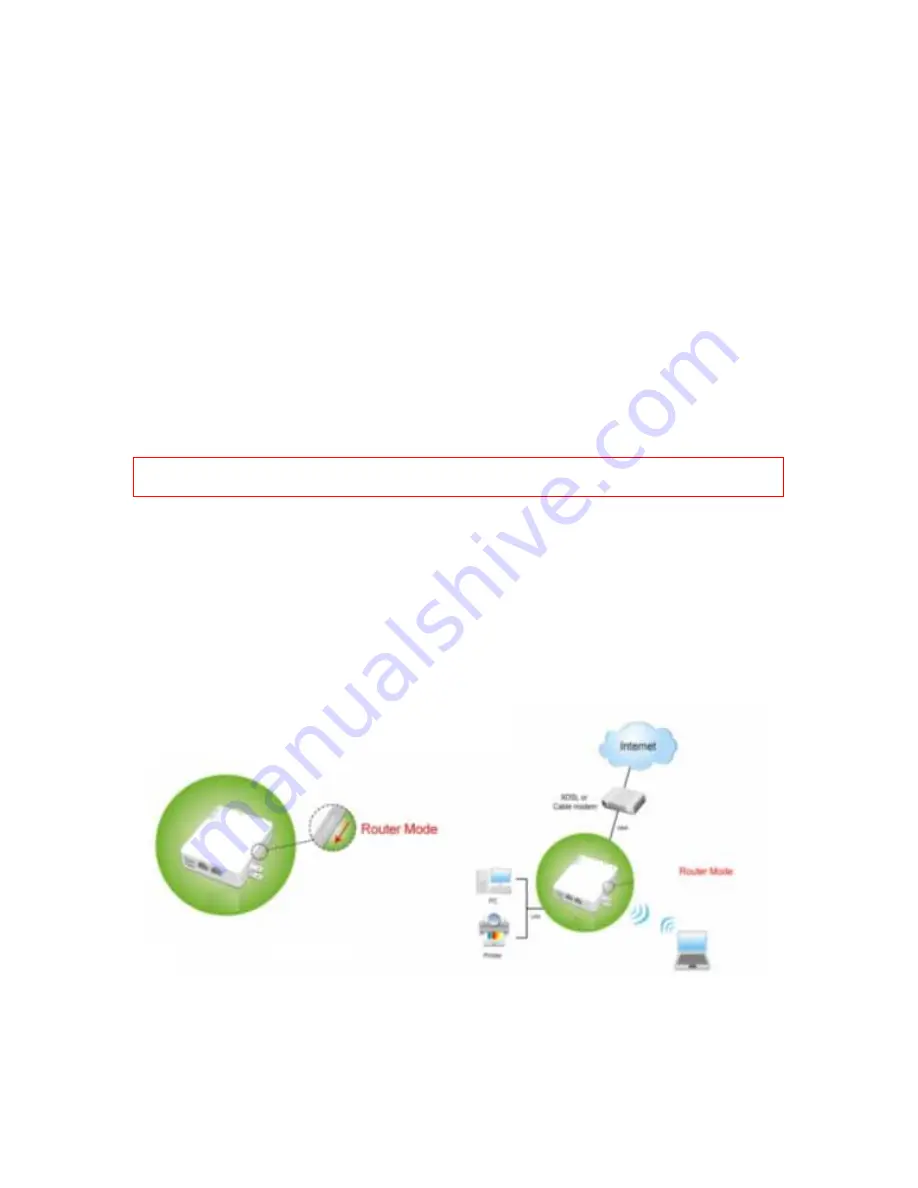
2.1
Diagram of connecting hardware to WE-1120
The NES Mini Server Router with BT is a portable and convenient wireless solution for the
traveling business person delivering 802.11g wireless connectivity with a maximum wireless
signal rate of up to 54Mbps. Use it in conference rooms, hotel rooms, or even at hotspots.
The Wireless Pocket Router/AP might be small in size, but huge in functionality, supporting
multiple operation modes, including Access Point (AP) mode, Router mode, and Wireless
Client mode. You can switch among these modes easily by using the WE-1120's 3-way
configuration slide switch. Moreover, there are 2 USB ports support with WE-1120; user can
plug the USB devices including Flash Disk, Web Camera and Printer.
Warning: Before remove the slide switch, please power-off the router firstly. Moreover,
please stay over 5 seconds between power-off / power-on condition.
2.1.1 Router Mode Hardware connection and application
When NES Mini Server Router with BT switches to Router Mode, there will be each WAN and
LAN port existing, the administrator can do the Quick Setup including WAN Setup, LAN
Setup, Wireless Setup, USB Disk Management Setup, User Account Management Setup,
Firewall Setup, QoS Setup, FTP Server Setup, Web Camera Setup, Samba Server Setup,
BT Torrent Download, Printer Server Setup, Time and Password Setup.
2.1.2
AP Mode Hardware connection and application
Under AP Mode, it supports 2 LAN ports as Bridge, and user can connect to NES Mini Server
Summary of Contents for Ultimate WE-1120
Page 1: ...1 ...
Page 17: ...17 Step2 Click on Properties button Step3 Double click on Internet Protocol TCP IP ...
Page 22: ...22 If it can t work it will show Request timed out ...
Page 115: ...115 ...
Page 158: ...158 Step 6 Input Username and Password of your own You will see like as below monitor screen ...
Page 219: ...219 Please setting your IP address of WAN refer the below following introduction ...
Page 229: ...229 Step 2 Click Add a printer Step 3 Click Next ...
Page 234: ...234 Step 12 Click on Finish button and all steps of setting printer server are completely ...


