


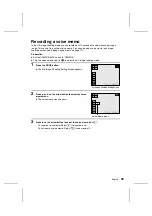


4
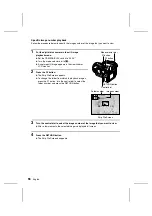
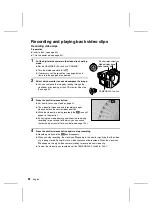
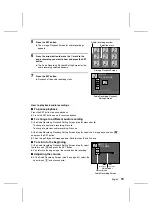
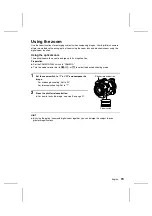
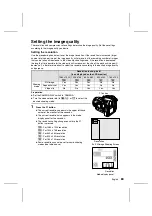
Press the SET button.
œ
The Recording Ready Screen appears.
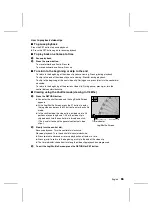
5
Press the shutter release button.
œ
Audio recording starts.
œ
During recording, “RECORDING” appears in the
monitor.
œ
Up to a maximum of two hours can be recorded.
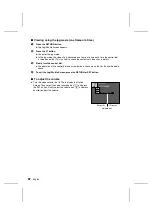
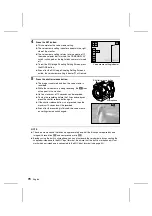
6
Press the shutter release button again to stop
recording.
œ
Recording stops and “COMPLETE” appears.
œ
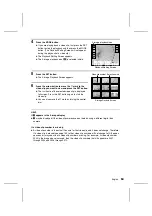
When the Recording Ready Screen appears again,
your digital disk camera is ready to begin another
audio recording.
œ
To return to the Audio Recording Screen from the
Recording Ready Screen, press the MODE button.
œ
To return to the Option Screen from the Audio
Recording Screen, press the MODE button again.
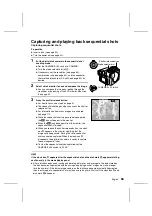
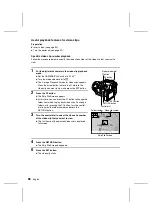
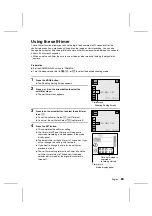
Playing back audio recordings
Preparation
œ
Insert a disk (see page 30).
œ
Turn the power on (see page 32).
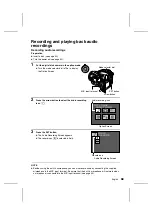
1
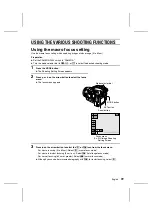
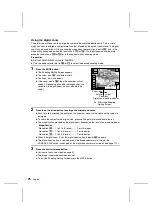
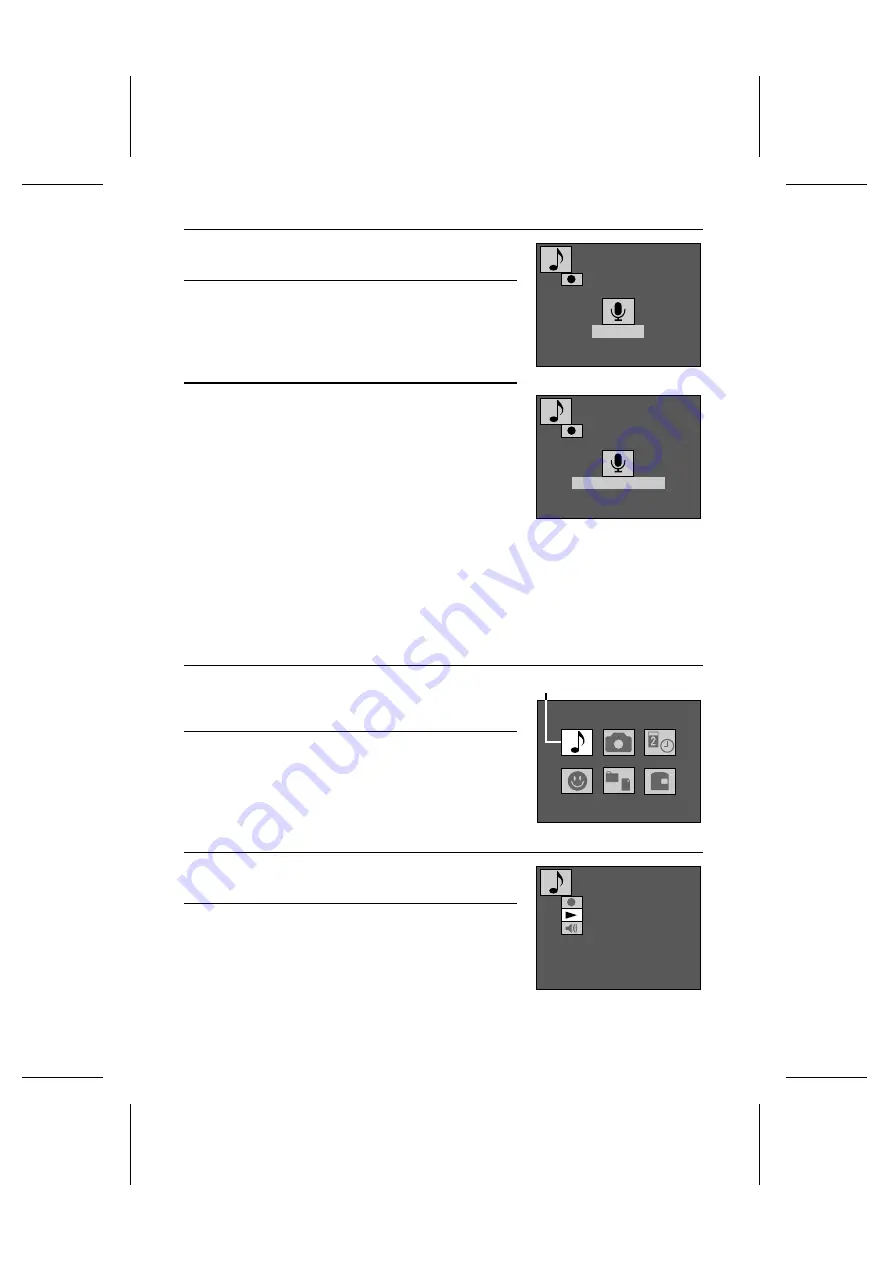
Put the digital disk camera in the option mode.
œ
Turn the mode selector dial to
ê
to display the
Option Screen.
2
Press the arrow button to select the audio recording
icon
k
.
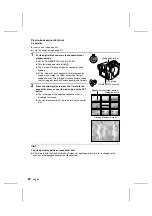
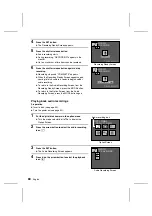
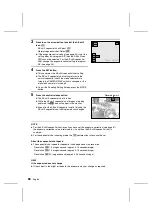
3
Press the SET button.
œ
The Audio Recording Screen appears.
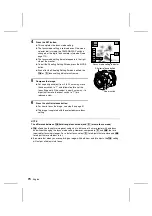
4
Press
l
on the arrow button to select the playback
icon
;
.
Recording Ready Screen
AUDIO
RECORD
READY
100-0001
AUDIO
RECORD
RECORDING
100-0001
Option Screen
OPTIONAL
FUNCTIONS
Audio recording icon
Audio Recording Screen
AUDIO
PLAYBACK
69
English


