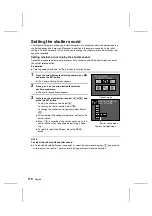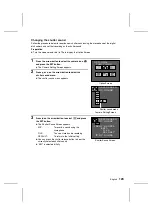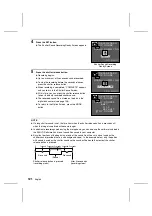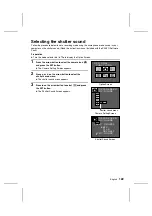
CUSTOM SETTING
You can customize the settings of your digital disk camera such as the manual mode settings,
exposure metering method, ISO sensitivity, folder settings, shutter sounds, and remote control to
make your digital disk camera work as you like.
Storing and initializing the manual mode
settings
You can set whether or not your digital disk camera stores the macro focus (see page 72), digital
zoom (see page 75), exposure correction (see page 87), and manual mode (see page 88)
settings after the digital disk camera is turned off. Your digital disk camera is initially set to store
these settings. To have your digital disk camera return to its initial settings each time it is turned
off, make the proper settings by following the procedure below.
Preparation
œ
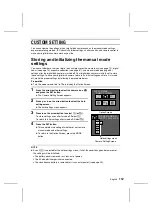
Turn the mode selector dial to
ê
to display the Option Screen.
1
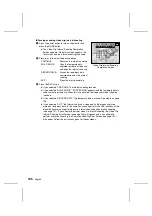
Press the arrow button to select the camera icon
ò
and press the SET button.
œ
The Camera Setting Screen appears.
2
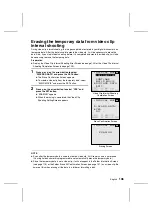
Press
j
or
l
on the arrow button to select the hold
settings menu.
œ
The hold settings menu appears.
3
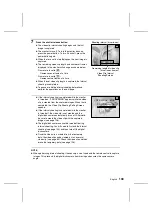
Press
c
on the arrow button to select
d
or
c
.
To store settings even after turned off: Select
d
To return to initial settings after turned off: Select
c
4
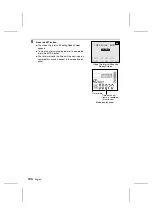
Press the SET button.
œ
This completes the setting of whether or not to store
manual mode and other settings.
œ
To return to the Option Screen, press the MODE
button.
NOTE
œ
Even if
d
is selected for the hold settings menu, if all of the conditions given below are met,
the settings will be initialized.
œ
The battery pack is removed (or it runs out of power).
œ
The AC adapter/charger is not connected.
œ
The clock backup battery is removed (or it runs out of power) (see page 23).
OPTIONAL
FUNCTIONS
Option Screen
PREFERENCES
SETTING HLD
Camera Setting Screen
Hold settings menu
English
112


