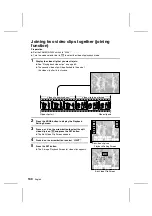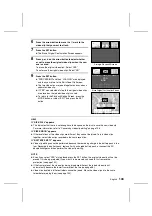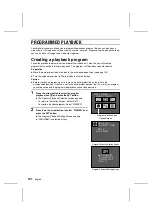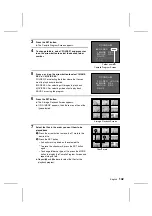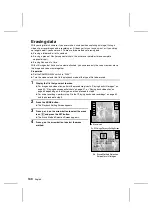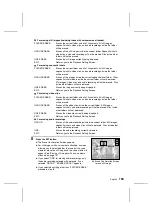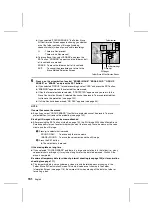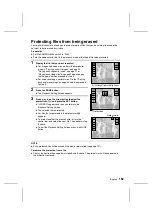
Erasing data
With your digital disk camera, if you ever make a mistake when capturing an image, filming a
video clip, or recording an audio recording, or if it does not turn out as you want, or if you simply
no longer need it, you can erase it. There are three methods of erasing data.
œ
Erasing a folder and all of its contents.
œ
Erasing a group of files (for sequential shots, this will erase the folder for one complete
sequential shot).
œ
Erasing files one at a time.
With still images that have a voice memo attached, you can erase only the voice memo or erase
the image and voice memo together.
Preparation
œ
Set the CAMERA/PLAY switch to “PLAY.”
œ
Turn the mode selector dial to the playback mode of the type of file to be erased.
1
Display the file that you want to erase.
œ
For images and video clips, perform the procedure given in “Playing back still images” on
page 52, “Playing back sequential shots” on page 57, or “Playing back video clips” on
page 63 depending on the file type, and then proceed to step 2.
œ
For audio recordings, perform step 1 to 6 of “Playing back audio recordings” on page 69
and then proceed to step 3.
2
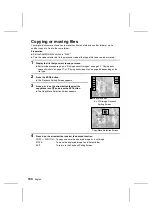
Press the MODE button.
œ
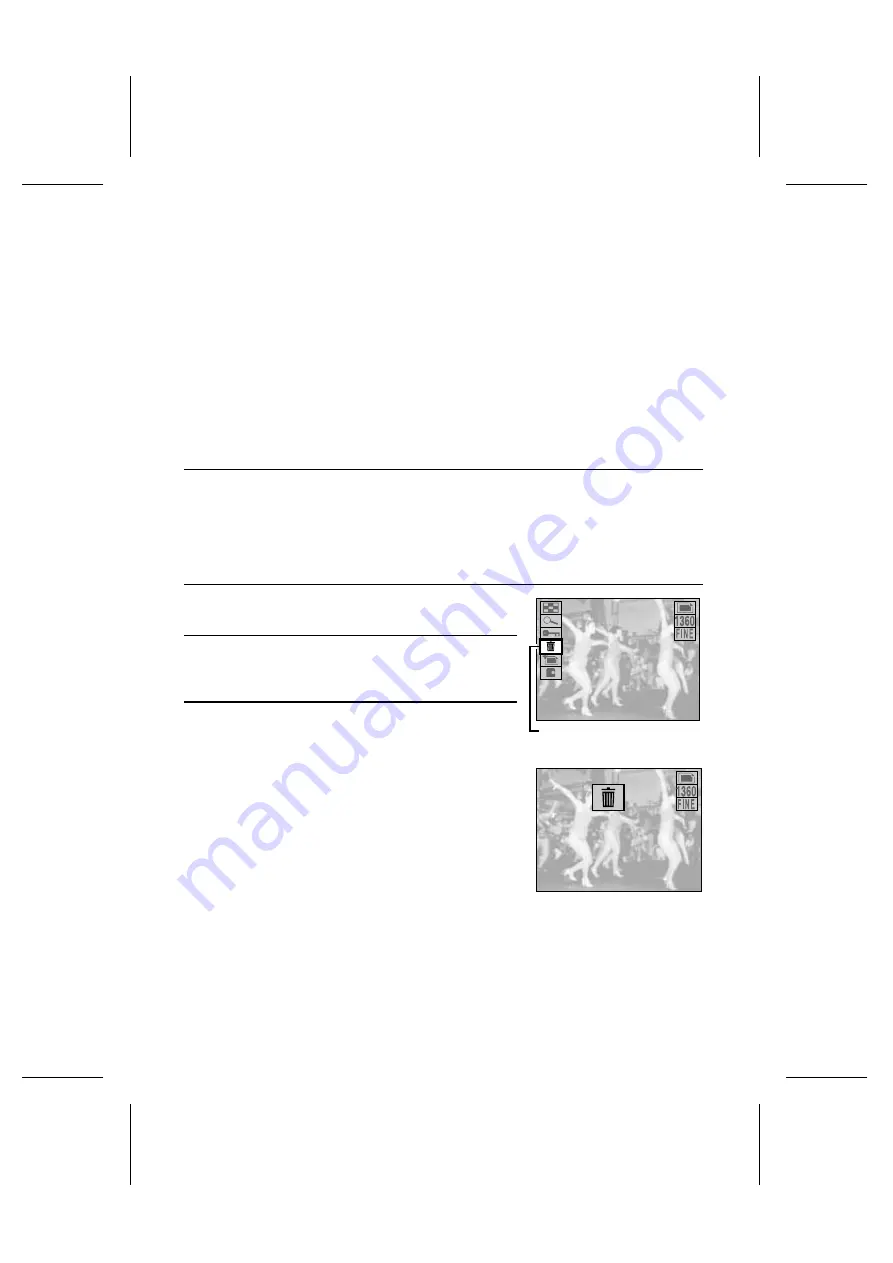
The Playback Setting Screen appears.
3
Press
j
or
l
on the arrow button to select the erase
icon
G
and press the SET button.
œ
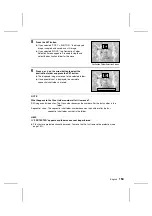
The Erase Method Selection Screen appears.
4
Press
j
on the arrow button to select the erase
method.
28/08/2001
20:15 100-0002
Erase icon
Ex. Still Image Playback Setting Screen
FOLDER ERASE
GROUP ERASE
ONE ERASE
ÄEXIT
28/08/2001
20:15 100-0002
Ex. Erase Method Selection
Screen for still images
149
English

