ENGLISH
1.
[POWER/MODE
]
◆
Video Record
2.
[POWER/MODE
]
Photo
[OK]
◆
[OK]
◆
3.
[MENU]
4.
[W/T]
<Size>
[
√
]
5.
[W/T]
[OK]
◆
2400X1800
1600x1200 1024x768
640x480
6.
[MENU]
◆
LCD
✤
[
œ
]
✤
2400X1800
4
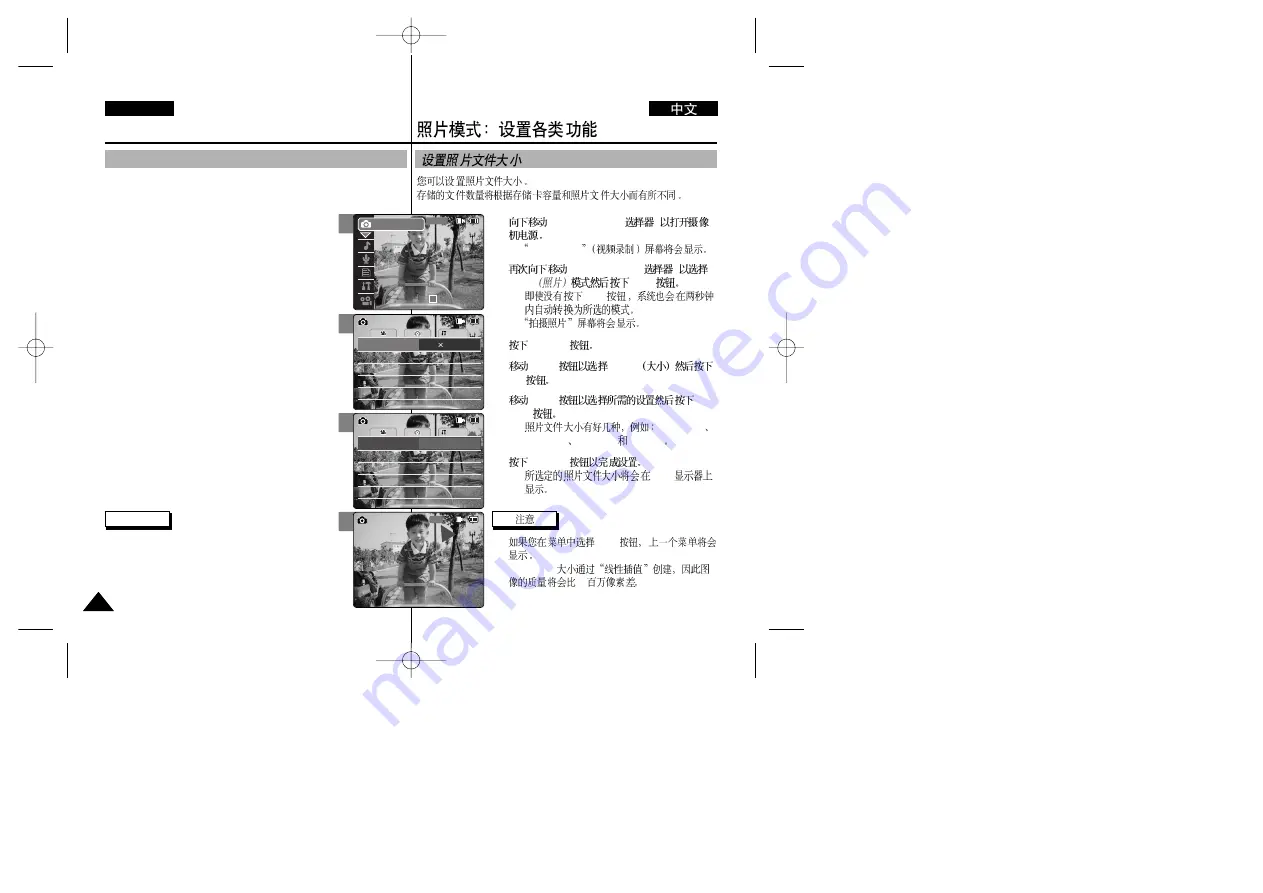
You can set the photo files size. The number of stored files varies
depending on the Memory Card capacity and photo files size.
1. Move [POWER/MODE Selector] down to turn
on the CAM.
◆
The Video Record screen appears.
2. Move [POWER/MODE Selector] down again to
select
Photo
mode and press the [OK] button.
◆
The system is automatically converted into the
selected mode in two seconds even
when the [OK] button is not pressed.
◆
The Photo Capture screen appears.
3. Press the [MENU] button.
4. Move the [W/T] button to select <Size> and press
the [
√
] button.
5. Move the [W/T] button to select the desired setting
and press the [OK] button.
◆
There are several photo file sizes, such as
2400X1800, 1600x1200, 1024x768 and
640x480.
6. Press the [MENU] button to finish setting.
◆
The selected photo file size is displayed on the
LCD monitor.
66
66
Photo Mode : Setting Various Functions
Setting the Photo file Size
Notes
✤
If you select [
œ
] button in the menu, the previous
menu appears.
✤
The size of 2400X1800 is created by Linear
Interpolation, so the quality of the image would be
worse than 4 Megapixel.
3
5
6
System
Flash
Auto
White Balance
Auto
Focus
AF
Flash
Auto
White Balance
Auto
BLC
Off
BLC
Off
Focus
AF
Size
1600 1200
Photo Settings
Photo Settings
System
Flash
Auto
White Balance
Auto
Focus
AF
Flash
Auto
White Balance
Auto
BLC
Off
BLC
Off
Focus
AF
Size
640X480
Photo Settings
Photo Settings
640
Photo Capture
2
00:00:00 / 00:43:41
F / 720i
Photo
STBY


