LCD
1.
[POWER/MODE
]
2.
[POWER/MODE
]
System Settings
[OK]
◆
[OK]
3.
[W/T]
<Display>
[
√
]
4.
[W/T]
<LCD Brightness>
LCD
<LCD Colour> LCD
[OK]
5.
[W/T]
[OK]
◆
90~91
✤
[oe ]
✤
LCD
28
28
ENGLISH
Getting Started
Adjusting the LCD Monitor
Your CAM is equipped with a colour Liquid Crystal Display monitor,
which enables you to view directly what you are recording or playing
back. Depending on the conditions under which you are using the
CAM (indoors or outdoors for example), you can adjust the LCD
Brightness or Colour.
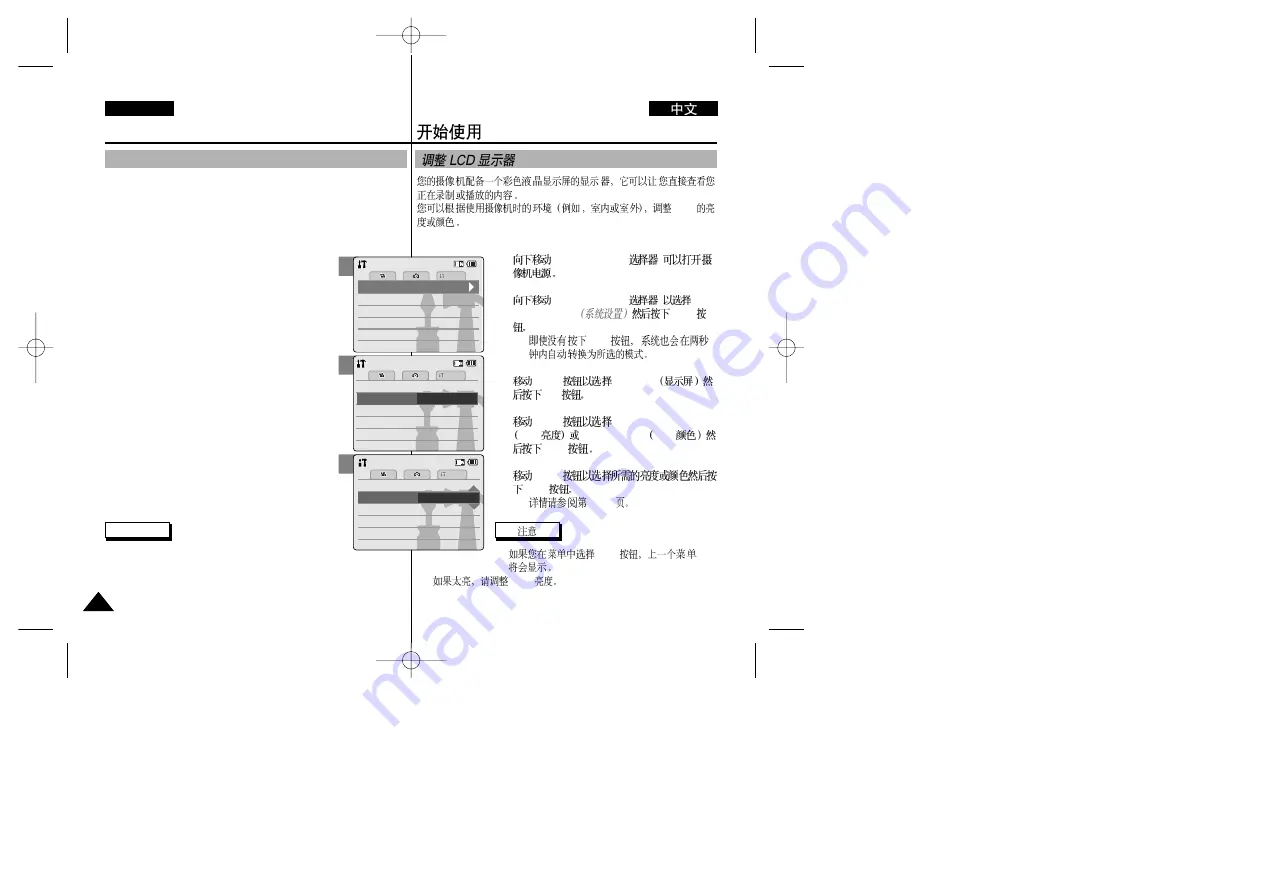
1. Move [POWER/MODE Selector] down to turn
on the CAM.
2. Move [POWER/MODE Selector] down to select
System Settings
and press the [OK] button.
◆
The system is automatically converted into the
selected mode in two seconds even when the
[OK] button is not pressed.
3. Move the [ W/T] button to select <Display> and
press the [
√
] button.
4. Move the [ W/T] button to select <LCD Brightness>
or <LCD Colour> and press the [OK] button.
5. Move the [ W/T] button to select desired
brightness or colour and press the
[OK] button.
◆
Refer to pages 90~91 for details.
✤
If you select [
œ
] button in the menu, the previous
menu appears.
✤
If it is too bright, adjust the LCD Brightness.
Notes
3
4
5
Memory
System
System
Date/Time
Date/Time
System
Memory
Language
Language
English
English
English
Display
System Settings
System Settings
Settings: Display
Settings: Display
System
Back
Back
LCD Brightness
LCD Brightness
20 %
20 %
LCD Colour
50 %
Settings: Display
Settings: Display
System
20 %
20 %
60 %
LCD Colour
Back
Back
LCD Brightness
LCD Brightness


